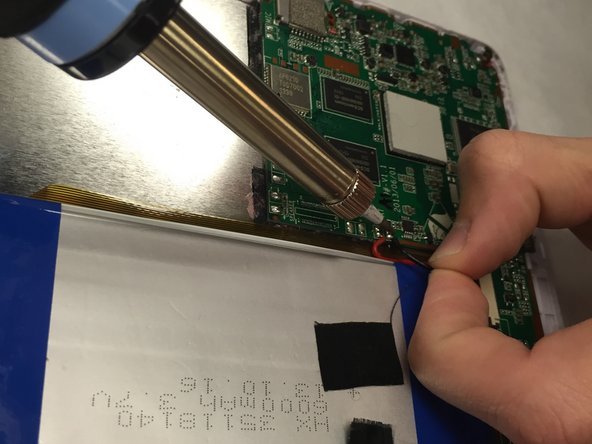
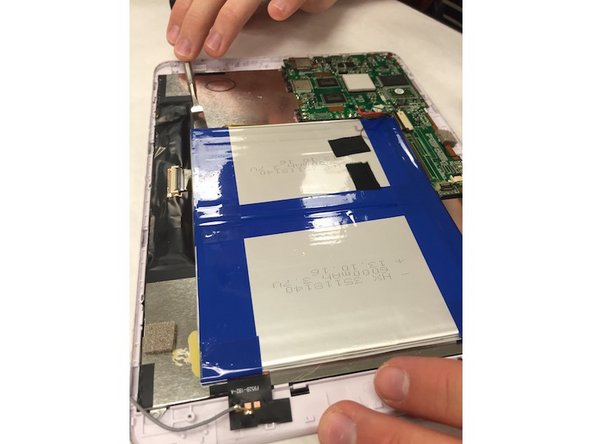
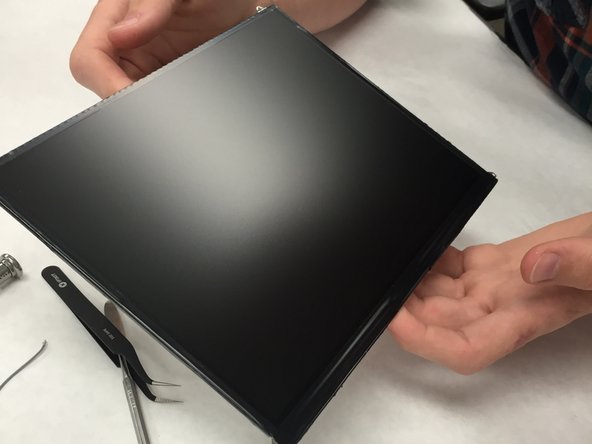
Salta al contenuto principale

Jazz UltraTab C1059-HL Screen Replacement

Cosa ti serve

  1. Jazz UltraTab C1059-HL Screen Replacement, Screen: passo 1, immagine 1 di 1
    • First step is to remove screws from top and bottom of device.

  2. Jazz UltraTab C1059-HL Screen Replacement: passo 2, immagine 1 di 1
    • Remove the back panel of the device.

    • Be careful not to brake/bend the plastic cover of your device.

  3. Jazz UltraTab C1059-HL Screen Replacement: passo 3, immagine 1 di 1
    • Upon removing the back panel, place the device screen down on the table.

  4. Jazz UltraTab C1059-HL Screen Replacement: passo 4, immagine 1 di 1
    • Remove all data strips attached to the motherboard.

  5. Jazz UltraTab C1059-HL Screen Replacement: passo 5, immagine 1 di 3 Jazz UltraTab C1059-HL Screen Replacement: passo 5, immagine 2 di 3 Jazz UltraTab C1059-HL Screen Replacement: passo 5, immagine 3 di 3
    • Remove the tape around the battery.

    • One of these pieces of tape holds down the battery connection to the mainboard.

    • Use the soldering iron to disconnect these wires.

    • You will need to use a tool to pry off the battery. It will have a good amount of adhesive holding it down.

    • Be cautious not to bend the battery when prying.

  6. Jazz UltraTab C1059-HL Screen Replacement: passo 6, immagine 1 di 1
    • Once the battery is removed, make sure to remove any and all data strips that are attached.

    • Then begin to unscrew the mother board.

  7. Jazz UltraTab C1059-HL Screen Replacement: passo 7, immagine 1 di 1
    • Remove the motherboard chip off of the device.

  8. Jazz UltraTab C1059-HL Screen Replacement: passo 8, immagine 1 di 1
    • Your board should look like this after taking all of the components off the screen panel.

  9. Jazz UltraTab C1059-HL Screen Replacement: passo 9, immagine 1 di 2 Jazz UltraTab C1059-HL Screen Replacement: passo 9, immagine 2 di 2
    • Remove the Display Module from the screen cover.

  10. Jazz UltraTab C1059-HL Screen Replacement: passo 10, immagine 1 di 1
    • Now, you can replace your broken or damaged screen!

Conclusione

To reassemble your device, follow these instructions in reverse order.

Un'altra persona ha completato questa guida.

Team

IUPUI, Team 1-3, Wilson Fall 2015 Membro di IUPUI, Team 1-3, Wilson Fall 2015

IUPUI-WILSON-F15S1G3

4 Membri

6 Guide realizzate

0 Commenti

Aggiungi Commento

Visualizza Statistiche:

Ultime 24 Ore: 0

Ultimi 7 Giorni: 0

Ultimi 30 Giorni: 0

Tutti i Tempi: 442