Questa guida ha delle modifiche più recenti. Passa all'ultima versione non verificata.
Introduzione
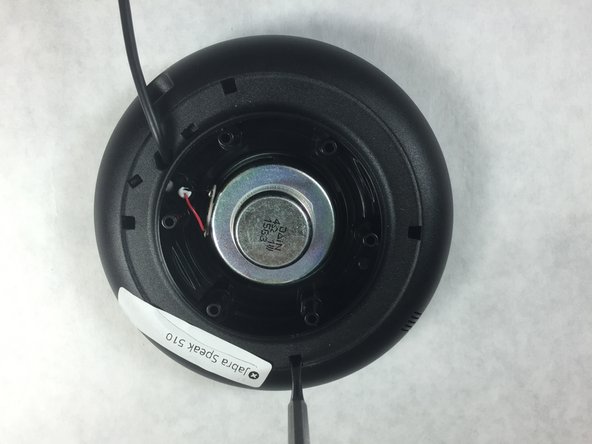
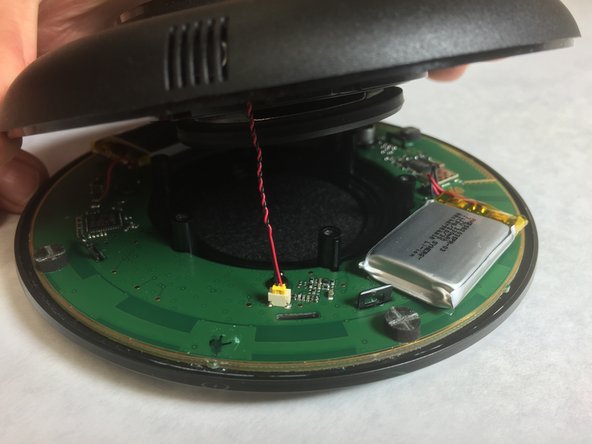
In order to access the inner components of the Jabra Speak 510, you will need to remove the back plate and the front plate.
Cosa ti serve
-
-
Using a metal spudger, peel back the foam pad on the bottom of the device to reveal six screws.
-
-


Quasi finito!
To reassemble your device, follow these instructions in reverse order.
Conclusione
To reassemble your device, follow these instructions in reverse order.

Team

IUPUI, Team 2-3, Harley Spring 2016 Membro di IUPUI, Team 2-3, Harley Spring 2016
IUPUI-HARLEY-S16S2G3
4 Membri
8 Guide realizzate