Salta al contenuto principale

JVC GR-D93U Eye Piece Replacement

Cosa ti serve

  1. JVC GR-D93U Eye Piece Replacement, Eye Piece: passo 1, immagine 1 di 2 JVC GR-D93U Eye Piece Replacement, Eye Piece: passo 1, immagine 2 di 2
    • Unscrew two 3mm Phillips #0 screw from the bottom of the camera to remove blue plastic casing.

  2. JVC GR-D93U Eye Piece Replacement: passo 2, immagine 1 di 2 JVC GR-D93U Eye Piece Replacement: passo 2, immagine 2 di 2
    • Unscrew two 3mm Phillips #0 screws. Then remove 6 3mm Philips #0 screws from the bottom of the camera.

  3. JVC GR-D93U Eye Piece Replacement: passo 3, immagine 1 di 1
    • Unscrew 3mm Phillips #0 screws from the batter port under the eye piece.

  4. JVC GR-D93U Eye Piece Replacement: passo 4, immagine 1 di 2 JVC GR-D93U Eye Piece Replacement: passo 4, immagine 2 di 2
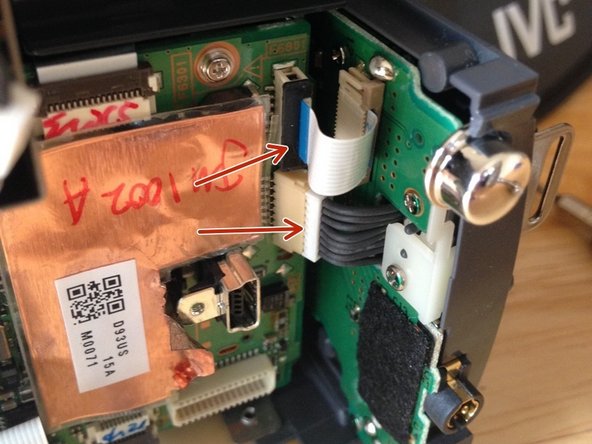
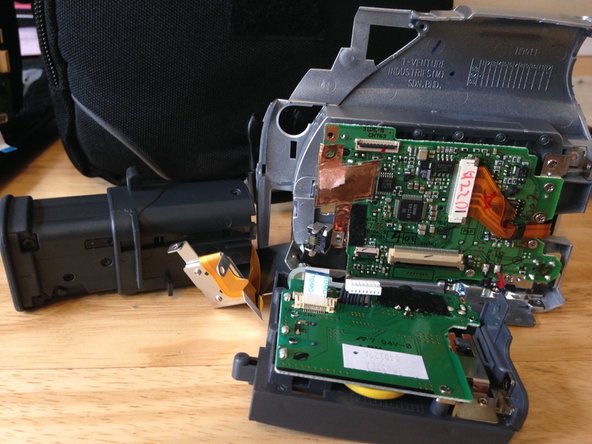
    • Now the camera can be split into two pieces. Be careful when removing the two sides and remove the cables connecting the two halves. There are also cables that need to be disconnected from the battery pack section.

  5. JVC GR-D93U Eye Piece Replacement: passo 5, immagine 1 di 3 JVC GR-D93U Eye Piece Replacement: passo 5, immagine 2 di 3 JVC GR-D93U Eye Piece Replacement: passo 5, immagine 3 di 3
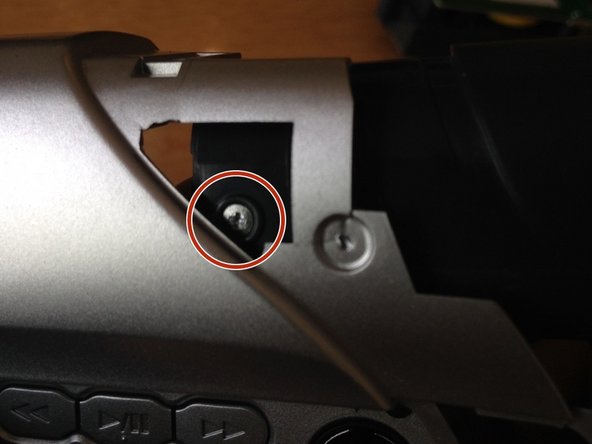
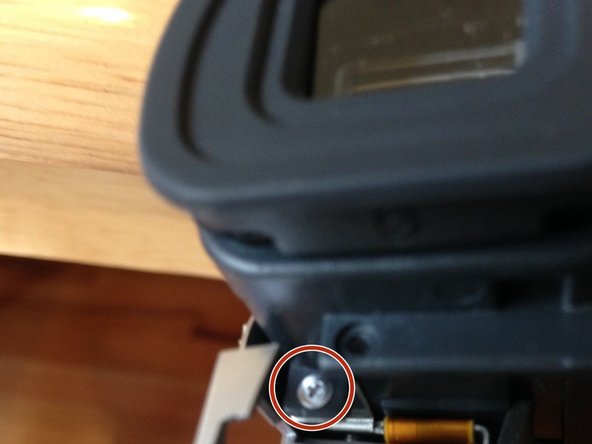
    • Unscrew two 3mm Phillips #0 screws from around the eye piece. Then flip the camera over and unscrew 3mm Phillips #0 screw. Then unscrew 3mm Phillips #0 screw from under the eye piece.

  6. JVC GR-D93U Eye Piece Replacement: passo 6, immagine 1 di 2 JVC GR-D93U Eye Piece Replacement: passo 6, immagine 2 di 2
    • Unscrew 3mm Phillips #0 screw and disconnect cable. This will disconnect the eye piece from the camera.

Conclusione

To reassemble your device, follow these instructions in reverse order.

Lindsay

Membro da: 03/16/15

267 Reputazione

2 Guide realizzate

Team

0 Commenti

Aggiungi Commento

Visualizza Statistiche:

Ultime 24 Ore: 0

Ultimi 7 Giorni: 0

Ultimi 30 Giorni: 2

Tutti i Tempi: 281