Introduzione
This guide will outline the step-by-step process of replacing the LCD screen of the JVC Adixxion GC-XA1BU.
Cosa ti serve
-
-
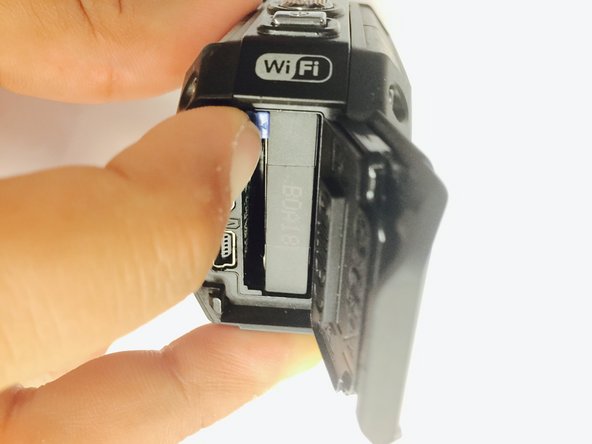
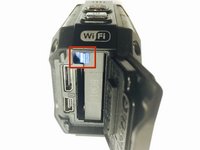
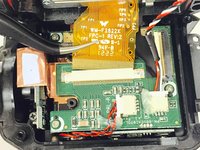
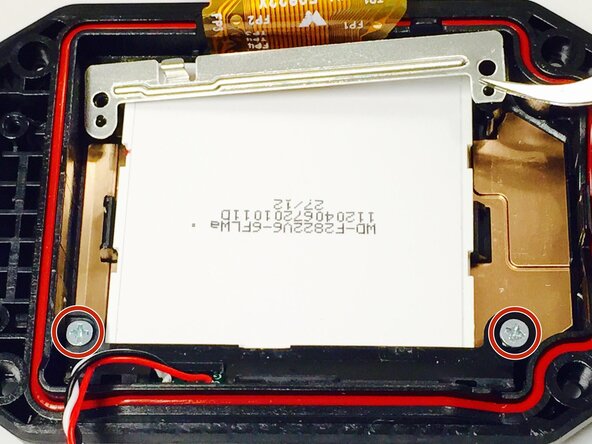
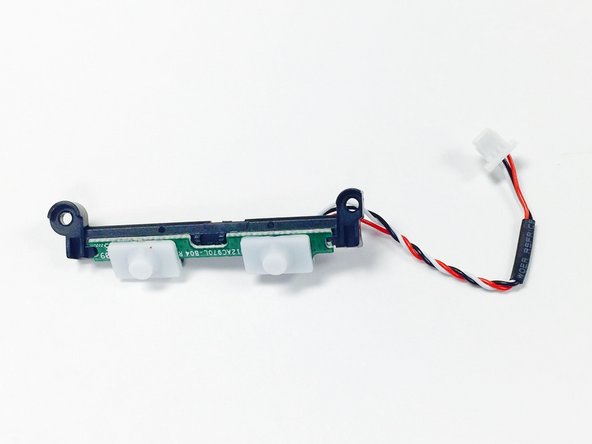
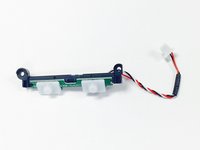
Remove the two Phillips screws (4mm x 3mm) using the Phillips #00 screwdriver.
-
-
-
-
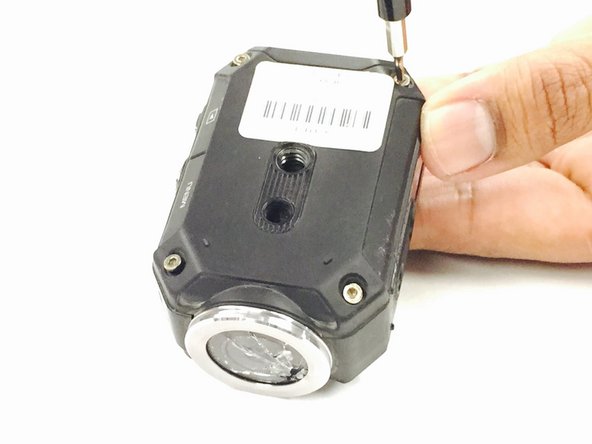
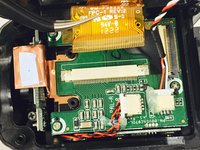
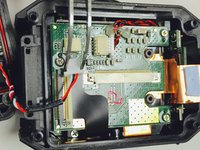
Remove the 8 screws (5mm x 4mm) from the corners of both the front and back of the camera (4 screws on each side) using the T6 Torx screwdriver.
-
-
-
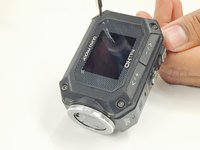
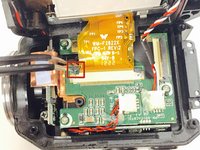
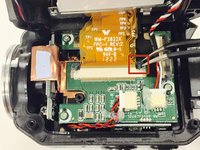
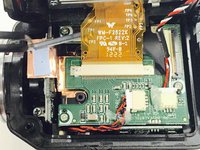
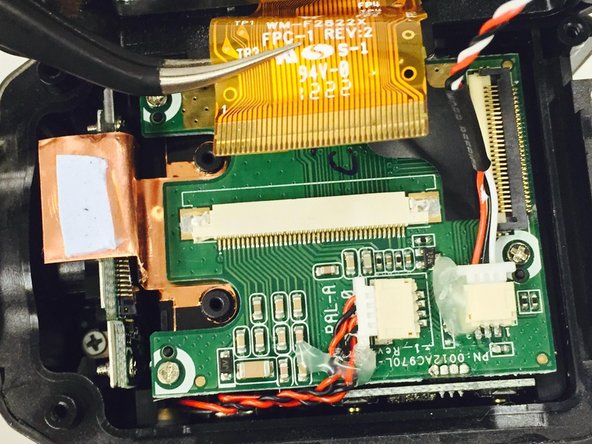
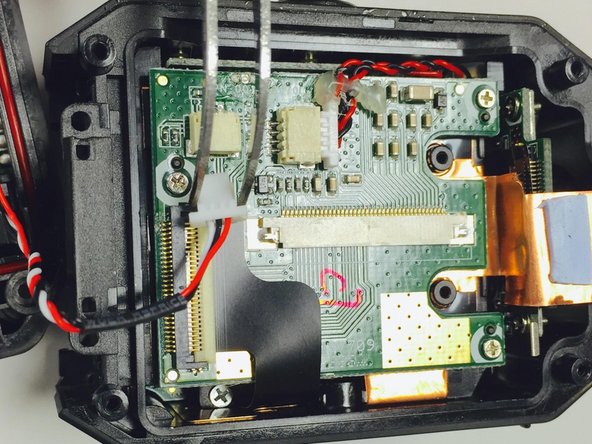
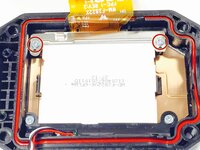
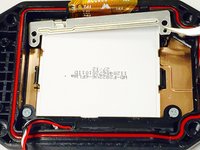
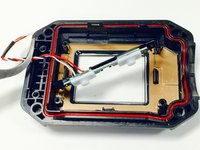
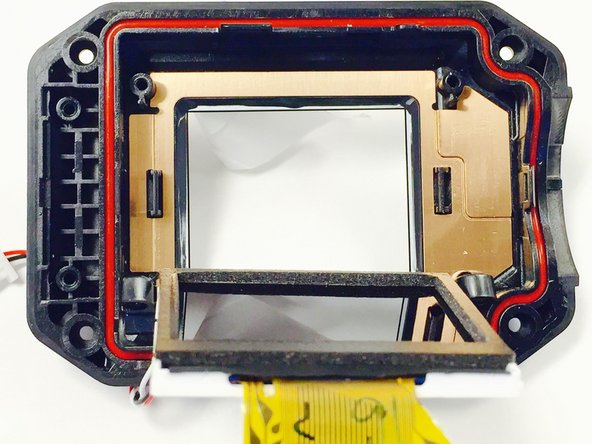
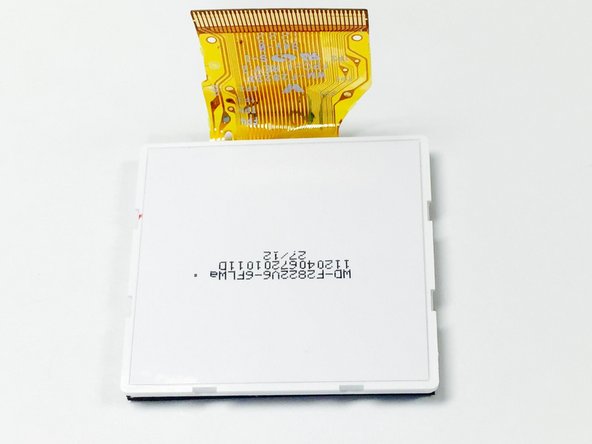
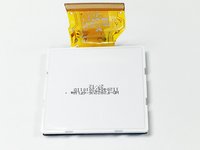
Use a Phillips #00 screwdriver to remove the two top screws (4mmx x 3mm). Once the screws are removed, carefully lift off the silver plate using Tweezers.
-


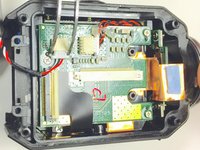


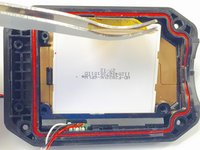


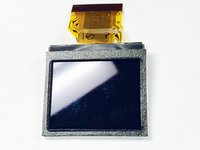
Follow these steps in reverse order with the new LCD screen in order to complete the replacement.
Annulla: non ho completato questa guida.
Un'altra persona ha completato questa guida.
Team

USF Tampa, Team 1-2, Tanski Winter 2015 Membro di USF Tampa, Team 1-2, Tanski Winter 2015
USFT-TANSKI-W15S1G2
4 Membri
8 Guide realizzate