Salta al contenuto principale

JVC Adixxion GC-XA1BU LCD Cover Replacement

Cosa ti serve

  1. JVC Adixxion GC-XA1BU LCD Cover Replacement, Battery: passo 1, immagine 1 di 1
    • Find the side of the camera with the black switch shown.

  2. JVC Adixxion GC-XA1BU LCD Cover Replacement: passo 2, immagine 1 di 1
    • Push down on the black switch.

  3. JVC Adixxion GC-XA1BU LCD Cover Replacement: passo 3, immagine 1 di 1
    • Slide the battery cover back while pushing down on the black switch.

  4. JVC Adixxion GC-XA1BU LCD Cover Replacement: passo 4, immagine 1 di 2 JVC Adixxion GC-XA1BU LCD Cover Replacement: passo 4, immagine 2 di 2
    • Open the battery compartment and push the blue battery release switch.

  5. JVC Adixxion GC-XA1BU LCD Cover Replacement: passo 5, immagine 1 di 1
    • Remove the battery from the camera.

  6. JVC Adixxion GC-XA1BU LCD Cover Replacement, Battery Cover: passo 6, immagine 1 di 1
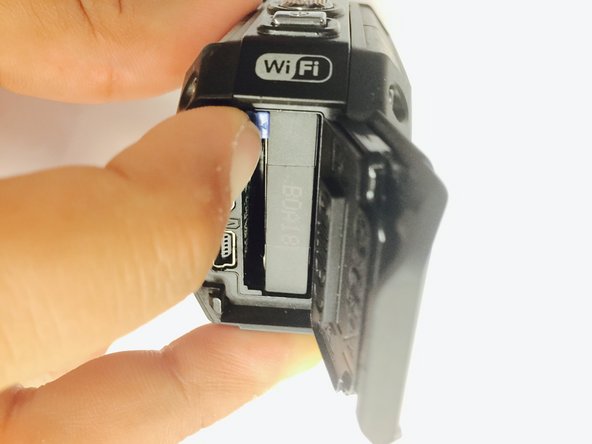
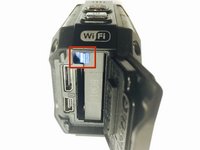
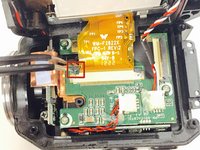
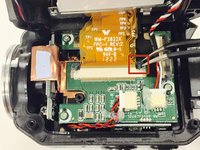
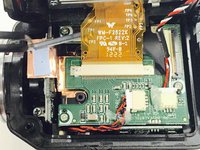
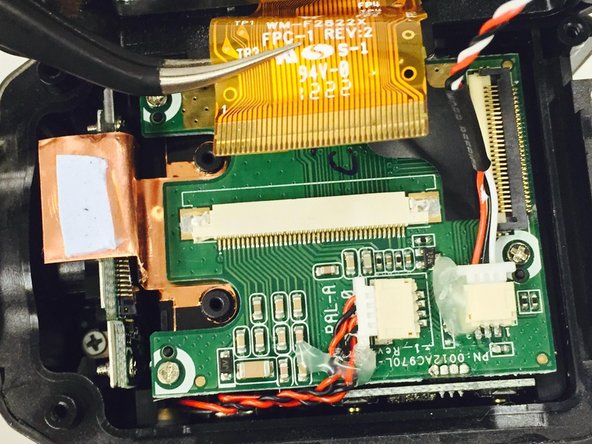
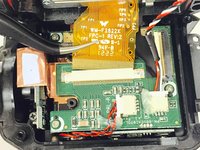
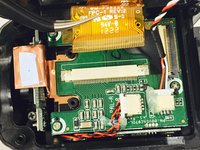
    • Remove the two Phillips screws (4mm x 3mm) using the Phillips #00 screwdriver.

  7. JVC Adixxion GC-XA1BU LCD Cover Replacement, LCD Cover: passo 7, immagine 1 di 2 JVC Adixxion GC-XA1BU LCD Cover Replacement, LCD Cover: passo 7, immagine 2 di 2
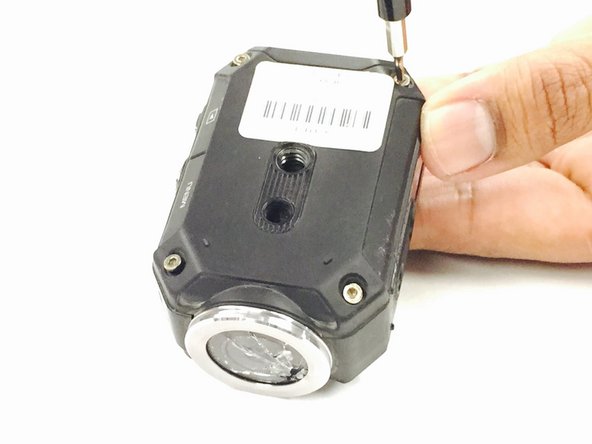
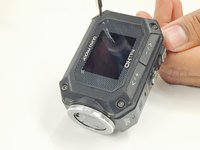
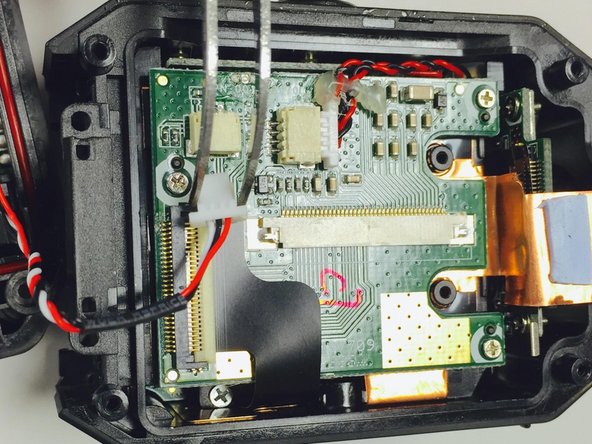
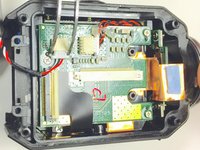
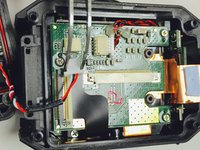
    • Remove the 8 screws (5mm x 4mm) from the corners of both the front and back of the camera (4 screws on each side) using the T6 Torx screwdriver.

  8. JVC Adixxion GC-XA1BU LCD Cover Replacement: passo 8, immagine 1 di 1
    • Carefully open the camera as shown and gently peel off the black cover tape.

  9. JVC Adixxion GC-XA1BU LCD Cover Replacement: passo 9, immagine 1 di 3 JVC Adixxion GC-XA1BU LCD Cover Replacement: passo 9, immagine 2 di 3 JVC Adixxion GC-XA1BU LCD Cover Replacement: passo 9, immagine 3 di 3
    • Carefully lift up and remove the cable ribbon clip using the tweezers.

  10. JVC Adixxion GC-XA1BU LCD Cover Replacement: passo 10, immagine 1 di 2 JVC Adixxion GC-XA1BU LCD Cover Replacement: passo 10, immagine 2 di 2
    • Carefully grasp and remove the ribbon cable using the tweezers.

  11. JVC Adixxion GC-XA1BU LCD Cover Replacement: passo 11, immagine 1 di 1
    • Turn the camera as shown and carefully remove the glue from the connector.

  12. JVC Adixxion GC-XA1BU LCD Cover Replacement: passo 12, immagine 1 di 2 JVC Adixxion GC-XA1BU LCD Cover Replacement: passo 12, immagine 2 di 2
    • Carefully pull the white clip out of the casing using the tweezers.

Conclusione

To reassemble your device, follow these instructions in reverse order.

Un'altra persona ha completato questa guida.

Team

USF Tampa, Team 1-2, Tanski Winter 2015 Membro di USF Tampa, Team 1-2, Tanski Winter 2015

USFT-TANSKI-W15S1G2

4 Membri

8 Guide realizzate

0Commenti sulla guida

Aggiungi Commento

Visualizza Statistiche:

Ultime 24 Ore: 0

Ultimi 7 Giorni: 7

Ultimi 30 Giorni: 15

Tutti i Tempi: 476