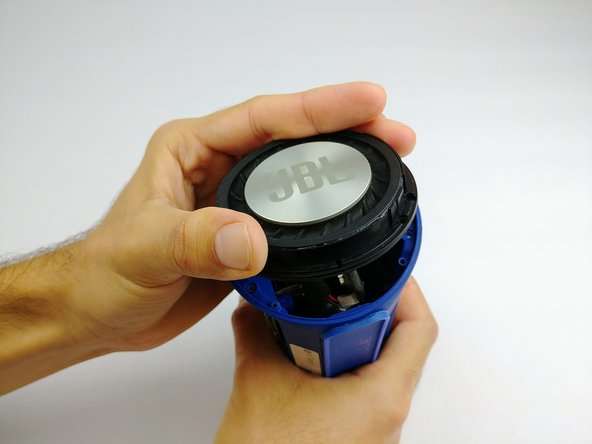
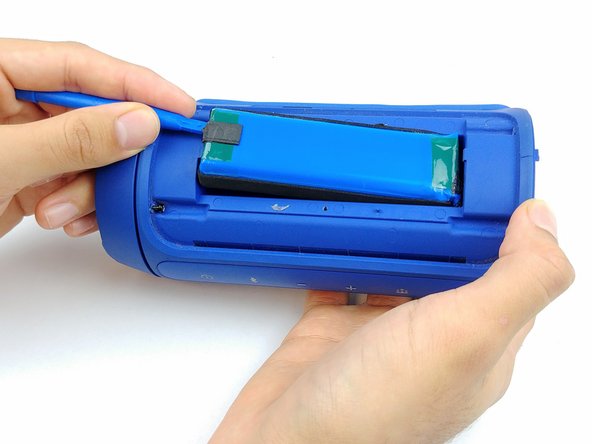
Salta al contenuto principale

JBL Charge 2 Speakers Replacement

Cosa ti serve

  1. JBL Charge 2 Speakers Replacement, Battery: passo 1, immagine 1 di 1
    • Remove the screen cover from the speaker using a metal spudger.

  2. JBL Charge 2 Speakers Replacement: passo 2, immagine 1 di 2 JBL Charge 2 Speakers Replacement: passo 2, immagine 2 di 2
    • Using a Phillips #1 screwdriver (PH1), remove the (4) four 8mm screws.

    • Remove the end cap of the device. Repeat the same process to remove the other end cap.

  3. JBL Charge 2 Speakers Replacement: passo 3, immagine 1 di 2 JBL Charge 2 Speakers Replacement: passo 3, immagine 2 di 2
    • To remove the end diaphragms, use a Phillips #1 screwdriver (PH1) and remove the (4) four 6mm screws.

    • Twist off the end cap and remove them from the device.

  4. JBL Charge 2 Speakers Replacement: passo 4, immagine 1 di 2 JBL Charge 2 Speakers Replacement: passo 4, immagine 2 di 2
    • Use a Phillips #1 screwdriver (PH1) to remove the (2) two screws from the battery cover.

    • Pry away the plastic battery cover with a plastic spudger.

  5. JBL Charge 2 Speakers Replacement: passo 5, immagine 1 di 1
    • Disconnect the battery connector with a plastic opening tool and wiggle the connector free.

  6. JBL Charge 2 Speakers Replacement: passo 6, immagine 1 di 3 JBL Charge 2 Speakers Replacement: passo 6, immagine 2 di 3 JBL Charge 2 Speakers Replacement: passo 6, immagine 3 di 3
    • Scrape the battery wire sealant off with a plastic opening tool, and ensure it is free of the body of the speaker and wires.

    • Slide the battery free.

  7. JBL Charge 2 Speakers Replacement, Speakers: passo 7, immagine 1 di 1
    • Remove the opposite screen cover using a metal spudger

  8. JBL Charge 2 Speakers Replacement: passo 8, immagine 1 di 1
    • Use the Phillips #1 screwdriver (PH1) to remove the (8) eight screws.

    • Pull out the speakers from the device.

  9. JBL Charge 2 Speakers Replacement: passo 9, immagine 1 di 1
    • Disconnect the wiring from the speaker by using the fine tip pry tool.

    • Remove the speakers from the device.

Conclusione

To reassemble your device, follow these instructions in reverse order.

Altre 2 persone hanno completato questa guida.

Team

USF Tampa, Team S2-G4, Passmore Fall 2017 Membro di USF Tampa, Team S2-G4, Passmore Fall 2017

USFT-PASSMORE-F17S2G4

4 Membri

8 Guide realizzate

0 Commenti

Aggiungi Commento

Visualizza Statistiche:

Ultime 24 Ore: 4

Ultimi 7 Giorni: 13

Ultimi 30 Giorni: 42

Tutti i Tempi: 4,540