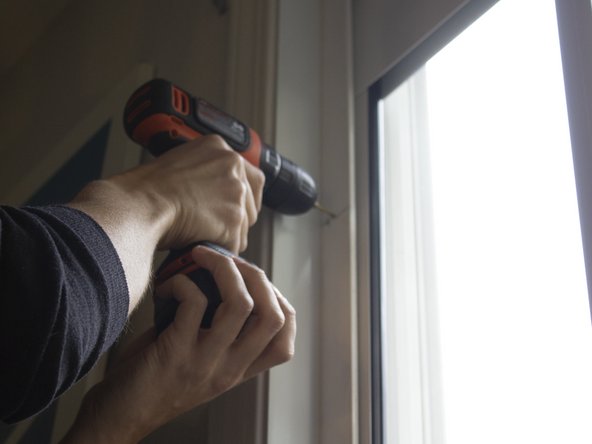
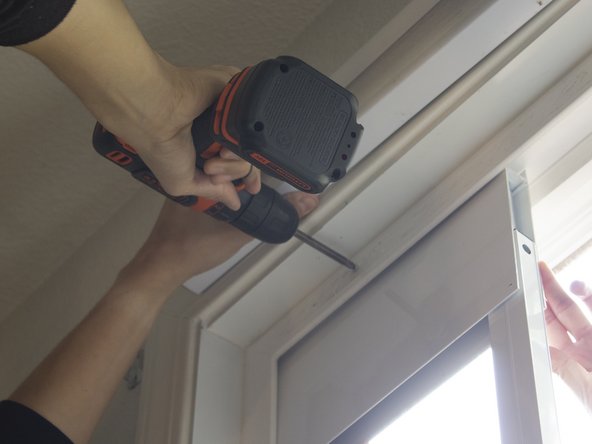
Salta al contenuto principale

Installing a Petsafe Removable Dog Panel

Cosa ti serve

  1. Installing a Petsafe Removable Dog Panel, Petsafe Dog Panel: passo 1, immagine 1 di 1
    • Make sure you have all the tools necessary.

  2. Installing a Petsafe Removable Dog Panel: passo 2, immagine 1 di 1
    • Receive your PetSafe dog door in the mail.

  3. Installing a Petsafe Removable Dog Panel: passo 3, immagine 1 di 2 Installing a Petsafe Removable Dog Panel: passo 3, immagine 2 di 2
    • Measure the height of the sliding glass door frame.

  4. Installing a Petsafe Removable Dog Panel: passo 4, immagine 1 di 3 Installing a Petsafe Removable Dog Panel: passo 4, immagine 2 di 3 Installing a Petsafe Removable Dog Panel: passo 4, immagine 3 di 3
    • Remove your lock latch from the sliding door frame.

    • Lock latches may vary

  5. Installing a Petsafe Removable Dog Panel: passo 5, immagine 1 di 2 Installing a Petsafe Removable Dog Panel: passo 5, immagine 2 di 2
    • Slide the top of your dog panel into the top track of the sliding glass door.

    • Place the bottom portion of the dog panel into the bottom track of the sliding glass door.

  6. Installing a Petsafe Removable Dog Panel: passo 6, immagine 1 di 2 Installing a Petsafe Removable Dog Panel: passo 6, immagine 2 di 2
    • Measure 12” from the top, down the side of your sliding glass door frame and mark it.

    • Mark 1” above the pet flap onto the edge of your sliding glass door.

  7. Installing a Petsafe Removable Dog Panel: passo 7, immagine 1 di 3 Installing a Petsafe Removable Dog Panel: passo 7, immagine 2 di 3 Installing a Petsafe Removable Dog Panel: passo 7, immagine 3 di 3
    • With a 9/64ths drill bit, drill clearance holes into the marks made on the sliding glass door frame

    • DO NOT GO THROUGH THE DOG PANEL

  8. Installing a Petsafe Removable Dog Panel: passo 8, immagine 1 di 3 Installing a Petsafe Removable Dog Panel: passo 8, immagine 2 di 3 Installing a Petsafe Removable Dog Panel: passo 8, immagine 3 di 3
    • Fasten the panel to the interior side of the sliding glass frame with the provided ⅝” screws.

    • MAKE SURE YOU ARE DRILLING OUTSIDE OF THE RIBBED LINE ON THE DOG PANEL.

    • DO NOT OVERTIGHTEN.

  9. Installing a Petsafe Removable Dog Panel: passo 9, immagine 1 di 2 Installing a Petsafe Removable Dog Panel: passo 9, immagine 2 di 2
    • Tighten the screws with a screwdriver.

  10. Installing a Petsafe Removable Dog Panel: passo 10, immagine 1 di 3 Installing a Petsafe Removable Dog Panel: passo 10, immagine 2 di 3 Installing a Petsafe Removable Dog Panel: passo 10, immagine 3 di 3
    • Repeat steps 8 and 9 to secure the dog panel into place. Follow these steps when drilling into the clearance hole marked at the top of the frame.

  11. Installing a Petsafe Removable Dog Panel: passo 11, immagine 1 di 1
    • Slide your sliding door flush against the dog door.

Conclusione

To reassemble your device, follow these instructions in reverse order.

Un'altra persona ha completato questa guida.

Joshua Novello

Membro da: 10/26/18

196 Reputazione

1 Guida realizzata

Team

UC Davis, Team S1-G1, Bender Fall 2018 Membro di UC Davis, Team S1-G1, Bender Fall 2018

UCD-BENDER-F18S1G1

3 Membri

1 Guida realizzata

2 Commenti

My dog won’t push hard enough for the magnet to open. Is there a way to temporarily remove the magnet on either the frame or the flap?

LisaD - Replica

LisaD put a piece of masking tape over the magnet or a couple of layers of tape to make it easier to open maybe?

Robert Merry -

Aggiungi Commento

Visualizza Statistiche:

Ultime 24 Ore: 3

Ultimi 7 Giorni: 10

Ultimi 30 Giorni: 33

Tutti i Tempi: 1,093