Questa versione può contenere modifiche errate. Passa all'ultima istantanea verificata.
Cosa ti serve
-
Questo passaggio è privo di traduzione. Aiuta a tradurlo
-
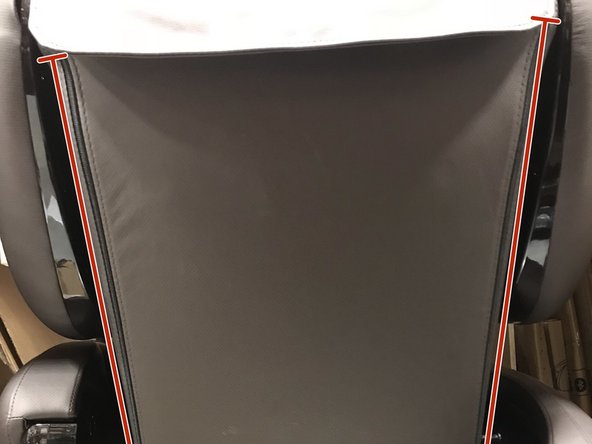
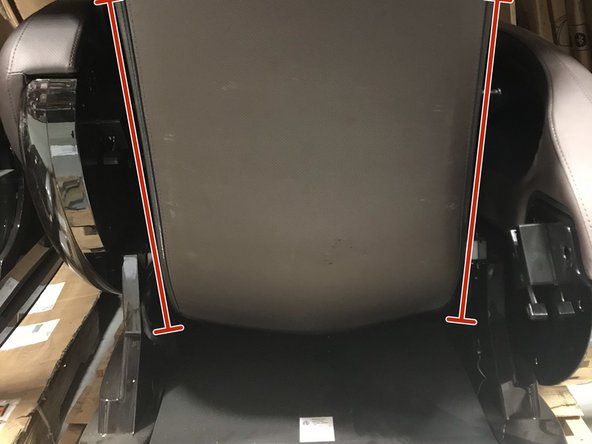
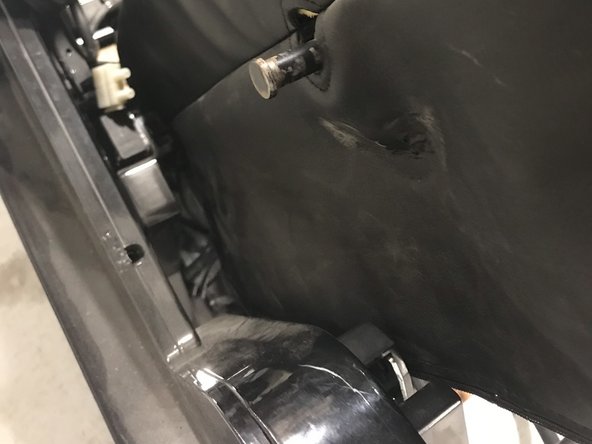
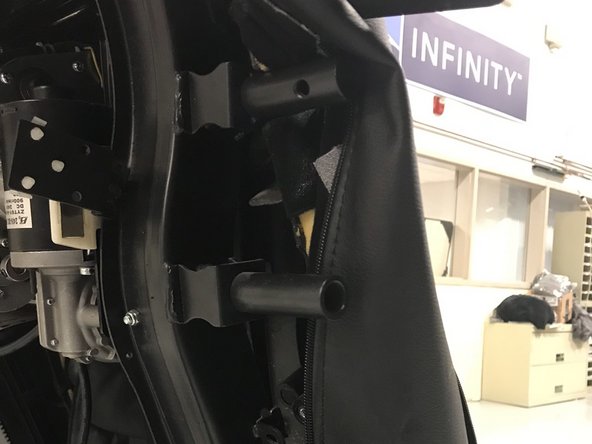
The back cover is covered by this leather cover. which unzips easily.
-
Zipper is located here and there are 2 of these on either side.
-
-
Questo passaggio è privo di traduzione. Aiuta a tradurlo
-
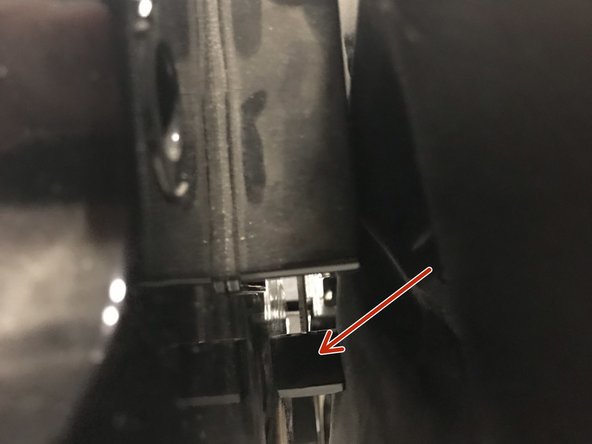
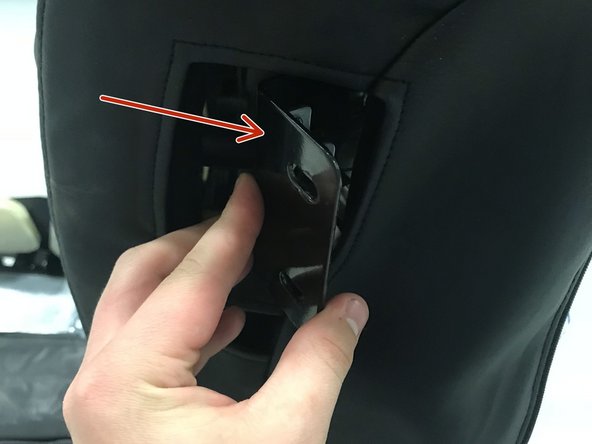
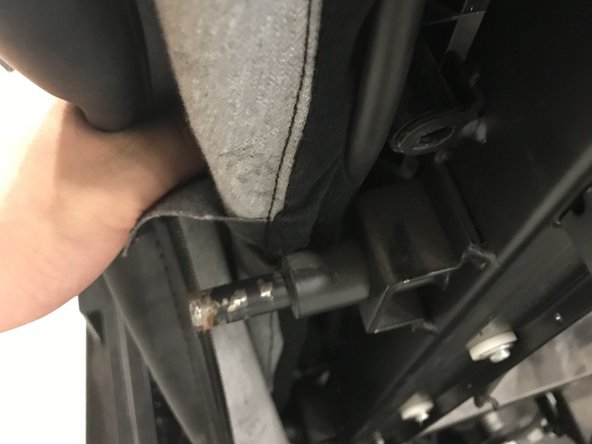
Press Down on Latch between armrest and chair body .
-
What the result should look like.
-
-
-
Questo passaggio è privo di traduzione. Aiuta a tradurlo
-
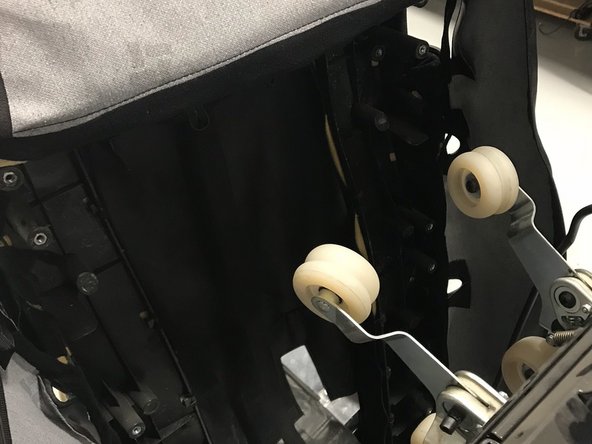
Note the speaker bracket will need be threaded through its leather slot and left hanging inside the back of the chair.
-
-
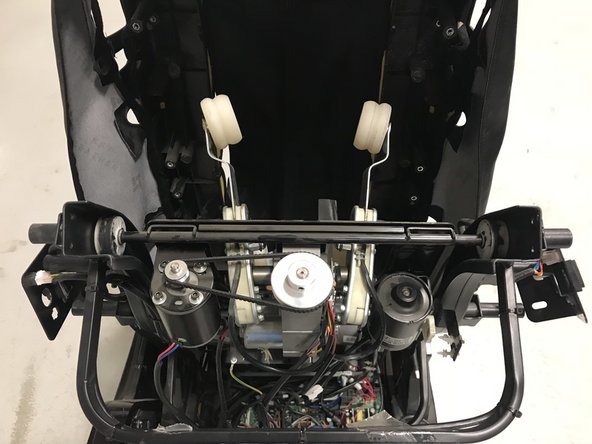
Questo passaggio è privo di traduzione. Aiuta a tradurlo
-
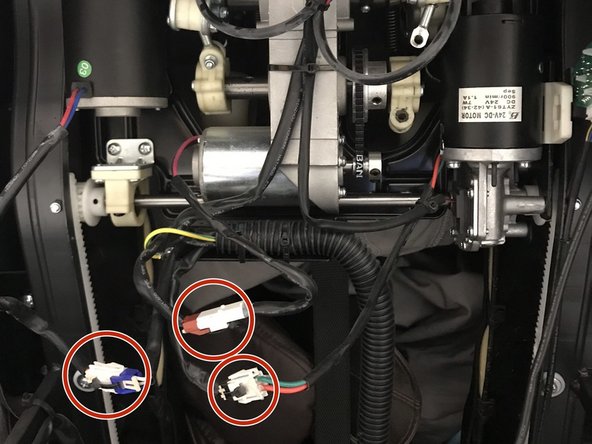
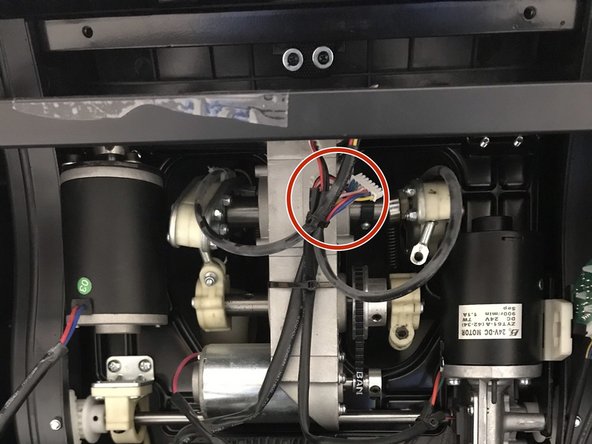
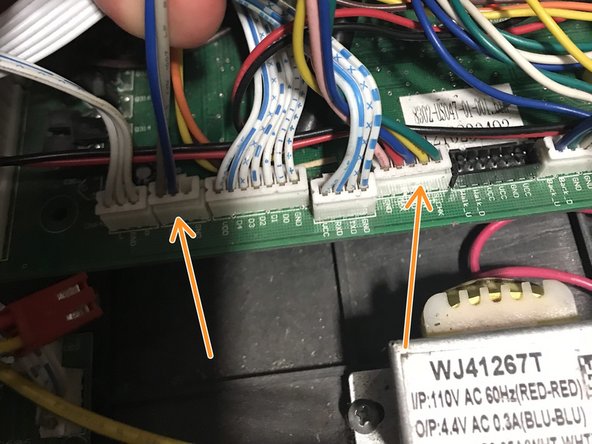
Now we need to disconnect the wire harness from the mechanism . Do this by simply unplugging the marked cables
-
-
Questo passaggio è privo di traduzione. Aiuta a tradurlo
-
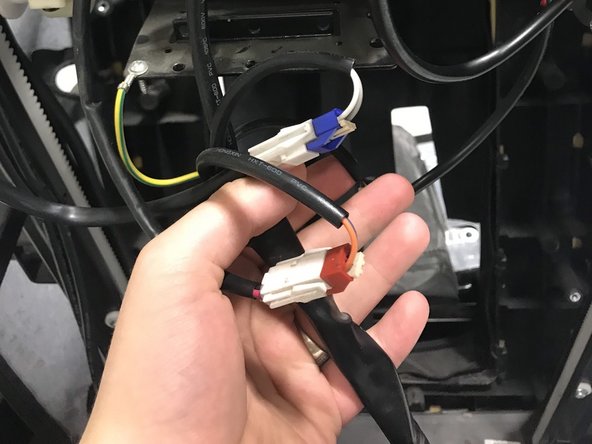
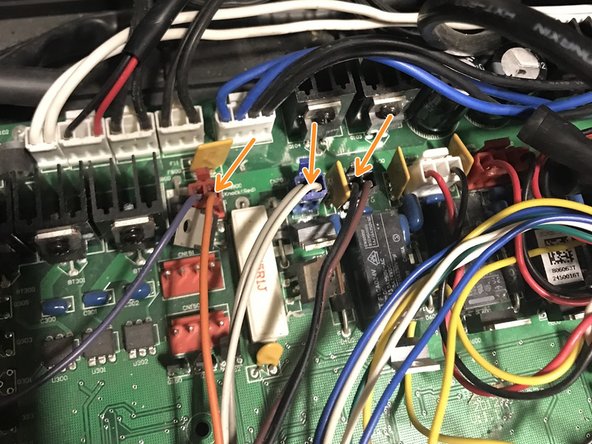
When replacing the wire harness you need to disconnect the upper portion of the harness from the mechanism and then locate the quick disconnect .
-
Quick disconnect
-
-
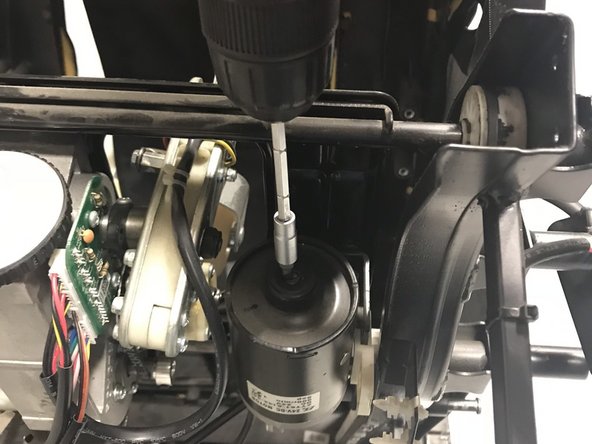
Questo passaggio è privo di traduzione. Aiuta a tradurlo
-
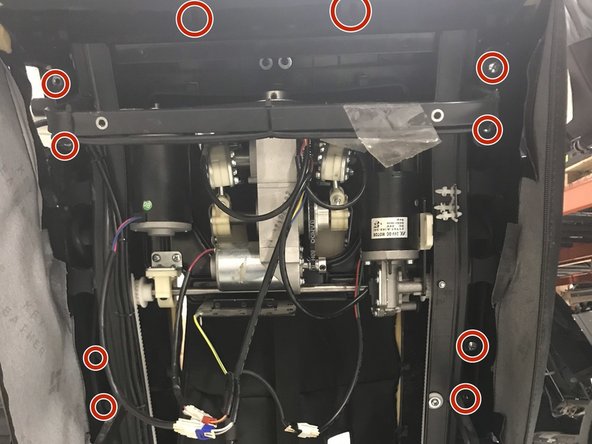
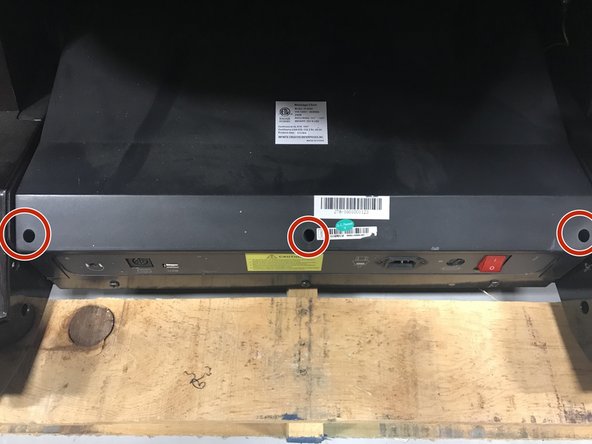
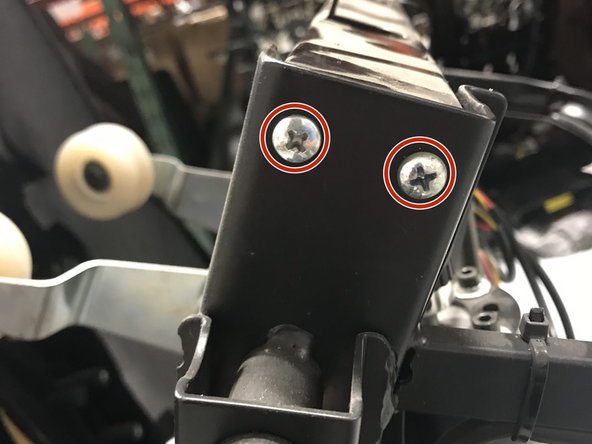
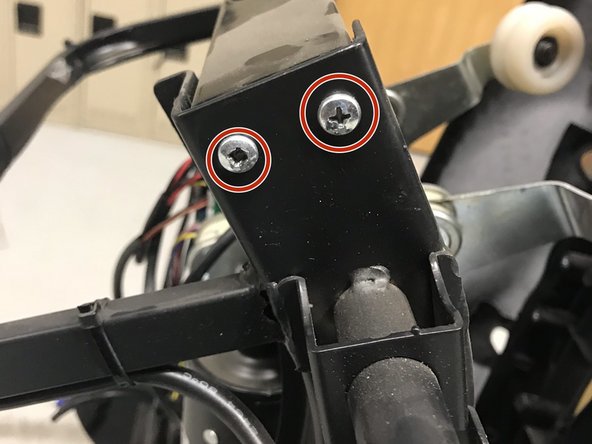
Remove the 3 screws
-
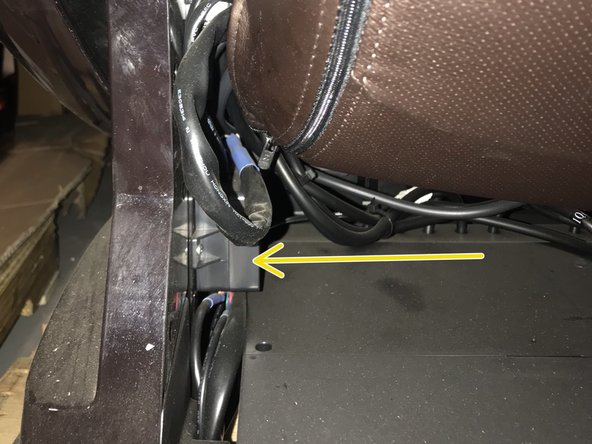
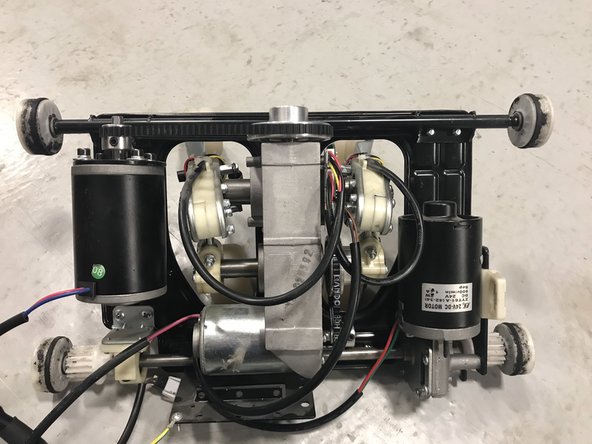
These are the locations of the the wires for the lower harness
-


2 Commenti
Infinity IT 8500 Massage Chair Remote , Anyone know the pin out on the 8-pin control panel dim? My pup chewed through it and of course It was thrown out ASAP RandyC