Introduzione
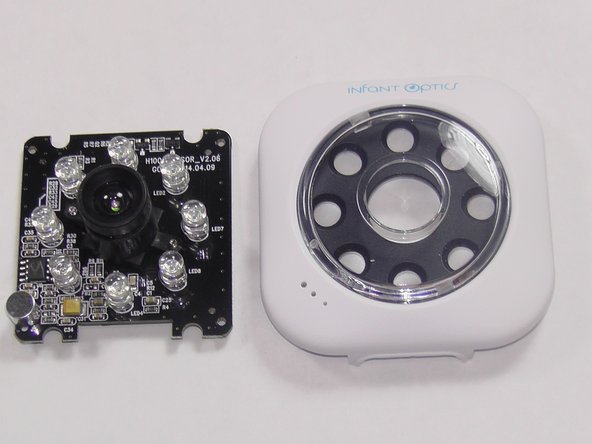
Ensure that the camera unit is unplugged prior to starting this guide.
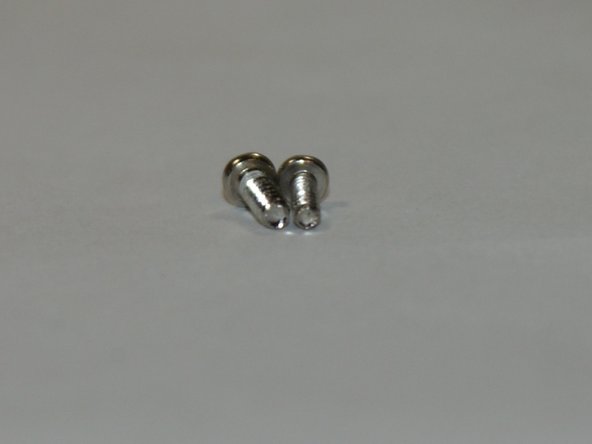
Secure screws to avoid losing them.
Screws are small and can pose a possible choking hazard for small children.
Cosa ti serve
-
-
Using a Phillips #2 screwdriver, remove the four, 6.0 mm Phillips screws from the back of the camera unit.
-
-
-
-
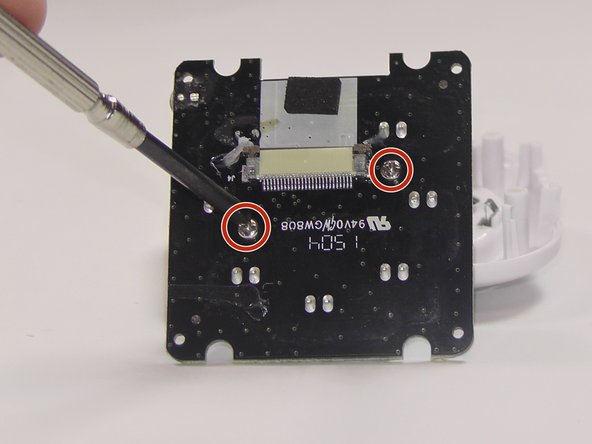
Using a Phillips #2 screwdriver, remove the two 6.0 mm Phillips screws that hold the camera lens on.
-


To reassemble your device, follow these instructions in reverse order.
To reassemble your device, follow these instructions in reverse order.
Team

USF Tampa, Team 6-2, Remmell Fall 2015 Membro di USF Tampa, Team 6-2, Remmell Fall 2015
USFT-REMMELL-F15S6G2
5 Membri
5 Guide realizzate