Introduzione
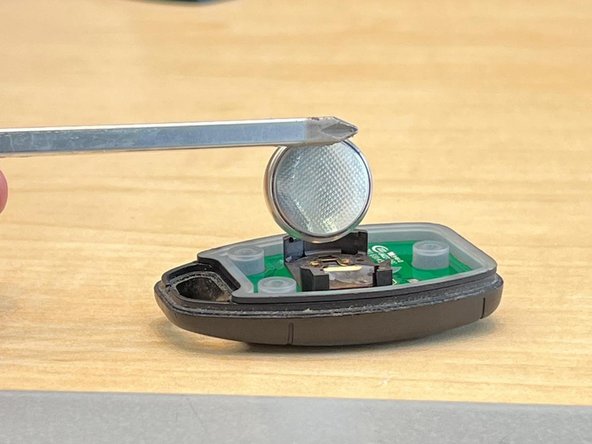
This guide provides steps for replacing the battery in a wireless radio frequency (RF) key fob remote for a car or home alarm system. Specifically, it covers the ICT RF-REM2-433 model key fob, which uses a replaceable CR2032 3V coin cell battery.
Replacing the battery can restore function if the key fob can no longer lock/unlock car doors or arm/disarm an alarm system. The process takes about 10-15 minutes and requires a new CR2032 battery and a Phillips #00 screwdriver.
Cosa ti serve


If the correct battery type was used (and installed with the correct polarity in mind), the fob should now function. If the fob still does not function, the circuit board may be broken.
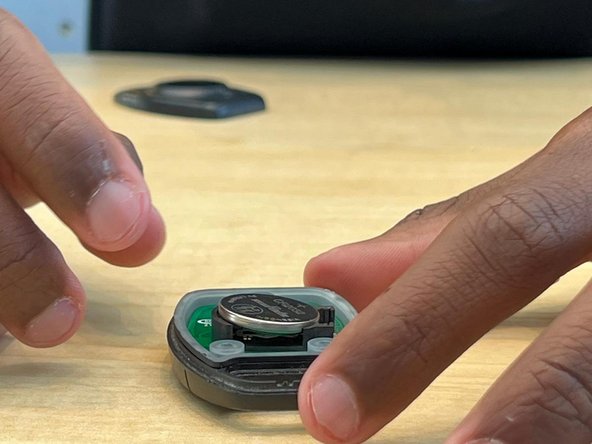
To reassemble your device, follow these instructions in reverse order.
NOTE:
Remember to dispose of the old battery properly according to local regulations. If you encounter any difficulties or if the keyfob doesn't function correctly after replacing the battery, it's recommended to contact the manufacturer or seek professional assistance.
If the correct battery type was used (and installed with the correct polarity in mind), the fob should now function. If the fob still does not function, the circuit board may be broken.
To reassemble your device, follow these instructions in reverse order.
NOTE:
Remember to dispose of the old battery properly according to local regulations. If you encounter any difficulties or if the keyfob doesn't function correctly after replacing the battery, it's recommended to contact the manufacturer or seek professional assistance.
Annulla: non ho completato questa guida.
Un'altra persona ha completato questa guida.
Team

York University, Team M-1, Allen Summer 2023 Membro di York University, Team M-1, Allen Summer 2023
YORK-ALLEN-SU23SMG1
2 Membri
1 Guida realizzata
3 Commenti
Thank you! You just made my day. I'm an 89 year old guy that needs some help sometimes. These fobs that they supply us for our underground parking garage in our retirement community don't seem to function very well. Thought I'd try changing batteries. Wish i could find a more powerful remote that would function with this system. We sometimes wonder if we are going to get in or out. They have had the overhead gate serviced a couple of times but it doesn't seem to help. thanks again, Arnie
Hi Arnie, thank you for your comment really appreciate it. Glad we could help you.