Questa guida ha delle modifiche più recenti. Passa all'ultima versione non verificata.
Introduzione
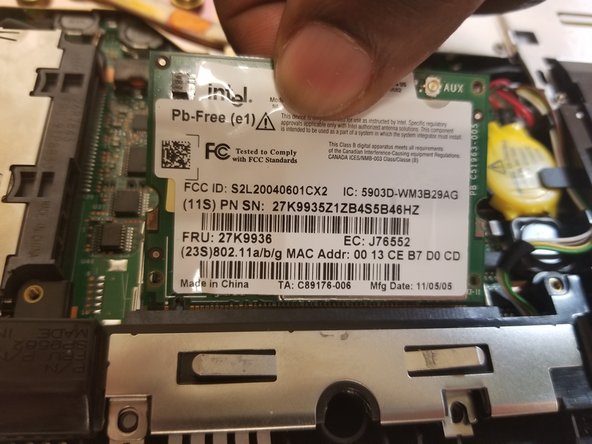
This Guide shows the how to remove and replace the WiFi Card of this device.
Cosa ti serve
-
-
Start with the laptop with the side with the logo facing down.
-
Next you will have to remove all the screws in the red circles
-
-


To reassemble your device, follow these instructions in reverse order.
To reassemble your device, follow these instructions in reverse order.
Annulla: non ho completato questa guida.
Altre 2 persone hanno completato questa guida.

Team

UMass Dartmouth, Team S6-G4, Bernier Spring 2018 Membro di UMass Dartmouth, Team S6-G4, Bernier Spring 2018
UMASSD-BERNIER-S18S6G4
4 Membri
10 Guide realizzate
2 Commenti
I need to know what's role of the cables AUX and MAIN because i cut one
AUX and MAIN cables are antenna cables. In this laptop there are two antennas, MAIN and AUX.
If you have a soldering iron, simply solder the two parts of the cable you cut and everything is gonna be fine.
I also recommend using shrink tubing to isolate the soldered part.
Note : laptop can work without this câble, but WiFi speed and stability will suffer.
If you can't solder the câble or can't by a new one, you can try to use only main by pluggin the only remaining antena câble to MAIN and leaving AUX unlpuged.
Brendan -