Introduzione
Accidents happen, and especially when hiking outdoors it's easy to tear a hole in woven items such a trousers. This guide will walk you through a simple and effective method of repairing a hole using an iron-on patch. Before you start, we recommend also looking at the guide for repairs using a self-adhesive patch, as a quick alternative when you're outside without access to an iron: How to repair a hole in woven textile (using a self adhesive patch)
➡️Before you get started, please check the safety disclaimer at the bottom of the page.
Cosa ti serve
-
-
Start by ensuring the damaged area is clean and free from any loose threads or debris.
-
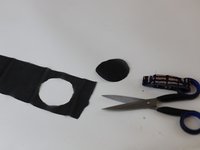
Prepare the iron-on patch.
-
Note: in this guide we are demonstrating with a high-stretch patch, to match the stretch of the trousers. There are many patches available, and you should pick a quality closely matching the original fabric.
-
-
-
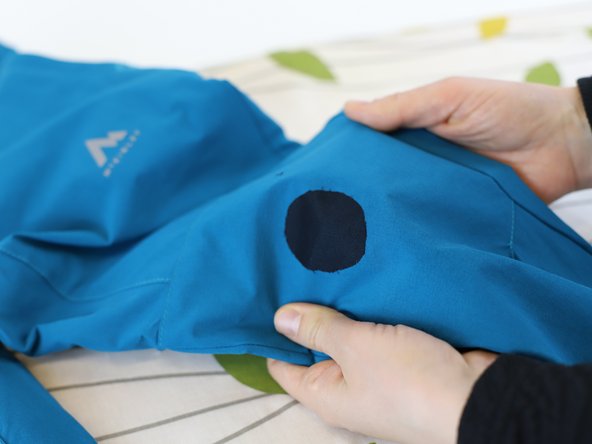
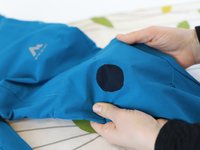
For this repair, we decided to put the patch on the inside of the garment; so the hole will remain slightly visible on the front but will be repaired.
-
Turn the item inside-out, and flatten the area to be repaired.
-
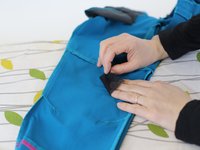
Cut the patch to size, ensuring it completely covers the damaged area. The patch should be 1cm larger than the hole on all sides.
-
-
-
-
Place the glue side of the badge against the fabric. This is often shiny, or with a different pattern.
-
Take care: If the patch is upside-down, the glue will melt directly to your iron and the patch will get stuck to it.
-
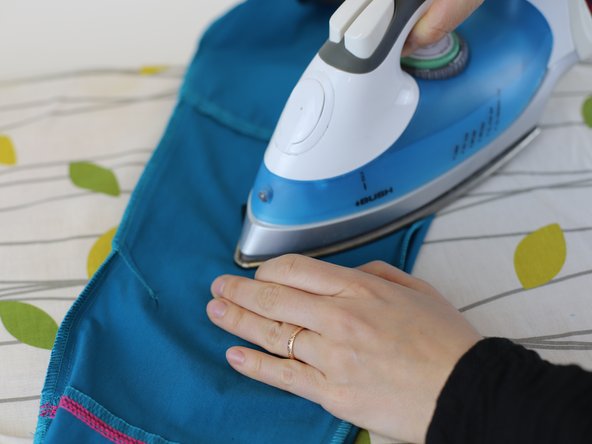
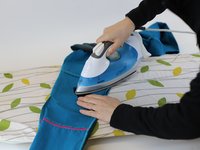
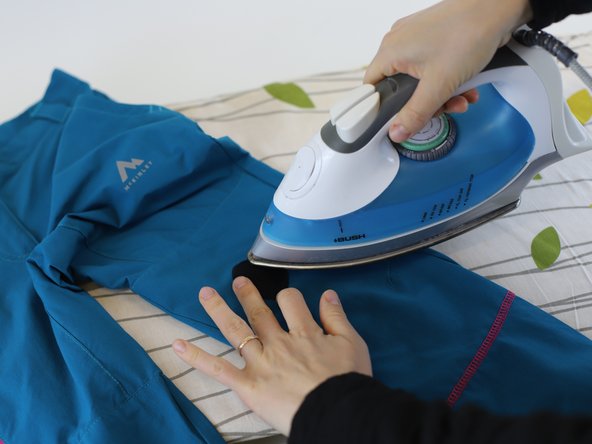
Preheat your iron to the maximum heat setting, suitable for your clothing item. Check the composition label for guidance and then adjust the iron accordingly.
-
Gently press the iron onto the cloth-covered patch, applying even pressure.
-
Move the iron in circular motions for about 15-30 seconds.
-
-
-
After ironing, let the patch cool for a few minutes.
-
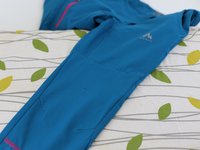
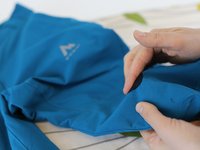
Once cooled, carefully check that the badge is properly fixed.
-
🛠️🏆👏 Congratulations! The repair is complete, and you're ready to go!
-
... however! If you'd like to make the repair extra secure follow the next two steps too.
-
-
-
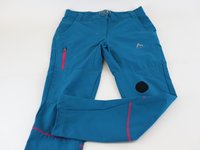
If you want to reinforce this repair, you can choose to add a additional patch on the outside.
-
We suggest to cut a shape with rounded corners to improve the fixation and durability.
-
Get creative: You might also like to cut a customized shape such as a leaf, bear, or heart. Wear it as a badge of pride, to remember the adventure that caused it!
-
-
-
🛠️🏆👏 Congratulations! The repair is complete, and you're ready to go!
-


In need of another repair? Don't worry! Check out our other guides to find quick solutions for your favourite clothing, footwear and equipment!
----------------------------------------
🚨🛠️🩹 IMPORTANT SAFETY NOTICE:
The repair guides provided on this site are intended to help you repair products on your own. While we have put a lot of care into them, all repair work carries some risk:
- Safety Precautions: When repairing your product, take all necessary precautions to ensure your safety. Use appropriate tools and follow the instructions carefully.
- Product Condition: Once your product has been repaired, it may not meet original compliance guidelines anymore and could potentially have issues.
- Liability: We are not responsible for any damage or injury that may occur during the repair process or as a result of using a repaired product. You, as the repairer, assume all risks and responsibilities associated with the repair.
By using these repair guides, you fully acknowledge and accept the potential risks and responsibilities involved.

Team
