Salta al contenuto principale
Unisciti alla Community delle riparazioni - Crea un account
How to fix the Oven Knob

How to fix the Oven Knob

Lovepreet Kaur

Lovepreet Kaur e un altro collaboratore

Ultimo aggiornamento il 13 dic 2023

5 minuti
Facile

Introduzione

Vai al passo 1

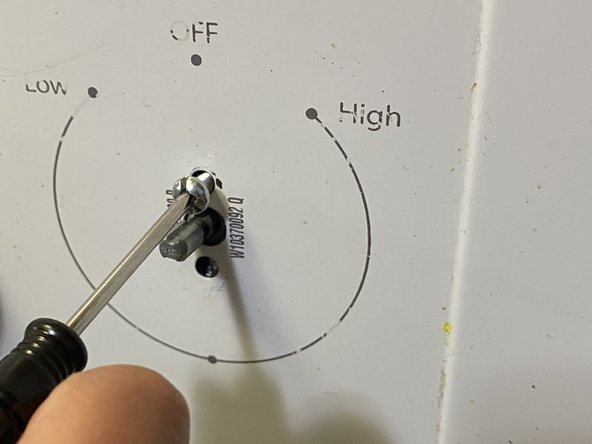
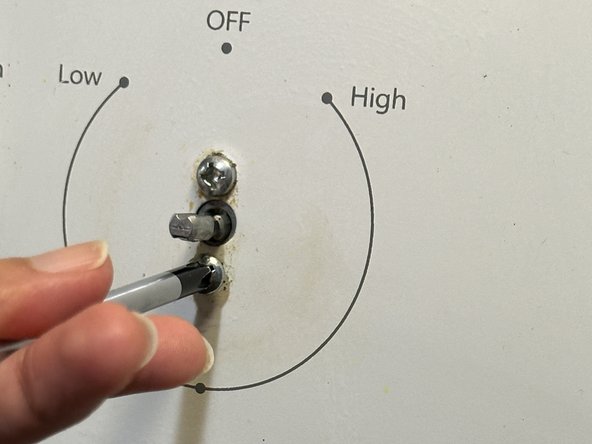
For my fast iFixit project, I would like to fix the oven knob. Sometimes, the oven knob gets struck or completely comes out or gets loose and doesn’t work. If the knob doesn’t work, we can’t even use the equipment because the knob is used to turn on and off and control temperature. Fixing the knob will be required to maintain the functionality of the Oven. So, rather than completely changing the oven, let's just fix the same oven knob or replace the new knob.

Cosa ti serve

Strumenti

  1. How to fix the Oven Knob, Oven Knob: passo 1, immagine 1 di 1
    • Remove the plug of the oven from the socket for safety reasons.

  2. How to fix the Oven Knob: passo 2, immagine 1 di 2 How to fix the Oven Knob: passo 2, immagine 2 di 2
    • If the knob is loose, the first step is to completely remove the oven knob.

    • To remove it completely, hold it firmly and pull it straight off the shaft.

    • Make sure the knob is in the off position.

  3. How to fix the Oven Knob: passo 3, immagine 1 di 3 How to fix the Oven Knob: passo 3, immagine 2 di 3 How to fix the Oven Knob: passo 3, immagine 3 di 3
    • If the screw is loosened beforehand, we first need to completely remove the screw from the shaft.

    • To remove the screw, use a Phillips #00 screwdriver to unscrew it from the shaft hole.

  4. How to fix the Oven Knob: passo 4, immagine 1 di 1
    • Pull the shaft out and hold the shaft firmly. You will see two holes above and below this shaft.

  5. How to fix the Oven Knob: passo 5, immagine 1 di 1
    • Now insert the screw in one of the holes.

  6. How to fix the Oven Knob: passo 6, immagine 1 di 3 How to fix the Oven Knob: passo 6, immagine 2 di 3 How to fix the Oven Knob: passo 6, immagine 3 di 3
    • Tighten the screw with a screwdriver and make sure the screw is tightly attached.

    • Repeat the same process for the other hole.

  7. How to fix the Oven Knob: passo 7, immagine 1 di 3 How to fix the Oven Knob: passo 7, immagine 2 di 3 How to fix the Oven Knob: passo 7, immagine 3 di 3
    • To fix the knob, slide the knob onto the shaft, aligning it with the D-shaped side of the shaft.

    • The front of the shaft is referred to as D-shaped because its shape resembles the letter D.

    • Now, with a little pressure, push on the shaft and affix the knob onto the shaft.

  8. How to fix the Oven Knob: passo 8, immagine 1 di 1
    • Test the button by turning on the gas supply, and ensure that the knob operates smoothly and ignites the burner.

Conclusione

This device is reassembled, follow these instructions in reverse order to disassemble.

Altre 2 persone hanno completato questa guida.

Team

1Commento della guida

I’ve fixed this on mine several times now, but now the screw won’t tighten on one of them? Almost like whatever it gets screwed into isn’t there? Any idea on what is, not sure it’s worth opening up the back to see if something fell off.

AMKSNAPS - Replica

Aggiungi Commento

Visualizza Statistiche:

Ultime 24 Ore: 4

Ultimi 7 Giorni: 9

Ultimi 30 Giorni: 32

Tutti i Tempi: 588