Introduzione
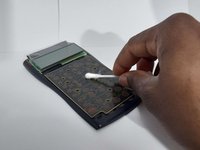
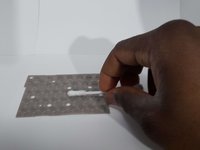
If your Texas Instruments Calculator(model TI-30XIIS) buttons are sticky/stuck. Most likely, the calculator's keyboard membrane and sensor are dirty and require cleaning.
Keeping buttons from sticking and removing the sticking is easy and simple with a little cleaning. Fixing the issue at the source saves money and unnecessary tech waste rather than getting rid of a difficult-to-use calculator.
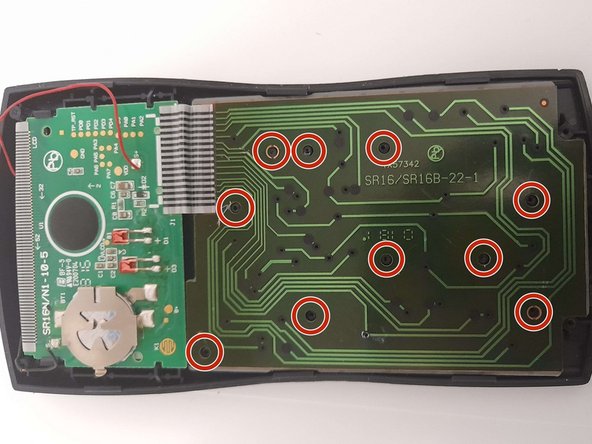
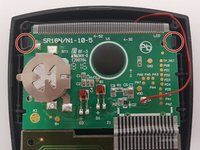
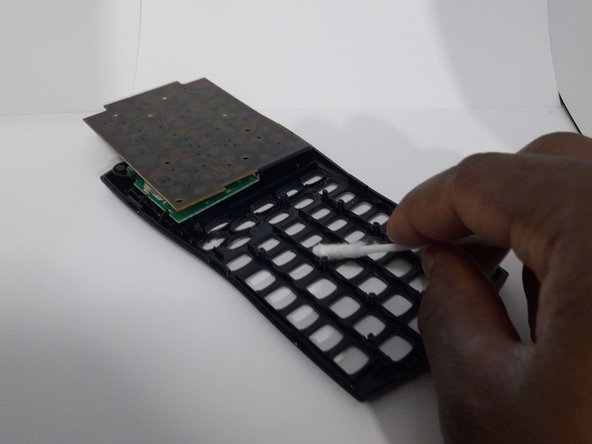
Although in step 6 we will be removing the circuit board, it does not require any soldering since we will not be disconnecting any connected wires from the calculator.
Make sure to turn off the calculator before beginning.
Cosa ti serve
-
-
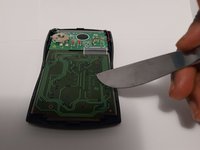
Use the #0 Phillips screwdriver to remove the 4 screws at the back of the calculator
-
-


To reassemble your device, follow these instructions in reverse order.
Annulla: non ho completato questa guida.
Altre 2 persone hanno completato questa guida.