Salta al contenuto principale

How to clean Panasonic SA-HT810V DVD Optical Head

Cosa ti serve

  1. How to clean Panasonic SA-HT810V DVD Optical Head, How to clean Panasonic SA-HT810V DVD Optical Head: passo 1, immagine 1 di 3 How to clean Panasonic SA-HT810V DVD Optical Head, How to clean Panasonic SA-HT810V DVD Optical Head: passo 1, immagine 2 di 3 How to clean Panasonic SA-HT810V DVD Optical Head, How to clean Panasonic SA-HT810V DVD Optical Head: passo 1, immagine 3 di 3
    • With the front display of the device facing you, rotate the device 90 degrees counter clockwise.

    • Remove the screw that is on the right side of the panel facing you.

    • Now rotate the device 180 degrees and remove the second screw.

    • Remove all screws with a phillips head screwdriver.

  2. How to clean Panasonic SA-HT810V DVD Optical Head: passo 2, immagine 1 di 2 How to clean Panasonic SA-HT810V DVD Optical Head: passo 2, immagine 2 di 2
    • Rotate the device so that the back faces you.

    • With a phillips head screw driver, locate and remove the 12 screws highlighted by the red circles in image one.

  3. How to clean Panasonic SA-HT810V DVD Optical Head: passo 3, immagine 1 di 1
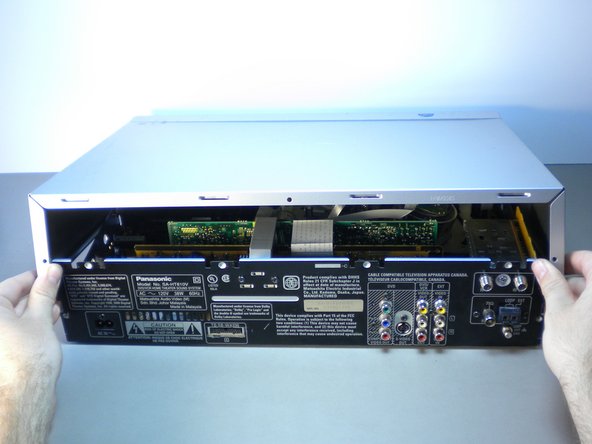
    • Before removing cover make sure that the back of the device is facing you.

    • Remove the top cover by bending out on the sides, and pulling the cover towards you while applying upward pressure.

  4. How to clean Panasonic SA-HT810V DVD Optical Head: passo 4, immagine 1 di 3 How to clean Panasonic SA-HT810V DVD Optical Head: passo 4, immagine 2 di 3 How to clean Panasonic SA-HT810V DVD Optical Head: passo 4, immagine 3 di 3
    Attrezzo utilizzato in questo passaggio:
    Microfiber Cleaning Cloths
    $3.99
    Compra
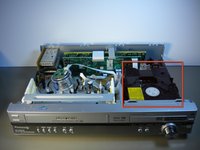
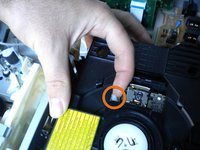
    • Before cleaning DVD lens, make sure that the front of the device is facing towards you.

    • Note that the DVD component of the device is boxed in red.

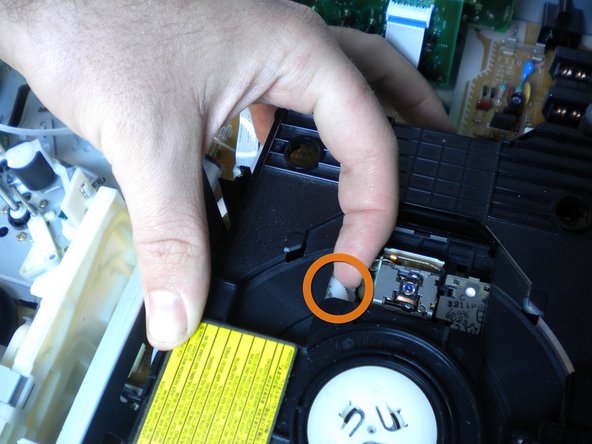
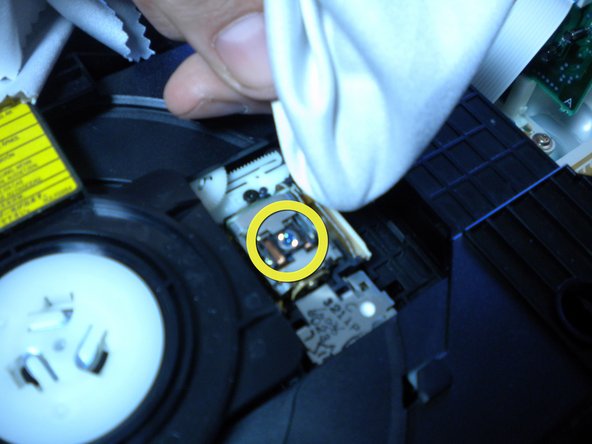
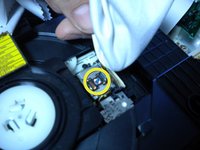
    • To access the DVD lens, spin the gear circled in image two counter-clockwise until the lens is exposed.

    • Clean the lens by GENTLY rubbing with a microfiber cloth and a cleaning solution of your choice.

Conclusione

To reassemble your device, follow these instructions in reverse order.

Team

Cal Poly, Team 16-5, Maness Spring 2010 Membro di Cal Poly, Team 16-5, Maness Spring 2010

CPSU-MANESS-S10S16G5

4 Membri

7 Guide realizzate

0 Commenti

Aggiungi Commento

Visualizza Statistiche:

Ultime 24 Ore: 1

Ultimi 7 Giorni: 2

Ultimi 30 Giorni: 3

Tutti i Tempi: 2,265