Introduzione
Welcome to the Dried Clay Repair Guide!
If you're facing issues with your clay or just want to perform regular maintenance, you've come to the right place. This guide will provide you with step-by-step instructions to help you restore your clay to a workable and creative state.
Keeping your clay in optimal condition is crucial. By following this guide, you can save money by avoiding continually buying extra clay and ensure that your clay stays in optimal condition. Our clear and detailed instructions will make the restoration process easy to follow.
Why Maintenance is Important
Proper clay maintenance extends the life of your materials, saves money, and ensures that your artistic process has less interruption. Regular care prevents common issues like dryness and brittleness, which can compromise the quality of your creations.
Potential Hazard
- Avoid breathing in clay dust, which can be harmful to your lungs. Work in a well-ventilated area and consider wearing a dust mask if necessary.
- Keep your workspace clean to prevent slipping or tripping hazards.
- Use the tools carefully to avoid any harm from using a mallet or a dull metal knife.
By following our clear and detailed instructions, the restoration process will be easy to follow, allowing you to maintain your clay in top condition for your artistic process.
Cosa ti serve
-
-
Break apart the dried clay into small pieces using a hard sturdy object, such as a mallet or a dull metal knife.
-
-


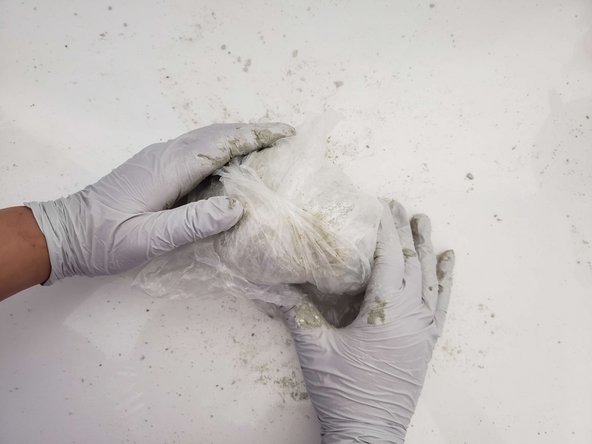
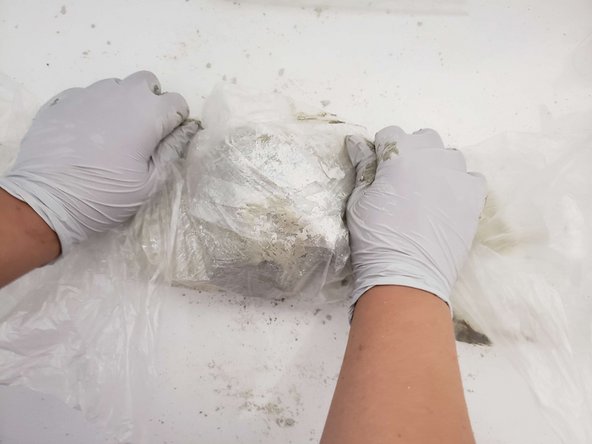


Keep your clay tightly wrapped up or placed within an air tight container to keep it from drying out again. Adding water onto the clay also helps to keep it soft and manageable.
Annulla: non ho completato questa guida.
Altre 2 persone hanno completato questa guida.

Team

UC Davis, Team 4-7, Whithaus Spring 2024 Membro di UC Davis, Team 4-7, Whithaus Spring 2024
UCD-WHITHAUS-S24S4G7
3 Membri
1 Guida realizzata