Introduzione
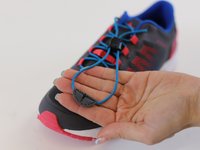
Speedlace systems are really useful for giving a secure fit on performance sport shoes. But over time, the lace can get strained and sometimes snap. But that's not the end for your favourite pair of shoes!
This guide has two parts:
1) A simple fix without a sewing machine
2) An extra fix using a sewing machine.
➡️Before you get started, please check the safety disclaimer at the bottom of the page.
Cosa ti serve
-
-
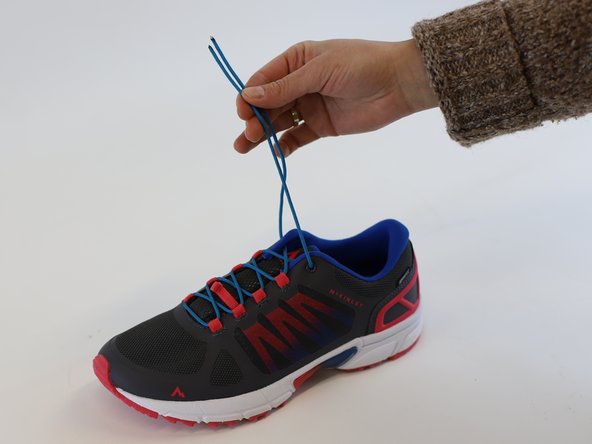
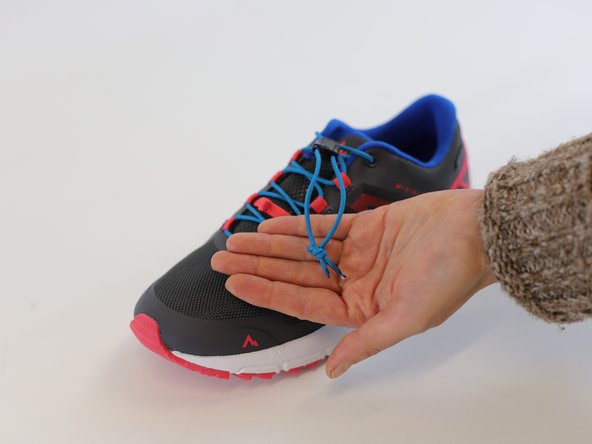
Locate the damaged part of the old draw cord in your shoe.
-
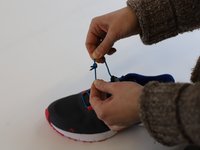
Prepare for removing the plastic stopper, by cutting the lace behind the stopper.
-
Tip: If the cord is tangled or stuck, use a safety pin or needle to carefully guide it out.
-
-
-
Remove the plastic stopper but pulling it off from the lace and then remove the broken lace from the shoe.
-
Tip: The next stage requires re-threading the new lace. Check already here, if the new lace is the correct length. Lay the old and new laces together to check this.
-
-
-
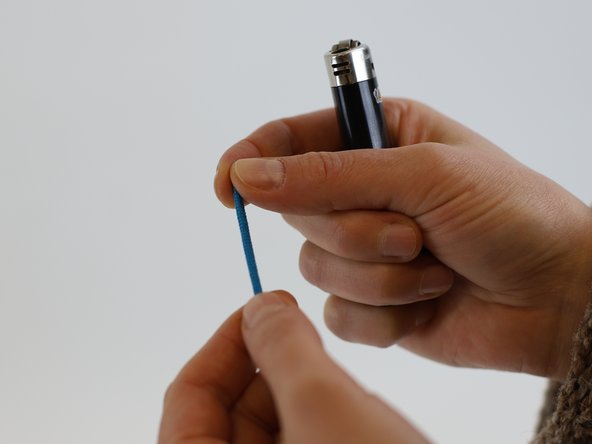
If you use a replacement lace cord, which doesn't have lace tips or where the lace tips are too big, you will need to seal (melt) the tips before threading them through the stopper.
-
TAKE CARE!: Use a lighter to slightly melt the material of the lace tip. The flame does not need to touch the lace directly, only to melt the fibres through indirect heat. Only do this in a safe environment and under supervision if needed.
-
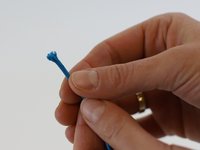
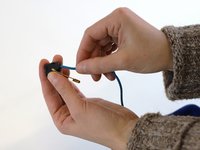
While the lace tips are still semi-melted, press each tip together with your fingers while twisting gently to create a thin, rounded ending.
-
-
-
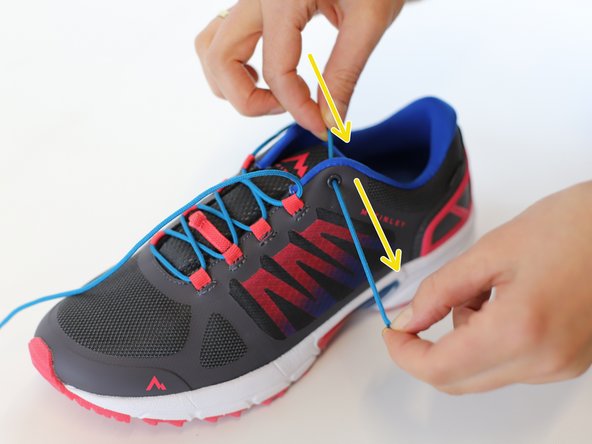
Insert the replacement lace into the first laceholder.
-
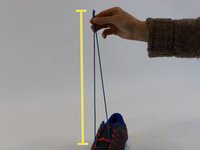
Check that you've got the same length on both sides before continuing - do this by holding both ends together and pulling up high.
-
Continue threading the next laceholder pair, and then the next, until the top and check whether the lace has been threaded correctly.
-
Tip: Make a final check if the lace length is similar on both sides.
-
-
-
-
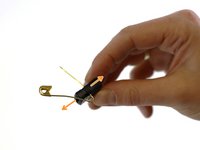
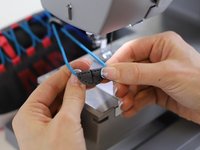
The next step is to re-thread the stopper onto the lace; but this can be challenging since the stopper is probably spring-loaded, and different brands use different stopper designs.
-
For this example, we used the needle of a safety pin to keep the stopper open, while threading the lace.
-
Thread in the lace tip through the opened stopper and then push the rest of the lace through.
-
Tip: If you've got issues, pushing the lace tip through the stopper, you can use a safety pin or a seam ripper for support.
-
-
-
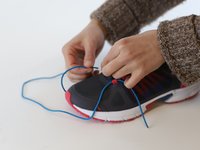
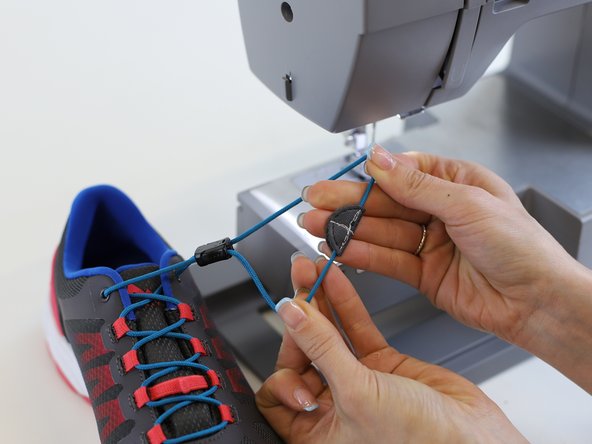
Once the stopper is inserted onto both laces, all that's left to do is secure the lace ends with a knot. There are two options:
-
1️⃣ If you want to keep it simple, make two knots at the end of the two laces and you ensure, that the laces won't be pushed out of the stopper.
-
2️⃣ Or, you can also tie the 2 lace endings together with a knot. The resulting loop will avoid the lace from being pushed out of the stopper.
-
Tip: To move onto the second fix, you will need to use option 2
-
🛠️🏆👏 Congratulations! The first repair is complete, and you can leave it here if you wish to, and go back hiking/training!
-
-
-
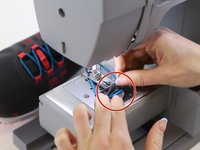
Use a "seam ripper" tool to remove the original stitching and open the folded fabric patch (red circle).
-
-
-
In our example, the original speedlace was connected at the ends with a fabric pulling patch. We will re-attach it in now, using the sewing machine.
-
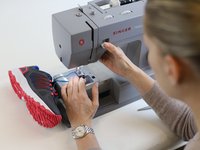
Wrap the patch around the lace endings and place it onto the sewing machine. The open side (red circle) should point towards you.
-
Push lace endings against each other in the middle of the patch, so that there is no gap.
-
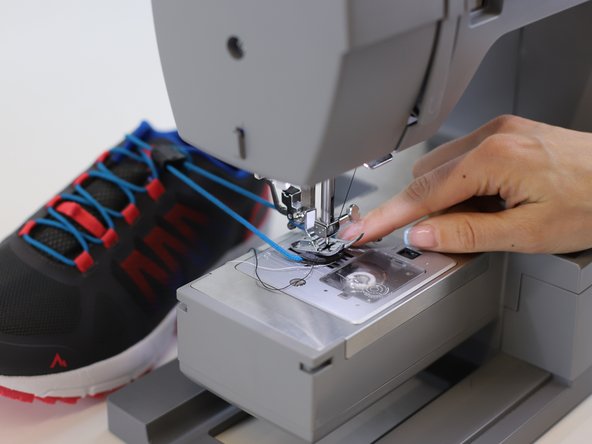
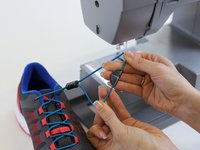
Sew along the middle of the patch with a single straight stitch. The goal is to sew through both laces at the same time, and "tack" everything in place for the next step.
-
-
-
Next, stitch along the long straight edge, which will again sew through the fabric patch and the laces inside it.
-
Now, seal the final "open" sides of the patch with another stitch line. In our example, this stitch was a rounded semi-circle line, which can be fiddly. Take your time!
-
Use a locking stitch to secure the repair, trim the excess thread and adjust the tightness of the speedlace to your preference.
-
-
-
🛠️🏆👏 Congratulations! The repair is complete, and you're ready to go!
-


In need of another repair? Don't worry! Check out our other guides to find quick solutions for your favourite clothing, footwear and equipment!
----------------------------------------
🚨🛠️🩹 IMPORTANT SAFETY NOTICE:
The repair guides provided on this site are intended to help you repair products on your own. While we have put a lot of care into them, all repair work carries some risk:
- Safety Precautions: When repairing your product, take all necessary precautions to ensure your safety. Use appropriate tools and follow the instructions carefully.
- Product Condition: Once your product has been repaired, it may not meet original compliance guidelines anymore and could potentially have issues.
- Liability: We are not responsible for any damage or injury that may occur during the repair process or as a result of using a repaired product. You, as the repairer, assume all risks and responsibilities associated with the repair.
By using these repair guides, you fully acknowledge and accept the potential risks and responsibilities involved.

Team

1Commento della guida
Klingt gut, die meisten Schnellschnürsystem sind unbrauchbar. Diese Anleitung führte nicht zum Erfolg. Die Schnürsenkel lassen sich trotz allem Versuchen nicht in den Federverschluss einführen... obwohl das Original verwendet wurde, welches tadellos funktionierte, bis eine Seite zu fest gezogen wurde und rausrutschte..