Salta al contenuto principale
Unisciti alla Community delle riparazioni - Crea un account
How to Replace a BHG Digital Clock Screen

How to Replace a BHG Digital Clock Screen

Joselyn Vazquez

Joselyn Vazquez e 2 altri collaboratori

Ultimo aggiornamento il 15 ott 2024

20 minuti
Facile
Guida Studente in Evidenza

Introduzione

Vai al passo 1

With digital clocks becoming more common, most people notice as time goes on, the numbers on the screen start to fade. They change the batteries but realize that the problem might be a result of the display screen being broken. Most people will just buy a new one but our guide will show how easy it is to replace the screen so your problem will be fixed and save you money.

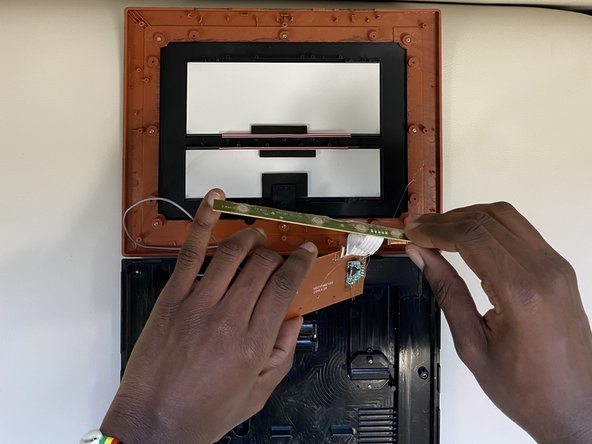
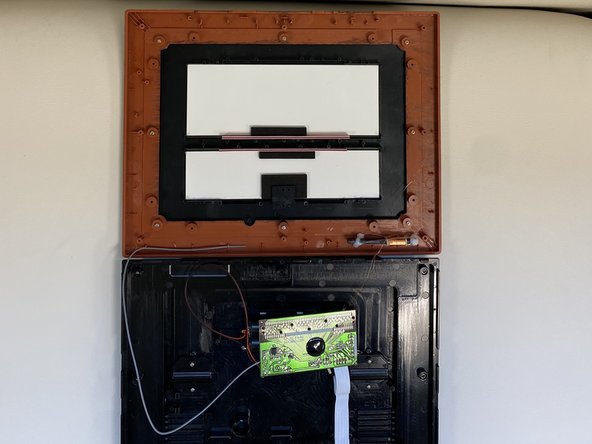
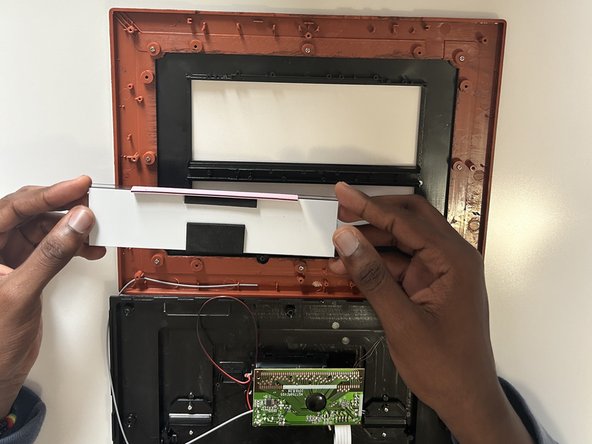
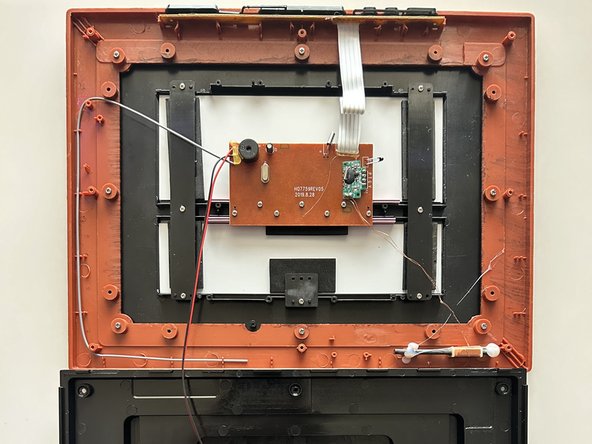
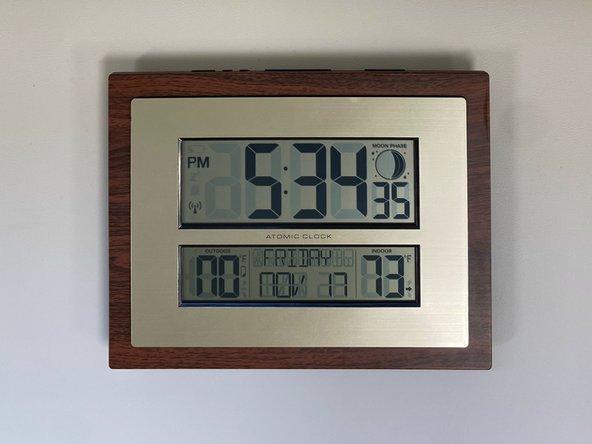
In this guide, you will learn how to replace a BHG digital clock screen. We will show a step-by-step procedure on how to carefully open the clock using a Phillips screw and take out the old screen to replace it with a new one.

Before starting, get a new display screen for the Better Home & Garden clock.

Cosa ti serve

Strumenti

Mostra di più…

  1. How to Replace a BHG Digital Clock Screen, Screen of a Digital Clock: passo 1, immagine 1 di 2 How to Replace a BHG Digital Clock Screen, Screen of a Digital Clock: passo 1, immagine 2 di 2
    • Remove the batteries from the back of the clock.

  2. How to Replace a BHG Digital Clock Screen: passo 2, immagine 1 di 3 How to Replace a BHG Digital Clock Screen: passo 2, immagine 2 di 3 How to Replace a BHG Digital Clock Screen: passo 2, immagine 3 di 3
    • Unscrew the eight 10 mm Philips #1 screws in the back frame.

    • Remove the back frame.

    • Take out the fourteen Phillips #0 8 mm screws on the circuit board and the plastic bars that hold the screens.

  3. How to Replace a BHG Digital Clock Screen: passo 3, immagine 1 di 3 How to Replace a BHG Digital Clock Screen: passo 3, immagine 2 di 3 How to Replace a BHG Digital Clock Screen: passo 3, immagine 3 di 3
    • Carefully remove both the top and middle circuit boards together away from the screen.

  4. How to Replace a BHG Digital Clock Screen: passo 4, immagine 1 di 3 How to Replace a BHG Digital Clock Screen: passo 4, immagine 2 di 3 How to Replace a BHG Digital Clock Screen: passo 4, immagine 3 di 3
    • Remove display screen at the top and the bottom.

  5. How to Replace a BHG Digital Clock Screen: passo 5, immagine 1 di 2 How to Replace a BHG Digital Clock Screen: passo 5, immagine 2 di 2
    • Place the new display screens on the clock.

  6. How to Replace a BHG Digital Clock Screen: passo 6, immagine 1 di 3 How to Replace a BHG Digital Clock Screen: passo 6, immagine 2 di 3 How to Replace a BHG Digital Clock Screen: passo 6, immagine 3 di 3
    • Align the circuit board to the pink rubbery connectors.

    • Screw everything back together.

Conclusione

Insert batteries to see if the new display works correctly.

Joselyn Vazquez

Membro da: 10/25/23

133 Reputazione

1 Guida realizzata

Team

0Commenti sulla guida

Aggiungi Commento

Visualizza Statistiche:

Ultime 24 Ore: 0

Ultimi 7 Giorni: 2

Ultimi 30 Giorni: 16

Tutti i Tempi: 406