Introduzione
Use this guide to fix the keys on you iPad Pro 12.9-inch magic keyboard.
If you own a 12.9 inch iPad Pro Magic Keyboard, you may experience stickiness with the keys which hinder your ability to type efficiently and can cause your keyboard to stop functioning properly. In some cases, it might cause your keyboard to fully crash. Before you consider purchasing a new keyboard, there are steps you can take to fix it which are provided in this guide.
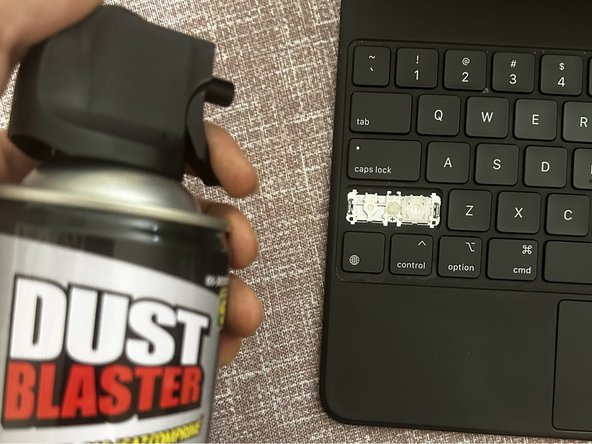
Following these instructions take about 15 to 30 minutes and is relatively easy to do. You will need a few tools such as a flat-head screw driver, a brush and a dust blaster.This instruction will show you how to safely remove the keys in your Magic Keyboard and clean the area under the keys.
By following these simple instructions, you can restore your keyboard's functionality and get back to typing smoothly in no time. Whether you're using your iPad Pro for work or leisure, fixing your sticky keys can greatly improve your overall experience.
Before using this guide, make sure to review the Troubleshooting page. Sometimes a keyboard stops functioning because of a software issue and can be fixed without taking out the keys.
Cosa ti serve
-
-
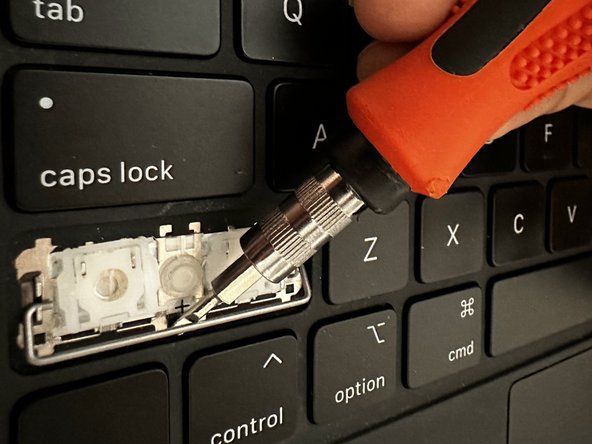
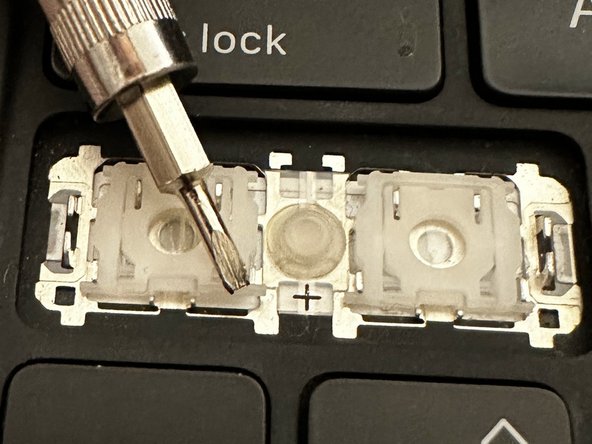
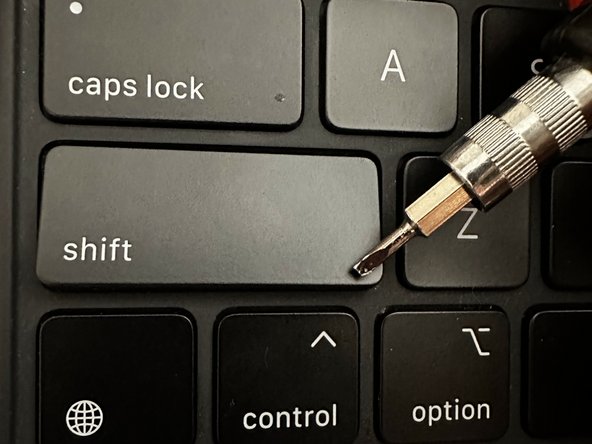
Hold the screwdriver vertically so that the flat end is facing the side of the key.
-
-


To reassemble your device, follow these instructions in reverse order.
To reassemble your device, follow these instructions in reverse order.
Annulla: non ho completato questa guida.
Altre 4 persone hanno completato questa guida.

Team

York University, Team O-4, Woodhouse Winter 2023 Membro di York University, Team O-4, Woodhouse Winter 2023
YORK-WOODHOUSE-W23SOG4
1 Membro
1 Guida realizzata
3 Commenti
A word of warning, not all key caps go back like this.
The top left key (double-s thing), right square bracket, backslash key, left control, left option, right option and the little cursor arrows (I think that's all) go in differently. If you use the above technique, they will break.
There are two 'hooks' and two 'clips'
For these, the 'hook' is reversed and at two corners of the key-cap. This means you have to insert the key cap vertically behind the butterfly mechanism to let the butterfly-lugs engage the 'hooks', then fold the key cap down flat onto the butterfly so the 'clips' lock onto the other pair of butter=fly lugs.
Most are the 'reverse hooks. at the top edge of the key-cap, so two top corners, with 'clips' at bottom edge of key-cap, but the cursor arrows are mostly "hooks" on left (iirc) and 'clips on right; the up and down arrows are reversed, and I can't remember which way round, so you do need to check carefully.