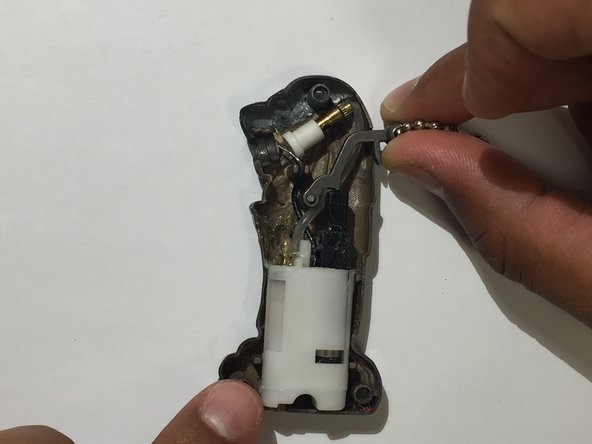
Salta al contenuto principale

How to Repair the Sparker on a Merlion Mini Torch

Cosa ti serve

  1. How to Repair the Sparker on a Merlion Mini Torch, How to Repair the Sparker on a Merlion Mini Torch: passo 1, immagine 1 di 3 How to Repair the Sparker on a Merlion Mini Torch, How to Repair the Sparker on a Merlion Mini Torch: passo 1, immagine 2 di 3 How to Repair the Sparker on a Merlion Mini Torch, How to Repair the Sparker on a Merlion Mini Torch: passo 1, immagine 3 di 3
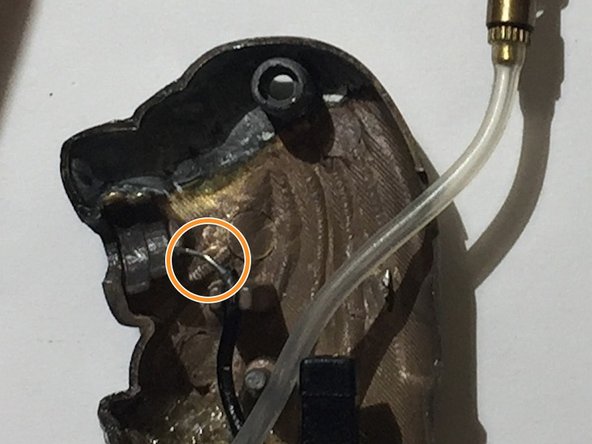
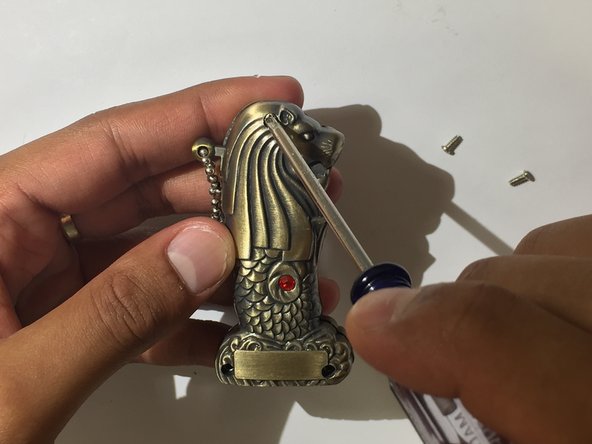
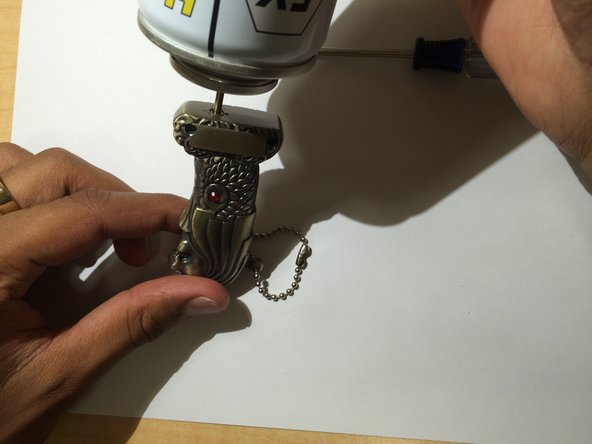
    • Use the screwdriver to remove all the 1.2 mm Phillips #1 countersunk screws from the torch.

  2. How to Repair the Sparker on a Merlion Mini Torch: passo 2, immagine 1 di 2 How to Repair the Sparker on a Merlion Mini Torch: passo 2, immagine 2 di 2
    • Open up the torch.

    • Set aside the empty side of the torch.

  3. How to Repair the Sparker on a Merlion Mini Torch: passo 3, immagine 1 di 3 How to Repair the Sparker on a Merlion Mini Torch: passo 3, immagine 2 di 3 How to Repair the Sparker on a Merlion Mini Torch: passo 3, immagine 3 di 3
    • Pull the handle down as if you were to use the torch.

    • You will see one of the parts inside spark. This is the sparker.

    • Now gently remove the handle and set it aside.

  4. How to Repair the Sparker on a Merlion Mini Torch: passo 4, immagine 1 di 2 How to Repair the Sparker on a Merlion Mini Torch: passo 4, immagine 2 di 2
    • Grab your pliers and GENTLY tug the sparker towards the Merlion head until it is extended about a centimeter.

  5. How to Repair the Sparker on a Merlion Mini Torch: passo 5, immagine 1 di 2 How to Repair the Sparker on a Merlion Mini Torch: passo 5, immagine 2 di 2
    • Gently bend the sparker until it is positioned near the opening of the Merlion's mouth.

  6. How to Repair the Sparker on a Merlion Mini Torch: passo 6, immagine 1 di 3 How to Repair the Sparker on a Merlion Mini Torch: passo 6, immagine 2 di 3 How to Repair the Sparker on a Merlion Mini Torch: passo 6, immagine 3 di 3
    • Grab the tube and gently bend it so it faces the opening of the Merlion's mouth.

    • Put the handle back on the torch.

  7. How to Repair the Sparker on a Merlion Mini Torch: passo 7, immagine 1 di 3 How to Repair the Sparker on a Merlion Mini Torch: passo 7, immagine 2 di 3 How to Repair the Sparker on a Merlion Mini Torch: passo 7, immagine 3 di 3
    • Take the empty half of the torch and place it over the other half.

  8. How to Repair the Sparker on a Merlion Mini Torch: passo 8, immagine 1 di 3 How to Repair the Sparker on a Merlion Mini Torch: passo 8, immagine 2 di 3 How to Repair the Sparker on a Merlion Mini Torch: passo 8, immagine 3 di 3
    • Use the screwdriver to put the screws back in the torch.

  9. How to Repair the Sparker on a Merlion Mini Torch: passo 9, immagine 1 di 2 How to Repair the Sparker on a Merlion Mini Torch: passo 9, immagine 2 di 2
    • Hold the torch upside down and position the butane above the torch's hole.

    • Gently press down for five seconds.

Conclusione

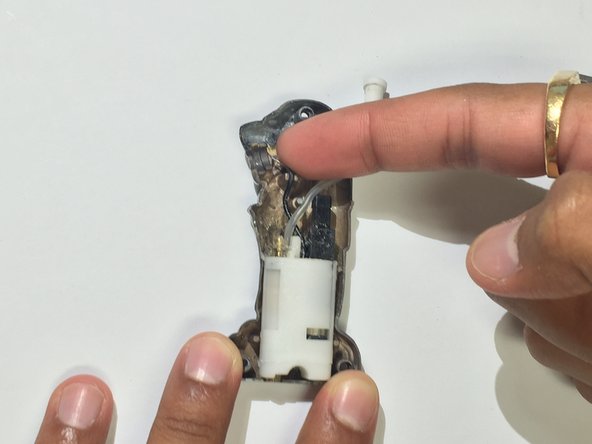
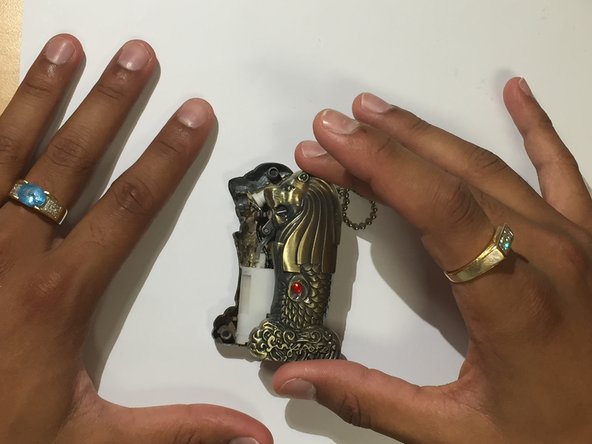
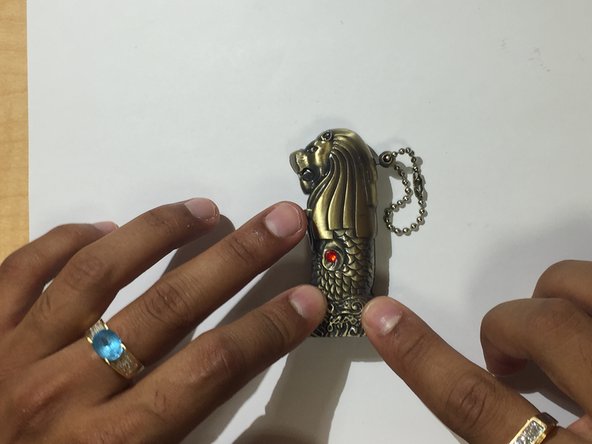
Congrats! Now you can use your Merlion torch again.

Altre 3 persone hanno completato questa guida.

Neel Kogali

Membro da: 09/29/15

200 Reputazione

1 Guida realizzata

Team

Cal Poly, Team 14-3, Green Fall 2015 Membro di Cal Poly, Team 14-3, Green Fall 2015

CPSU-GREEN-F15S14G3

4 Membri

5 Guide realizzate

0 Commenti

Aggiungi Commento

Visualizza Statistiche:

Ultime 24 Ore: 2

Ultimi 7 Giorni: 9

Ultimi 30 Giorni: 23

Tutti i Tempi: 7,557