Salta al contenuto principale
How to Repair a Whiteboard Frame

How to Repair a Whiteboard Frame

Jelena Drca

Jelena Drca e 3 altri collaboratori

Ultimo aggiornamento il May 21, 2024

1 giorno
Moderato

Introduzione

Vai al passo 1

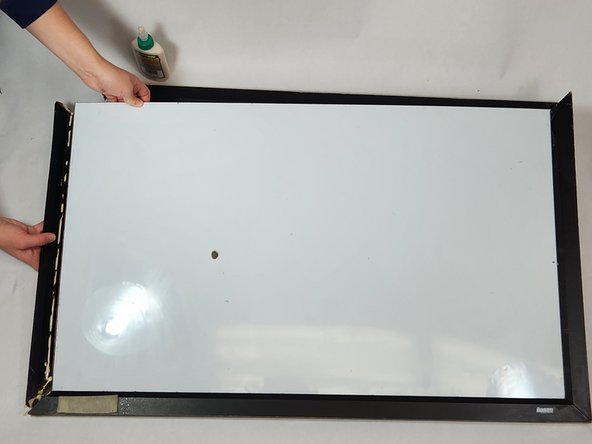
For our project, we would like to document the fix of a whiteboard frame left outside and damaged by weather elements. Over time, leaving the whiteboard out has resulted in its inevitable falling apart at its corner joints and paint damage. We will show people how to fix a whiteboard damaged in this way to its original state.

We believe this guide is needed because whiteboard frames tend to be very fragile and can break easily and disconnect from the whiteboard itself. Whiteboards are used a lot in classrooms, workplaces, at home, and within communities, so we believe a tutorial on how to repair them would be helpful. This whiteboard, in particular, has been important to community outreach so it will help bring people together when it is fixed. This guide can also help towards sustainability by giving readers a way to repair a still-functioning whiteboard and not just go out and buy a new one.

  1. How to Repair a Whiteboard Frame, How to Repair a Whiteboard Frame: passo 1, immagine 1 di 1
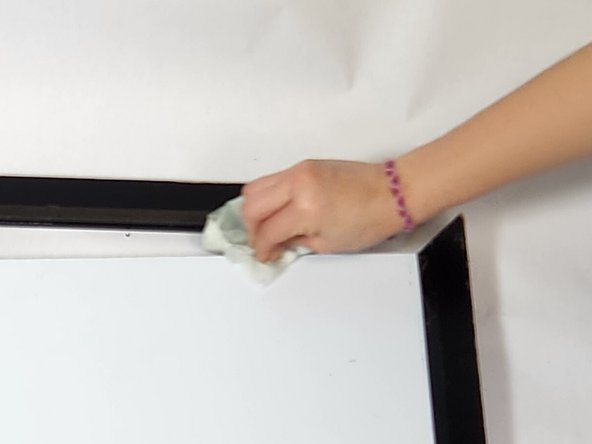
    • Gather all your tools which are listed in the tool area.

  2. How to Repair a Whiteboard Frame: passo 2, immagine 1 di 2 How to Repair a Whiteboard Frame: passo 2, immagine 2 di 2
    • Start by applying Goo Gone onto a paper towel to remove any sticky residue from the outside of the whiteboard.

  3. How to Repair a Whiteboard Frame: passo 3, immagine 1 di 3 How to Repair a Whiteboard Frame: passo 3, immagine 2 di 3 How to Repair a Whiteboard Frame: passo 3, immagine 3 di 3
    • Clean the surface using a multipurpose cleaner safe for wood to remove any remaining residue and debris

  4. How to Repair a Whiteboard Frame: passo 4, immagine 1 di 3 How to Repair a Whiteboard Frame: passo 4, immagine 2 di 3 How to Repair a Whiteboard Frame: passo 4, immagine 3 di 3
    • Apply an even amount of glue to each piece, then place them into position and wipe off any excess glue

  5. How to Repair a Whiteboard Frame: passo 5, immagine 1 di 1
    • Hold all the pieces together for a minute to allow the glue to set firmly.

  6. How to Repair a Whiteboard Frame: passo 6, immagine 1 di 3 How to Repair a Whiteboard Frame: passo 6, immagine 2 di 3 How to Repair a Whiteboard Frame: passo 6, immagine 3 di 3
    • Secure the pieces with clamps at the corners and wait for 24 hours to let the glue dry.

  7. How to Repair a Whiteboard Frame: passo 7, immagine 1 di 2 How to Repair a Whiteboard Frame: passo 7, immagine 2 di 2
    • After 24 Hours, remove the clamps carefully.

  8. How to Repair a Whiteboard Frame: passo 8, immagine 1 di 2 How to Repair a Whiteboard Frame: passo 8, immagine 2 di 2
    • After 24 hours, remove the clamps and sand down any rough corners if necessary.

  9. How to Repair a Whiteboard Frame: passo 9, immagine 1 di 2 How to Repair a Whiteboard Frame: passo 9, immagine 2 di 2
    • Touch up any areas on the whiteboard using black paint where needed.

  10. How to Repair a Whiteboard Frame: passo 10, immagine 1 di 1
    • Congratulations! Your whiteboard is now fixed and ready to use.

Conclusione

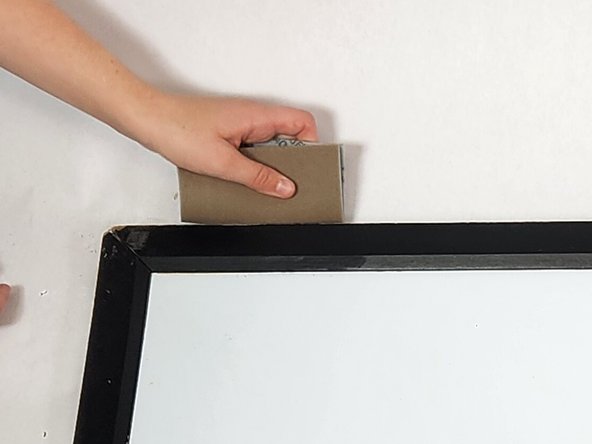
To reassemble your device, follow these instructions in reverse order.

Jelena Drca

Membro da: 02/02/24

181 Reputazione

1 Guida realizzata

Team

UC Davis, Team 3-9, Andersen Winter 2024 Membro di UC Davis, Team 3-9, Andersen Winter 2024

UCD-ANDERSEN-W24S3G9

3 Membri

1 Guida realizzata

0 Commenti

Aggiungi Commento

Visualizza Statistiche:

Ultime 24 Ore: 0

Ultimi 7 Giorni: 4

Ultimi 30 Giorni: 22

Tutti i Tempi: 203