Salta al contenuto principale

How to Repair a Torn Leather Boot

Cosa ti serve

  1. How to Repair a Torn Leather Boot, How to Repair a Torn Leather Boot: passo 1, immagine 1 di 3 How to Repair a Torn Leather Boot, How to Repair a Torn Leather Boot: passo 1, immagine 2 di 3 How to Repair a Torn Leather Boot, How to Repair a Torn Leather Boot: passo 1, immagine 3 di 3
    • Prepare your leather boot with the listed materials:

    • Shoo Glue

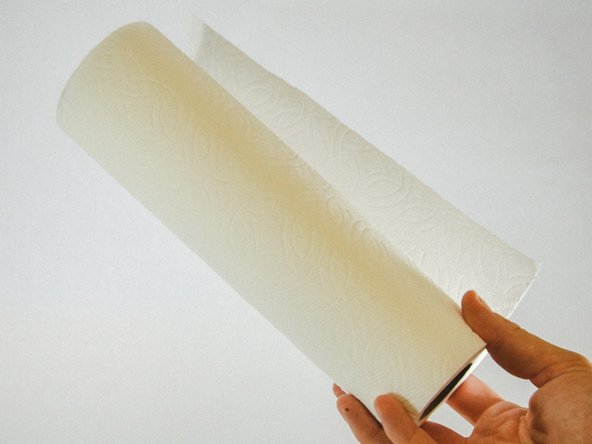
    • Paper Towels

  2. How to Repair a Torn Leather Boot: passo 2, immagine 1 di 1
    • Remove any lacing on the boots

    • This allows for spacing within the shoes to make it easier to navigate through the process of the fix.

  3. How to Repair a Torn Leather Boot: passo 3, immagine 1 di 1
    • Using alcohol wipes or any leather cleansing products, clean targeted and surrounding area to rid debris.

    • Once clean make sure that the surrounding area is dried off properly before moving onto the next step.

  4. How to Repair a Torn Leather Boot: passo 4, immagine 1 di 2 How to Repair a Torn Leather Boot: passo 4, immagine 2 di 2
    • Fill the boot with a paper towel, rag, or piece of cloth.

    • Gives the boot proper shape and protects interior from glue.

    • Filling is sufficient when the tear protrudes slightly.

  5. How to Repair a Torn Leather Boot: passo 5, immagine 1 di 2 How to Repair a Torn Leather Boot: passo 5, immagine 2 di 2
    • Apply "Shoe Goo" on the damaged area with a Cotton Swab.

  6. How to Repair a Torn Leather Boot: passo 6, immagine 1 di 1
    • Set a 10 minute timer to allow for the glue to dry. Make sure that the shoes are dried before proceeding on to the next step.

  7. How to Repair a Torn Leather Boot: passo 7, immagine 1 di 1
    • After the Shoe Goo has fully dried make sure to clean up any excess Goo from the shoe that is unnecessary for the repair.

    • Remove any of the towels, or rags that were originally inserted within the shoes.

    • Finally re-lace the boots to finalize the procedure.

Conclusione

After completing all the listed steps above your shoes should be repaired and ready to go. By applying Shoe Goo to your product you have restored the life of your item once again. This procedure is very simple and can be completed several times on the same item.

Alexander Arellano

Membro da: 02/03/23

145 Reputazione

1 Guida realizzata

Team

UC Davis, Team 3-3, Andersen Winter 2023 Membro di UC Davis, Team 3-3, Andersen Winter 2023

UCD-ANDERSEN-W23S3G3

3 Membri

1 Guida realizzata

Un commento

Why shoe goo? The end result is a clear semi-clear goo appearance that cant be dyed or colored.

Trenton Harbour - Replica

Aggiungi Commento

Visualizza Statistiche:

Ultime 24 Ore: 9

Ultimi 7 Giorni: 44

Ultimi 30 Giorni: 180

Tutti i Tempi: 3,124