Introduzione
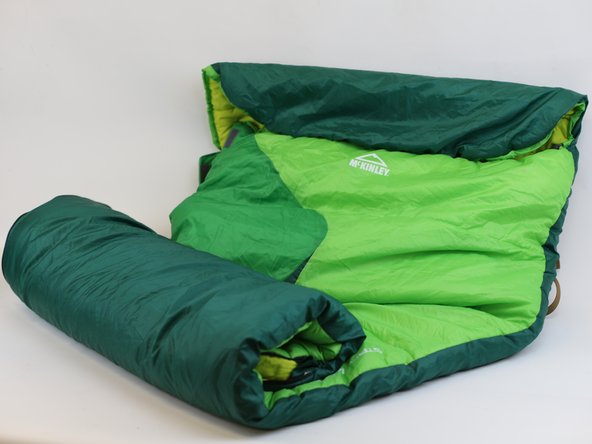
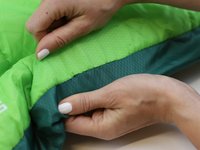
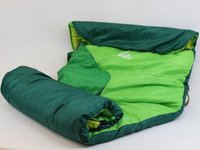
After many adventures out in the woods, your sleeping bag may suffer a seam split. We will show you a quick solution on how to fix it that can be applied even while you are still out there!
➡️Before you get started, please check the safety disclaimer at the bottom of the page.
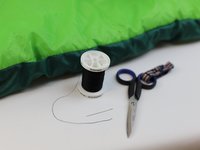
Cosa ti serve
-
-
Find a matching color thread and prepare the needle.
-
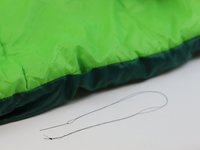
Make a double thread and add a little knot at the end.
-
-
-
-
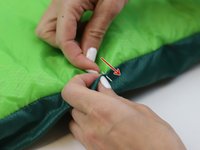
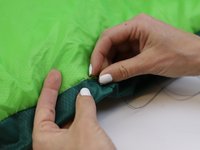
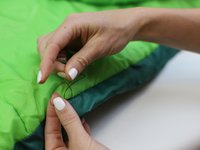
Make sure that the needle is in a position that is perpendicular to the edge of the seam (red arrow).
-
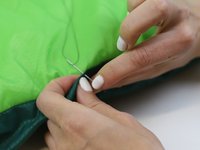
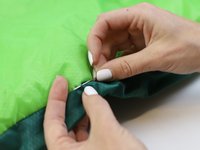
Take turns going up and down following line of the seam.
-
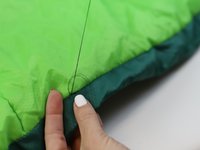
Note For this example we are doing an "invisible" stitch that provides a subtle solution to the split.
-
-
-
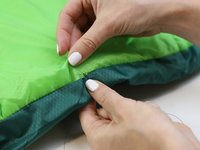
Secure the stitch by pulling the thread tighter as you go.
-
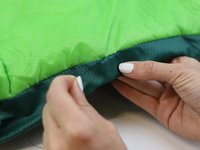
Continue until you reach the end of the split.
-
-
-
Add a knot at the end of the stitch.
-
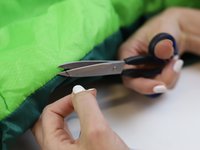
Use a pair of scissors to clean the loose threads.
-
-
-
🛠️🏆👏 Congratulations! The repair is complete, and you're ready to go!
-
In need of another repair? Don't worry! Check out our other guides to find quick solutions for your favourite clothing, footwear and equipment!
----------------------------------------
🚨🛠️🩹 IMPORTANT SAFETY NOTICE:
The repair guides provided on this site are intended to help you repair products on your own. While we have put a lot of care into them, all repair work carries some risk:
- Safety Precautions: When repairing your product, take all necessary precautions to ensure your safety. Use appropriate tools and follow the instructions carefully.
- Product Condition: Once your product has been repaired, it may not meet original compliance guidelines anymore and could potentially have issues.
- Liability: We are not responsible for any damage or injury that may occur during the repair process or as a result of using a repaired product. You, as the repairer, assume all risks and responsibilities associated with the repair.
By using these repair guides, you fully acknowledge and accept the potential risks and responsibilities involved.


