Salta al contenuto principale

How to Repair a Broken Leather Belt Using Adhesives

Cosa ti serve

  1. How to Repair a Broken Leather Belt Using Adhesives, How to Repair a Broken Leather Belt Using Adhesives: passo 1, immagine 1 di 2 How to Repair a Broken Leather Belt Using Adhesives, How to Repair a Broken Leather Belt Using Adhesives: passo 1, immagine 2 di 2
    • Use a small soft bristled brush to remove dirt and debris from surfaces to be joined together with adhesive.

  2. How to Repair a Broken Leather Belt Using Adhesives: passo 2, immagine 1 di 2 How to Repair a Broken Leather Belt Using Adhesives: passo 2, immagine 2 di 2
    • CAUTION: Use leather cleaner in a well-ventilated area to avoid breathing in harmful vapors.

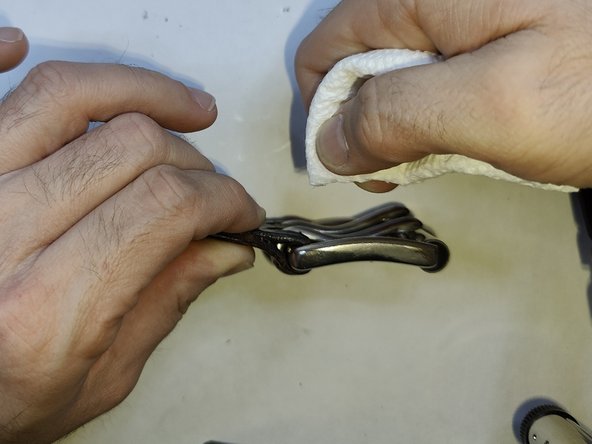
    • Use a leather cleaner and a clean cloth to clean surfaces to be joined together.

    • For this step I used a mixture of 1 ounce of vinegar and 1 ounce of water mixed in a bowl for my leather cleaner, but you can use whatever leather cleaner you have available.

  3. How to Repair a Broken Leather Belt Using Adhesives: passo 3, immagine 1 di 3 How to Repair a Broken Leather Belt Using Adhesives: passo 3, immagine 2 di 3 How to Repair a Broken Leather Belt Using Adhesives: passo 3, immagine 3 di 3
    • Insert prong(s) into pre-cut holes on the main belt strap.

  4. How to Repair a Broken Leather Belt Using Adhesives: passo 4, immagine 1 di 3 How to Repair a Broken Leather Belt Using Adhesives: passo 4, immagine 2 di 3 How to Repair a Broken Leather Belt Using Adhesives: passo 4, immagine 3 di 3
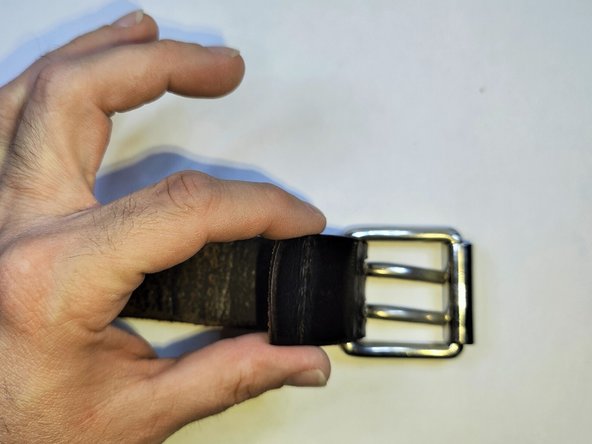
    • Insert the end of the leather belt into the buckle and fold over the bar holding the prong(s) in place.

  5. How to Repair a Broken Leather Belt Using Adhesives: passo 5, immagine 1 di 2 How to Repair a Broken Leather Belt Using Adhesives: passo 5, immagine 2 di 2
    • WARNING: FLAMMABLE! Do not use adhesives near open flames or other heat sources including sparks as a fire could start.

    • CAUTION: Use adhesives in a well-ventilated area to avoid breathing in harmful vapors.

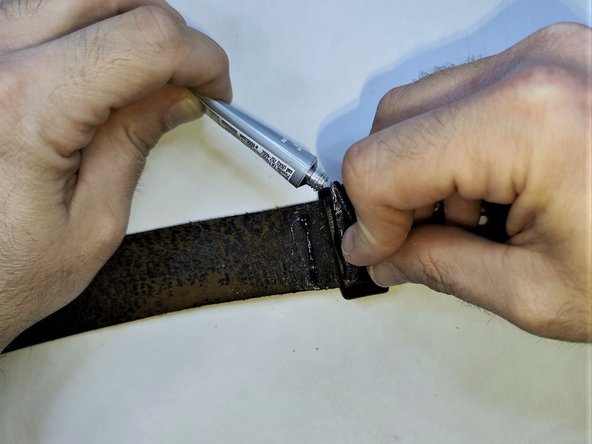
    • Apply a small amount of your leather adhesive to the leather belt on both sides of the pre-cut holes for the buckle prong(s).

  6. How to Repair a Broken Leather Belt Using Adhesives: passo 6, immagine 1 di 3 How to Repair a Broken Leather Belt Using Adhesives: passo 6, immagine 2 di 3 How to Repair a Broken Leather Belt Using Adhesives: passo 6, immagine 3 di 3
    • Join the main belt strap and the end of the belt strap together where the leather adhesive was applied.

    • Apply light to medium pressure and hold in place for about two (2) minutes.

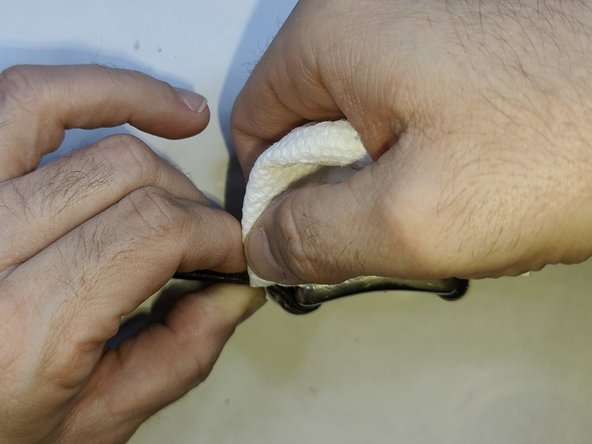
    • Using a clean cloth, paper towel, or cotton swab, remove any excess adhesive (squeeze-out) from the sides of the joined surfaces.

  7. How to Repair a Broken Leather Belt Using Adhesives: passo 7, immagine 1 di 1
    • Slide the keeper loop into position near where the location of the joined surfaces.

    • Be sure not to push the keeper loop into the joined surfaces as the surfaces could come apart.

  8. How to Repair a Broken Leather Belt Using Adhesives: passo 8, immagine 1 di 3 How to Repair a Broken Leather Belt Using Adhesives: passo 8, immagine 2 di 3 How to Repair a Broken Leather Belt Using Adhesives: passo 8, immagine 3 di 3
    • WARNING: FLAMMABLE! Do not use adhesives near open flames or other heat sources including sparks as a fire could start.

    • CAUTION: Use adhesives in a well-ventilated area to avoid breathing in harmful vapors.

    • Apply a small amount of leather adhesive to both surfaces to be joined on the other side of the keeper loop.

  9. How to Repair a Broken Leather Belt Using Adhesives: passo 9, immagine 1 di 1
    • Join both surfaces together where the leather adhesive was applied.

    • Apply light to medium pressure and hold in place for about two (2) minutes.

    • Using a clean cloth, paper towel, or cotton swab, remove any excess adhesive (squeeze-out) from the sides of the joined surfaces.

  10. How to Repair a Broken Leather Belt Using Adhesives: passo 10, immagine 1 di 1
    • Allow leather adhesive to dry (cure) as stated in the directions on the original leather adhesive packaging.

    • For the E6000 adhesive used in this Fast Fix guide, the dry (cure) time is 24 to 72 hours depending on material and air temperature of the work area.

Conclusione

You did it! Give yourself a pat on the back!

0 Commenti

Aggiungi Commento

Visualizza Statistiche:

Ultime 24 Ore: 4

Ultimi 7 Giorni: 27

Ultimi 30 Giorni: 135

Tutti i Tempi: 2,588