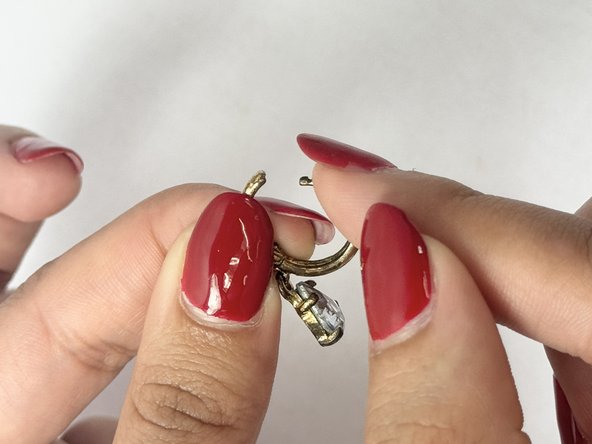
Salta al contenuto principale

How to Repair a Broken Huggie Earring Clasp

Cosa ti serve

  1. How to Repair a Broken Huggie Earring Clasp, How to Repair a Broken Huggie Earring Clasp: passo 1, immagine 1 di 1
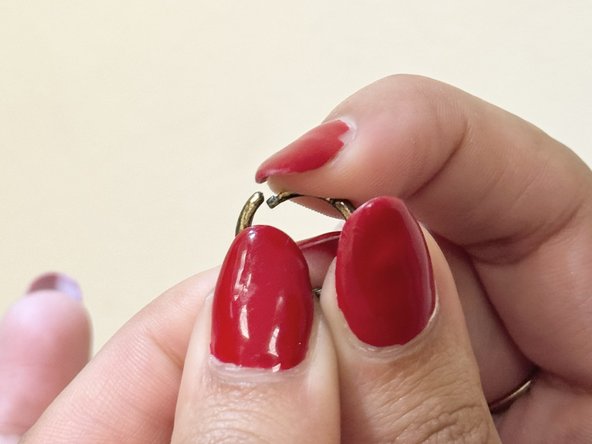
    • Clean the post and clasp of the earring with a dry cloth.

  2. How to Repair a Broken Huggie Earring Clasp: passo 2, immagine 1 di 2 How to Repair a Broken Huggie Earring Clasp: passo 2, immagine 2 di 2
    • Close the earring and note where the main post hits the notch on the opposite side.

    • There are two notches, one on the main post and one on the opposite side of the earring.

  3. How to Repair a Broken Huggie Earring Clasp: passo 3, immagine 1 di 1
    • Mark this spot with a writing instrument (optional).

  4. How to Repair a Broken Huggie Earring Clasp: passo 4, immagine 1 di 1
    • Re-open the earring.

  5. How to Repair a Broken Huggie Earring Clasp: passo 5, immagine 1 di 3 How to Repair a Broken Huggie Earring Clasp: passo 5, immagine 2 di 3 How to Repair a Broken Huggie Earring Clasp: passo 5, immagine 3 di 3
    • Ensure the post is lined up with the opposite notch. If not, gently bend it with your finger until it is in a suitable position.

  6. How to Repair a Broken Huggie Earring Clasp: passo 6, immagine 1 di 1
    • Grip the earring post with a small plier or tweezer and push the post slightly upward.

  7. How to Repair a Broken Huggie Earring Clasp: passo 7, immagine 1 di 2 How to Repair a Broken Huggie Earring Clasp: passo 7, immagine 2 di 2
    • Open to check if the earring clicks.

  8. How to Repair a Broken Huggie Earring Clasp: passo 8, immagine 1 di 1
    • If the earring isn’t clicking, push the post further upward using pliers.

    • Adjust, then check again.

  9. How to Repair a Broken Huggie Earring Clasp: passo 9, immagine 1 di 1
    • If the earring clicks but is hard to open, push the post downward using pliers.

    • This is an adjustment process, so make small adjustments until it is restored.

  10. How to Repair a Broken Huggie Earring Clasp: passo 10, immagine 1 di 1
    • Make final adjustments until the huggie clasp clicks and the earring closes securely.

    • Wipe the marker off of your earring.

Conclusione

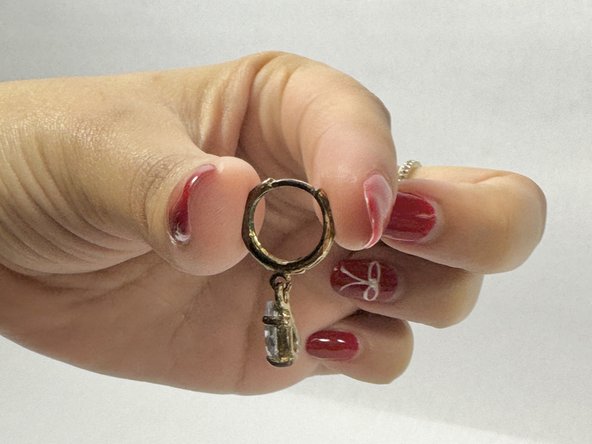
Your earring is now fixed! If the post bends again, repeat the same steps to repair.

Hana Ito

Membro da: 04/26/24

181 Reputazione

1 Guida realizzata

Team

UC Davis, Team 4-6, Whithaus Spring 2024 Membro di UC Davis, Team 4-6, Whithaus Spring 2024

UCD-WHITHAUS-S24S4G6

3 Membri

1 Guida realizzata

0 Commenti

Aggiungi Commento

Visualizza Statistiche:

Ultime 24 Ore: 2

Ultimi 7 Giorni: 4

Ultimi 30 Giorni: 9

Tutti i Tempi: 49