Salta al contenuto principale

How to Reinforce the Base of a Torn Backpack

Cosa ti serve

  1. How to Reinforce the Base of a Torn Backpack, Backpack Base: passo 1, immagine 1 di 1
    • Pull out any excess thread that is left over from the tear.

    • Make sure to be careful in pulling the thread to avoid causing excess damage.

  2. How to Reinforce the Base of a Torn Backpack: passo 2, immagine 1 di 1
    • Turn the backpack inside out.

    • Carefully do this to not make the hole bigger.

  3. How to Reinforce the Base of a Torn Backpack: passo 3, immagine 1 di 2 How to Reinforce the Base of a Torn Backpack: passo 3, immagine 2 di 2
    • Pin the hole together using sewing pins.

    • Gently pin to avoid poking or hurting yourself with the pins.

  4. How to Reinforce the Base of a Torn Backpack: passo 4, immagine 1 di 2 How to Reinforce the Base of a Torn Backpack: passo 4, immagine 2 di 2
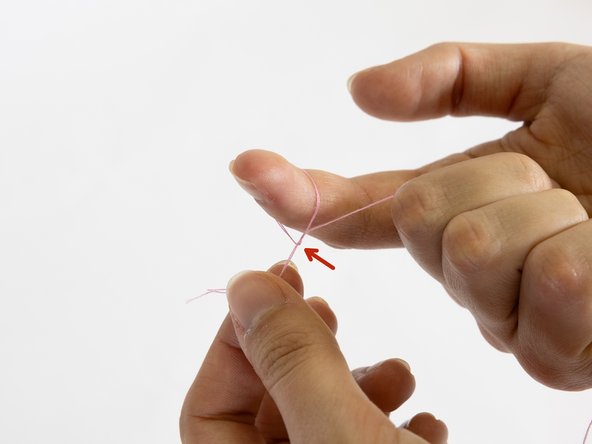
    • Thread your needle with a similar color thread to your backpack.

    • Tie a knot at the end of the thread.

  5. How to Reinforce the Base of a Torn Backpack: passo 5, immagine 1 di 3 How to Reinforce the Base of a Torn Backpack: passo 5, immagine 2 di 3 How to Reinforce the Base of a Torn Backpack: passo 5, immagine 3 di 3
    • Sew the hole shut, removing pins as you go.

    • Use this Basic Sewing guide for exact stitching.

    • Unpin carefully to avoid poking or hurting yourself with the pins

    • Tie a knot at the end to close off the stitch.

    • Cut any excess thread.

  6. How to Reinforce the Base of a Torn Backpack: passo 6, immagine 1 di 3 How to Reinforce the Base of a Torn Backpack: passo 6, immagine 2 di 3 How to Reinforce the Base of a Torn Backpack: passo 6, immagine 3 di 3
    • Trace an additional piece of lining with ¼” seam allowance in the shape of the backpack bottom.

    • Cut the fabric for the lining.

    • Pin the fabric around the perimeter to the base of the backpack.

  7. How to Reinforce the Base of a Torn Backpack: passo 7, immagine 1 di 1
    • Sew the lining to the base of the inside out backpack using the same process in Step 5.

    • Use this Basic Sewing tutorial as needed.

    • Gently sew and unpin to avoid hurting yourself with the pins.

  8. How to Reinforce the Base of a Torn Backpack: passo 8, immagine 1 di 1
    • Enjoy your newly strengthened backpack!

Conclusione

Congratulations you have now reinforced and repaired your backpack! Good as new if not better.

Amber Irfan

Membro da: 02/02/24

157 Reputazione

1 Guida realizzata

Team

UC Davis, Team 4-4, Andersen Winter 2024 Membro di UC Davis, Team 4-4, Andersen Winter 2024

UCD-ANDERSEN-W24S4G4

3 Membri

1 Guida realizzata

0 Commenti

Aggiungi Commento

Visualizza Statistiche:

Ultime 24 Ore: 0

Ultimi 7 Giorni: 9

Ultimi 30 Giorni: 45

Tutti i Tempi: 108