Salta al contenuto principale
Unisciti alla Community delle riparazioni - Crea un account
How to Reinforce a Microbead Plush

How to Reinforce a Microbead Plush

Oscar Olivares

Oscar Olivares e un altro collaboratore

Ultimo aggiornamento il 9 lug 2024

45 minuti
Moderato

Introduzione

Vai al passo 1

In this repair, we will be reinforcing a microbead plush by creating a bag for the microbeads. Using this repair, we can extend the duration of items a loved one has given or keep these items in near-perfect condition. Before starting this repair, you should have a spool of a thread in the plush's color to make any repairs unnoticeable. This repair will take a while and can get messy; for example, when flipping the plush casing, use an area that is easy to clean.

Cosa ti serve

Strumenti

Mostra di più…

  1. How to Reinforce a Microbead Plush, How to Reinforce a Microbead Plush: passo 1, immagine 1 di 3 How to Reinforce a Microbead Plush, How to Reinforce a Microbead Plush: passo 1, immagine 2 di 3 How to Reinforce a Microbead Plush, How to Reinforce a Microbead Plush: passo 1, immagine 3 di 3
    • Look for seams in the microbead plush that you can tear to remove its contents.

    • Using a seam ripper, make a hole the size of your thumb.

    • You can enlarge the hole if needed.

    • Make sure that you follow the seam when you make the hole.

  2. How to Reinforce a Microbead Plush: passo 2, immagine 1 di 3 How to Reinforce a Microbead Plush: passo 2, immagine 2 di 3 How to Reinforce a Microbead Plush: passo 2, immagine 3 di 3
    • Dump out the contents of the plush into a large container using that hole you made.

    • Make sure not to let the plush touch the beads. They will stick to the plush.

  3. How to Reinforce a Microbead Plush: passo 3, immagine 1 di 3 How to Reinforce a Microbead Plush: passo 3, immagine 2 di 3 How to Reinforce a Microbead Plush: passo 3, immagine 3 di 3
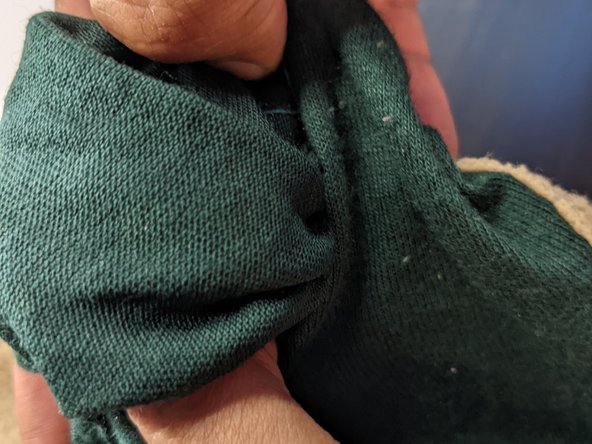
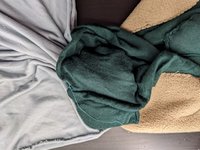
    • Flip the plush inside out using the hole you made.

    • Be wary that some micro-beads may still be stuck to the inside of the fabric.

  4. How to Reinforce a Microbead Plush: passo 4, immagine 1 di 3 How to Reinforce a Microbead Plush: passo 4, immagine 2 di 3 How to Reinforce a Microbead Plush: passo 4, immagine 3 di 3
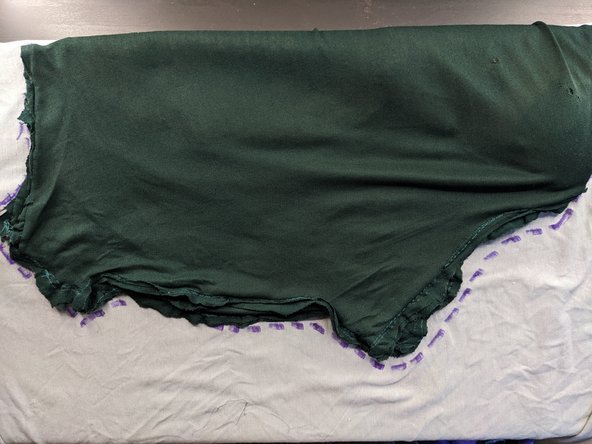
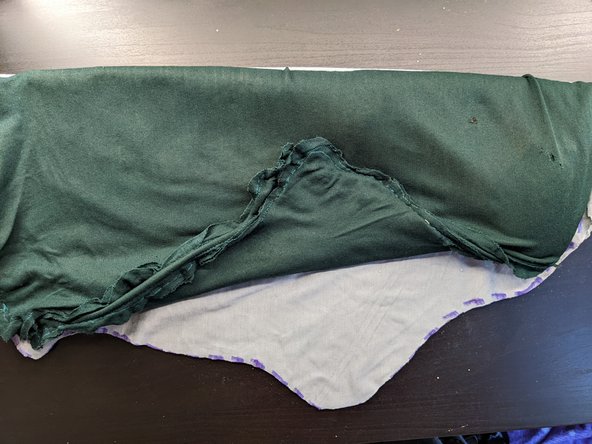
    • Fold the inside-out casing in half.

    • Place it on a piece of fabric folded into fourths. The loose ends of the fabric should be facing you.

    • Trace the outline of the casing with a marker.

  5. How to Reinforce a Microbead Plush: passo 5, immagine 1 di 2 How to Reinforce a Microbead Plush: passo 5, immagine 2 di 2
    • Use scissors to cut out the outline of the plush.

    • You may use safety pins on the inside of the outline so the fabric doesn't slip.

    • You can use the casing as a guide if you're unsure with your outline.

  6. How to Reinforce a Microbead Plush: passo 6, immagine 1 di 3 How to Reinforce a Microbead Plush: passo 6, immagine 2 di 3 How to Reinforce a Microbead Plush: passo 6, immagine 3 di 3
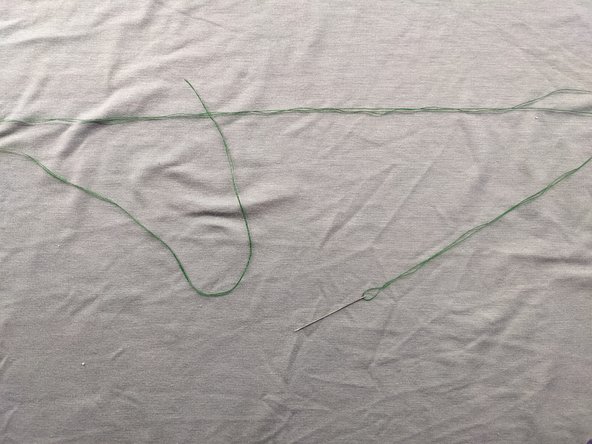
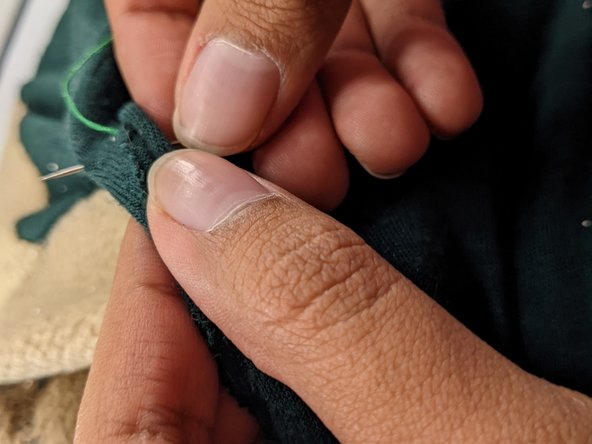
    • Measure about 20 times the length of the plush in thread.

    • Push the thread through the eye of the needle until both sides of the needle have an equal amount of thread.

    • Check out Repairing a Stuffed Teddy if you're unsure how to thread a needle.

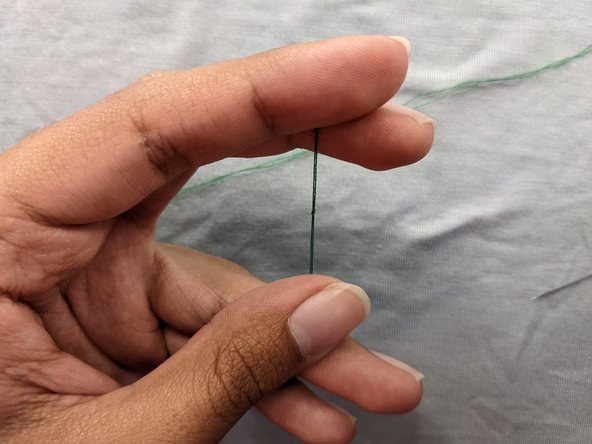
    • Create a small loop using the loose ends, leaving about 2 centimeters to wrap around the base of the loop. Push the excess through the loop to create a knot.

  7. How to Reinforce a Microbead Plush: passo 7, immagine 1 di 3 How to Reinforce a Microbead Plush: passo 7, immagine 2 di 3 How to Reinforce a Microbead Plush: passo 7, immagine 3 di 3
    • Unfold the material keeping both outline sheets together.

    • This will create a bag for the microbeads to go in.

    • After unfolding, use a different color marker to note where the hole made in step one is on your plush.

    • Do not close this hole as this is the refilling point.

    • Start stitching along the edge of the outlines, weaving the needle every centimeter to close any gaps.

  8. How to Reinforce a Microbead Plush: passo 8, immagine 1 di 3 How to Reinforce a Microbead Plush: passo 8, immagine 2 di 3 How to Reinforce a Microbead Plush: passo 8, immagine 3 di 3
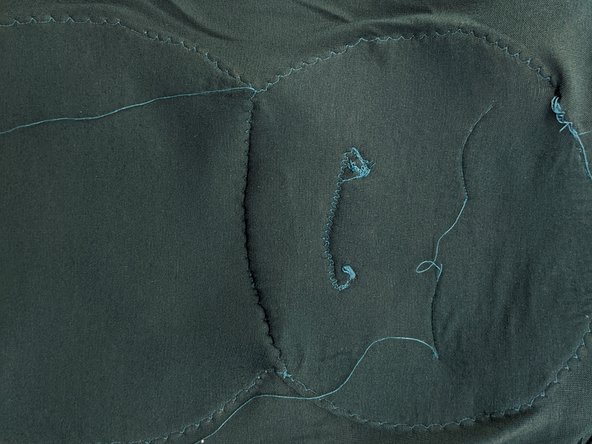
    • Stuff the bag into the plush, leaving the openings together.

    • Sew the edges of the openings onto the plush to prevent the bag from slipping when refilling.

    • Insert the funnel in the opening and begin refiling the plush.

    • Refill the plush slowly using a cup to avoid spilling the microbeads over the plush.

  9. How to Reinforce a Microbead Plush: passo 9, immagine 1 di 3 How to Reinforce a Microbead Plush: passo 9, immagine 2 di 3 How to Reinforce a Microbead Plush: passo 9, immagine 3 di 3
    • After refilling the plush, sew the opening closed.

    • After closing the opening press down on the plush to spread around the microbeads.

Conclusione

With those final stitches, your microbead plush shouldn’t spill anymore.

Preparati per le riparazioni future

Acquista tutti

Oscar Olivares

Membro da: 03/19/22

169 Reputazione

1 Guida realizzata

Team

0Commenti sulla guida

Aggiungi Commento

Visualizza Statistiche:

Ultime 24 Ore: 0

Ultimi 7 Giorni: 3

Ultimi 30 Giorni: 8

Tutti i Tempi: 467