Introduzione
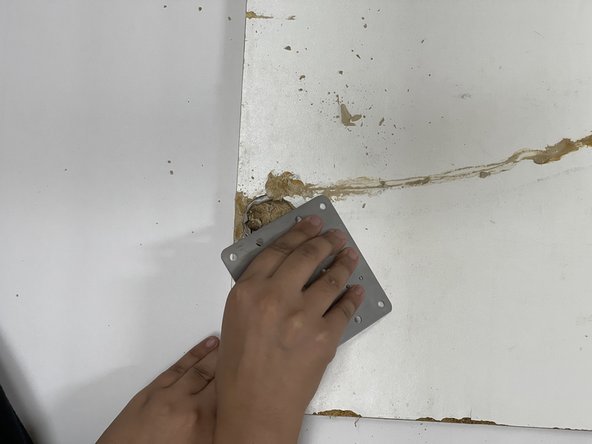
If your cabinet door hinge is pulled off from the base use, this guide will show you how to fill the base and replace a new door hinge with extra support.
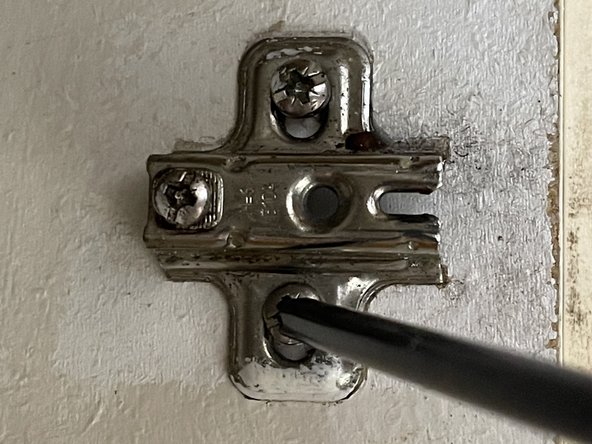
The door hinge is a mechanical bearing that attaches the door to its frame and works as a pivot point while opening and closing the door. Application of more weight and improper use can pull the door hinge and damage the base.
Before using this guide, inspect the door to take a note of how much the base is being ripped off. Can it be fixed with wood filler? If the base is pulled apart from the door, you may need to replace the door.
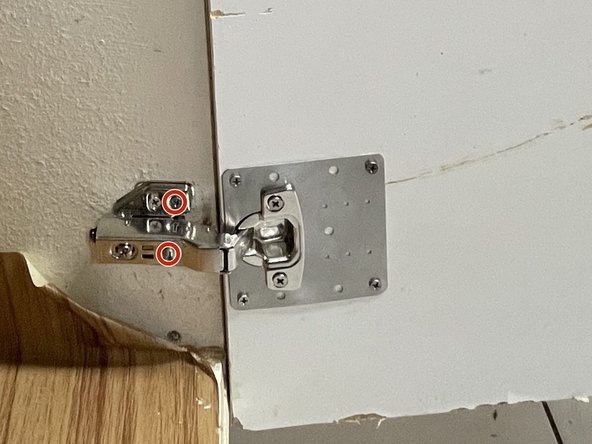
Note that the size of hinges and screws can vary according to the individual's need. So make sure to purchase the exact size accordingly. To find the exact size of the hinge check the hinge cup, use this photo or take the old hinge to the store.
Cosa ti serve


Annulla: non ho completato questa guida.
Altre 2 persone hanno completato questa guida.

Team

York University, Team M-24, Allen Summer 2022 Membro di York University, Team M-24, Allen Summer 2022
YORK-ALLEN-SU22SMG24
1 Membro
6 Guide realizzate