Salta al contenuto principale

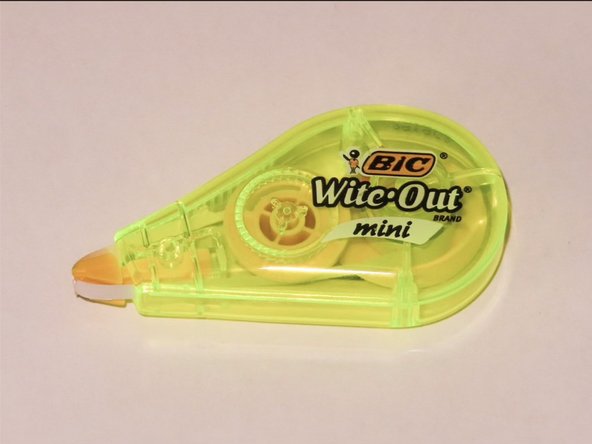
How to Fix a BIC Wite-Out Mini

Cosa ti serve

  1. How to Fix a BIC Wite-Out Mini, How to Fix a BIC Wite-Out Mini: passo 1, immagine 1 di 1
    • Place the dispenser component with the logo facing down, with other components laid out on a clean, flat surface.

  2. How to Fix a BIC Wite-Out Mini: passo 2, immagine 1 di 1
    • Stabilize the small gear with tweezers to prevent further unwinding.

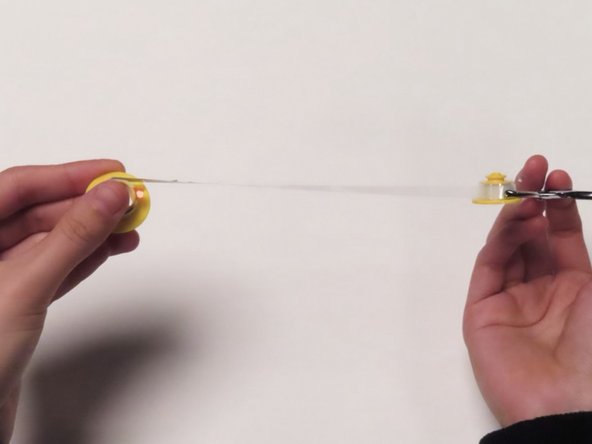
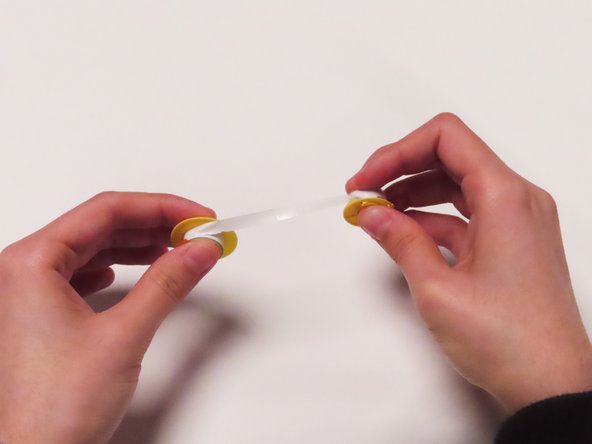
  3. How to Fix a BIC Wite-Out Mini: passo 3, immagine 1 di 3 How to Fix a BIC Wite-Out Mini: passo 3, immagine 2 di 3 How to Fix a BIC Wite-Out Mini: passo 3, immagine 3 di 3
    • Untangle the plastic strip by rotating the large gear in a circular motion, going in the opposite direction of the spiral.

    • Stop once the plastic strip connecting the gears is straight.

  4. How to Fix a BIC Wite-Out Mini: passo 4, immagine 1 di 3 How to Fix a BIC Wite-Out Mini: passo 4, immagine 2 di 3 How to Fix a BIC Wite-Out Mini: passo 4, immagine 3 di 3
    • Feed the plastic strip into the small gear until the white-out strip is visible.

    • Turn the big gear toward the small gear until they are close to each other.

  5. How to Fix a BIC Wite-Out Mini: passo 5, immagine 1 di 1
    • Place gears back into dispenser component with the logo.

    • Place the small gear onto the module closer to the dispensing slot.

    • Place the large gear onto module farthest from the dispensing slot.

  6. How to Fix a BIC Wite-Out Mini: passo 6, immagine 1 di 1
    • Hold the white-out strip with tweezers and pull to wrap the strip around the dispensing slot.

    • Make sure to stabilize the gears.

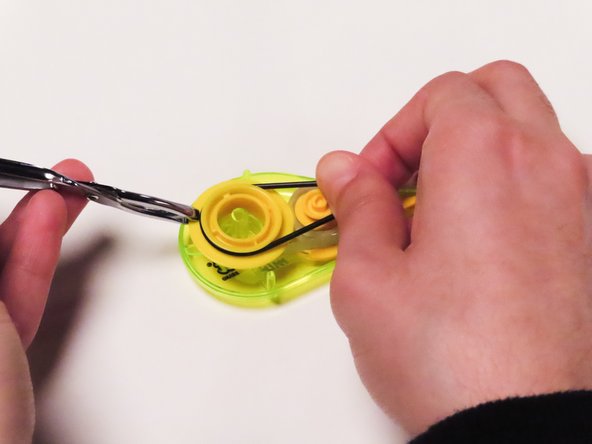
  7. How to Fix a BIC Wite-Out Mini: passo 7, immagine 1 di 3 How to Fix a BIC Wite-Out Mini: passo 7, immagine 2 di 3 How to Fix a BIC Wite-Out Mini: passo 7, immagine 3 di 3
    • Wrap the black band around both gears.

    • If necessary, stabilize the large gear with tweezers.

    • Wrap the band starting from large gear to small gear.

  8. How to Fix a BIC Wite-Out Mini: passo 8, immagine 1 di 2 How to Fix a BIC Wite-Out Mini: passo 8, immagine 2 di 2
    • Close the device until the side components click closed.

Conclusione

Congrats! You have just successfully repaired your BIC Wite-Out Mini!

Test your BIC Wite-Out Mini to make sure that it works correctly. If it does not work, repeat steps 1-8 and try again!

Team

UC Davis, Team 3-1, Andersen Winter 2024 Membro di UC Davis, Team 3-1, Andersen Winter 2024

UCD-ANDERSEN-W24S3G1

3 Membri

1 Guida realizzata

0 Commenti

Aggiungi Commento

Visualizza Statistiche:

Ultime 24 Ore: 1

Ultimi 7 Giorni: 5

Ultimi 30 Giorni: 19

Tutti i Tempi: 146