Salta al contenuto principale
Unisciti alla Community delle riparazioni - Crea un account

How to Disassemble an OXO Container Lid for Cleaning

Cosa ti serve

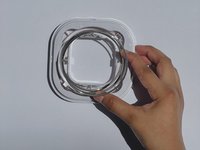
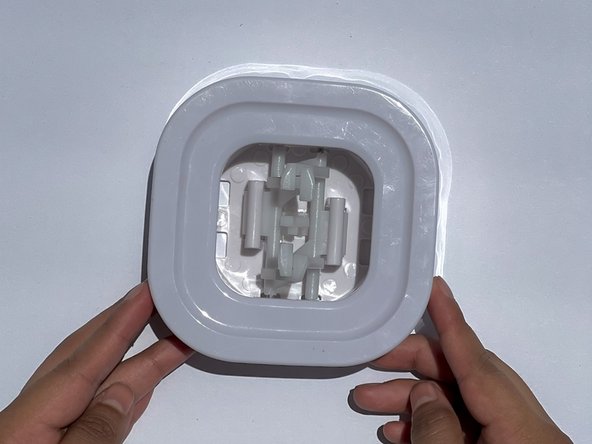
    1. How to Disassemble an OXO Container Lid for Cleaning, How to Disassemble an OXO Container Lid for Cleaning: passo 1, immagine 1 di 2 How to Disassemble an OXO Container Lid for Cleaning, How to Disassemble an OXO Container Lid for Cleaning: passo 1, immagine 2 di 2
      • Twist the bottom piece off by following the directions displayed on the lid.

      • Once inside, remove the outer layer seal from the lid by pulling it straight up.

      Chiedi a FixBot

      Aggiungi Commento

    2. How to Disassemble an OXO Container Lid for Cleaning: passo 2, immagine 1 di 3 How to Disassemble an OXO Container Lid for Cleaning: passo 2, immagine 2 di 3 How to Disassemble an OXO Container Lid for Cleaning: passo 2, immagine 3 di 3
      • Flip the lid so the button faces up. Then remove the button from the base of the lid.

      • This requires more added force.

      • Separate the interior prongs.

      Chiedi a FixBot

      Aggiungi Commento

    3. How to Disassemble an OXO Container Lid for Cleaning: passo 3, immagine 1 di 2 How to Disassemble an OXO Container Lid for Cleaning: passo 3, immagine 2 di 2
      • After separating the prongs, the spring and the circular spring cap will separate from the square frame with little force.

      • With some force, remove the two prongs from the base of the lid by snapping them out of the bracket. Be careful not to break the bracket's small prongs.

      • The disassembled parts can now be cleaned with warm, soapy water.

      Chiedi a FixBot

      Aggiungi Commento

    4. How to Disassemble an OXO Container Lid for Cleaning: passo 4, immagine 1 di 2 How to Disassemble an OXO Container Lid for Cleaning: passo 4, immagine 2 di 2
      • To reassemble the lid, start by connecting the outer layer piece with the base piece. Grooves in the parts will only allow them to be connected in the correct way.

      • Place the spring in the center of the lid within the circular outline.

      Chiedi a FixBot

      Aggiungi Commento

    5. How to Disassemble an OXO Container Lid for Cleaning: passo 5, immagine 1 di 1
      • Take the small interior circle and place it on top of the spring.

      • Use force to push this piece down. Make sure the slots align.

      • This piece will not stay in place on its own. Flip the lid over and keep it on a flat surface to prevent the spring from releasing.

      Chiedi a FixBot

      Aggiungi Commento

    6. How to Disassemble an OXO Container Lid for Cleaning: passo 6, immagine 1 di 2 How to Disassemble an OXO Container Lid for Cleaning: passo 6, immagine 2 di 2
      • Reattach the two prongs to the lid.

      • Intertwine the two prongs together.

      • The spring should now be firmly held in place.

      Chiedi a FixBot

      Aggiungi Commento

    7. How to Disassemble an OXO Container Lid for Cleaning: passo 7, immagine 1 di 2 How to Disassemble an OXO Container Lid for Cleaning: passo 7, immagine 2 di 2
      • Twist the bottom piece back on the lid.

      • Reattach the button to the center of the lid.

      Chiedi a FixBot

      Aggiungi Commento

Linea Traguardo

Annulla: non ho completato questa guida.

Altre 2 persone hanno completato questa guida.

Lorna Lauro

Membro da: 04/20/22

187 Reputazione

Una guida realizzata

Team

CSU Los Angeles, Team 7-77, Harris Spring 2022 Membro di CSU Los Angeles, Team 7-77, Harris Spring 2022

CSULA-HARRIS-S22S7G77

Membro di 1

10 guide realizzate

1Commento della guida

Excellent guide, a set I got came with the metal pins of the prongs unseated from their holes, causing the lid to operate incorrectly. I was able to re-seat them and get the lid working with the help of this.

Stefan Rust - Rispondi Condividi

Aggiungi Commento

Visualizza statistiche:

Ultime 24 ore: 21

Ultimi 7 giorni: 85

Ultimi 30 giorni: 391

Tutti i Tempi: 20,132