Introduzione
Creating your own Ethernet cables allows you to customize lengths for cleaner cable management and repair broken connectors without replacing the entire cable run. This guide covers crimping a standard "straight-through" cable using the T568B wiring standard.
While there are two wiring standards (T568A and T568B), T568B is the most common standard for commercial and residential data networks in the US and Europe. It is critical that both ends of your cable use the same standard to function correctly.
Cosa ti serve
-
-
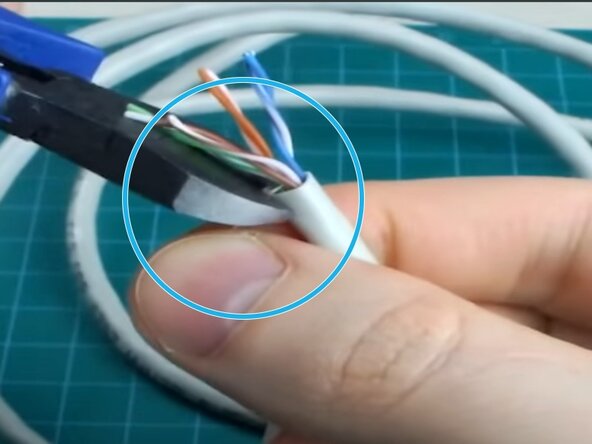
Insert the cable into the stripper's designated slot.
-
Rotate the tool 360 degrees around the cable to score the outer jacket.
-
Pull the outer jacket off to reveal the internal wires. You should expose about 1.5 to 2 inches (4-5 cm) of wire
-
-
-
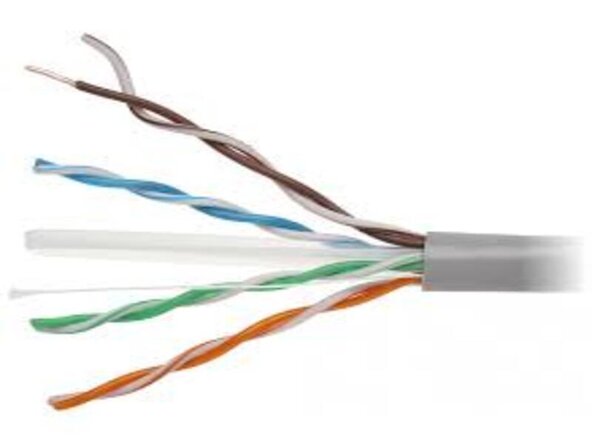
You will see four twisted pairs of wires. Untwist them completely so you have 8 separate wires.mpetenza.
-
Straighten the wires as much as possible using your fingers or the shaft of a screwdriver.
-
Cut off the "rip cord" (the thin thread inside the cable) if present, so it doesn't get in the way.
-
-
-
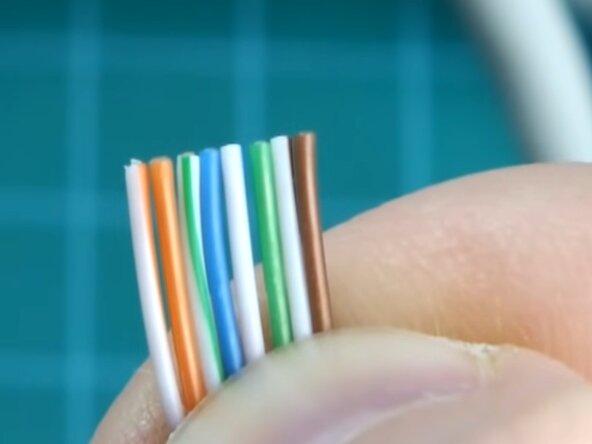
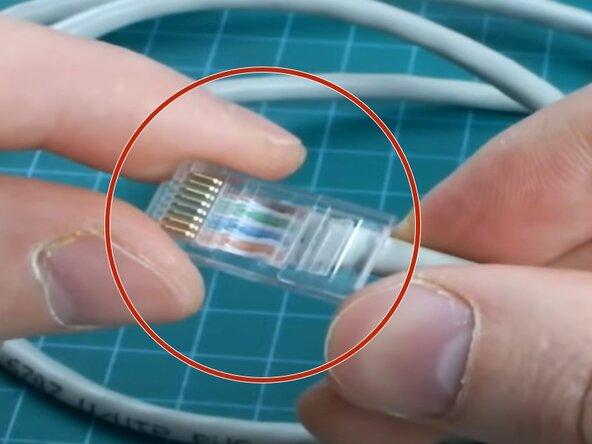
Arrange the wires flat, side-by-side, from left to right according to the T568B standard: White/Orange - Orange - White/Green - Blue - White/Blue - Green - White/Brown - Brown
-
-
-
-
Hold the wires tightly between your thumb and forefinger to keep them flat and in order.
-
Use your wire cutters (or the cutting blade on your crimper) to trim the wires in a perfectly straight line.
-
You should leave about 0.5 inches (1.3 cm) of exposed wire.
-
-
-
Hold the RJ45 connector with the clip facing away from you (gold pins facing up).
-
Carefully push the wires into the connector. Ensure they stay in the correct order (White/Orange on the left).
-
Push until you see the copper ends of the wires touching the very front of the plastic plug.
-
Look at the side of the connector: The cable's outer jacket should be inserted past the indentation near the rear of the plug. This ensures the crimp secures the jacket, not just the wires.
-
-
-
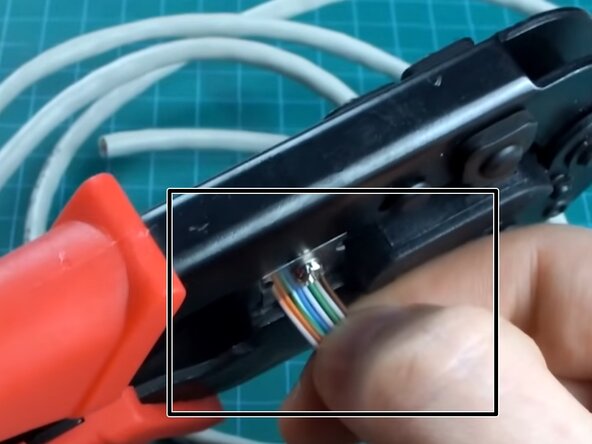
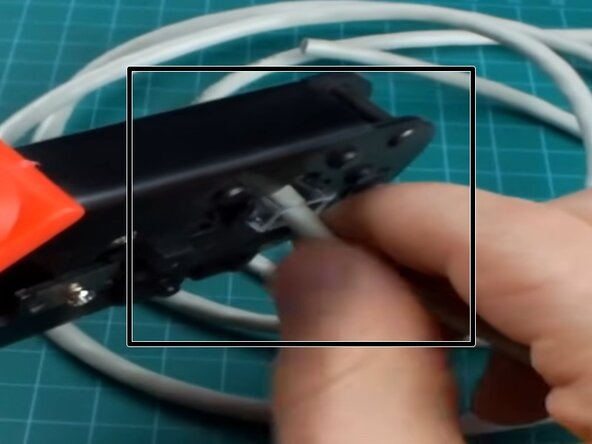
Insert the connector fully into the "8P" slot of your crimping tool.
-
Squeeze the handles firmly until the tool releases (if ratcheted) or until you can't squeeze any further.
-
The tool pushes the gold contacts down into the wires and crushes the plastic tab onto the cable jacket for strain relief.
-
-
-
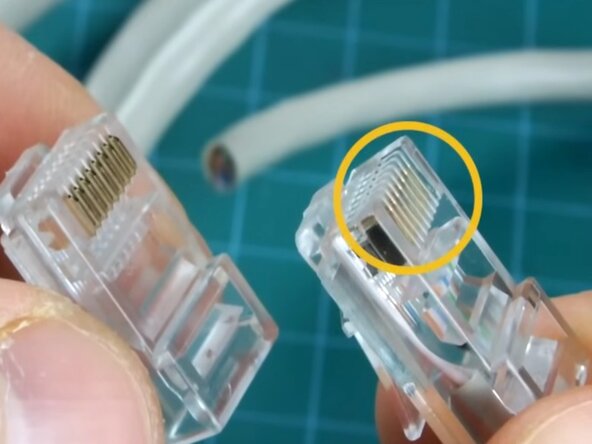
Remove the connector from the tool. Check the pins: they should all be pushed down evenly.
-
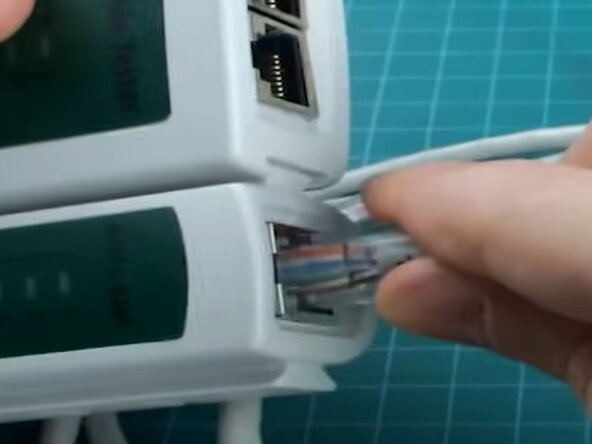
Repeat the entire process for the other end of the cable.
-


Per rimontare il dispositivo, segui queste istruzioni in ordine inverso.
