Salta al contenuto principale

How to Clean The R2 and L2 Buttons on a Dualshock 4 CUH-ZCT2 Controller

Cosa ti serve

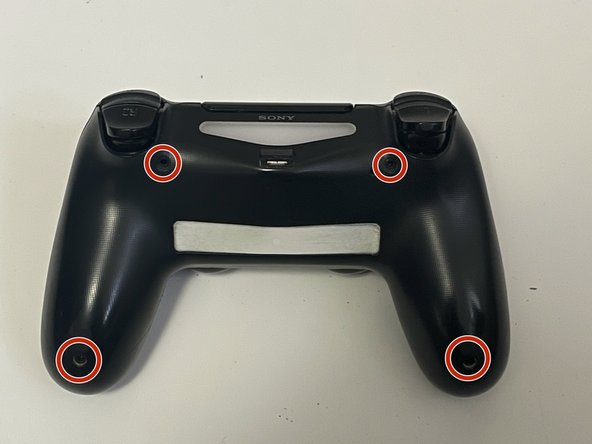
  1. How to Clean The R2 and L2 Buttons on a Dualshock 4 CUH-ZCT2 Controller, How to Clean the L2 and R2 Buttons: passo 1, immagine 1 di 2 How to Clean The R2 and L2 Buttons on a Dualshock 4 CUH-ZCT2 Controller, How to Clean the L2 and R2 Buttons: passo 1, immagine 2 di 2
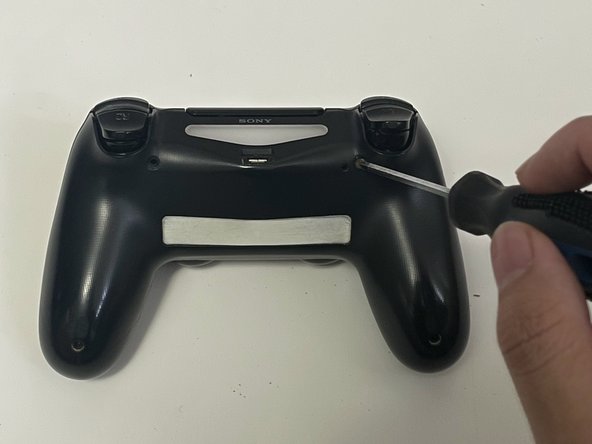
    • Use a Phillips #00 screwdriver to remove the four 6.0 mm screws located on the back of the controller.

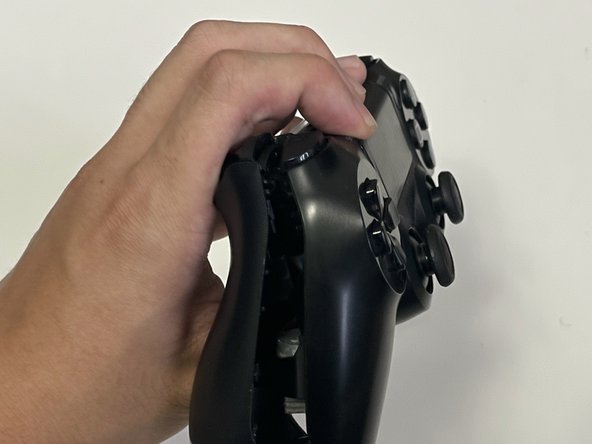
  2. How to Clean The R2 and L2 Buttons on a Dualshock 4 CUH-ZCT2 Controller: passo 2, immagine 1 di 3 How to Clean The R2 and L2 Buttons on a Dualshock 4 CUH-ZCT2 Controller: passo 2, immagine 2 di 3 How to Clean The R2 and L2 Buttons on a Dualshock 4 CUH-ZCT2 Controller: passo 2, immagine 3 di 3
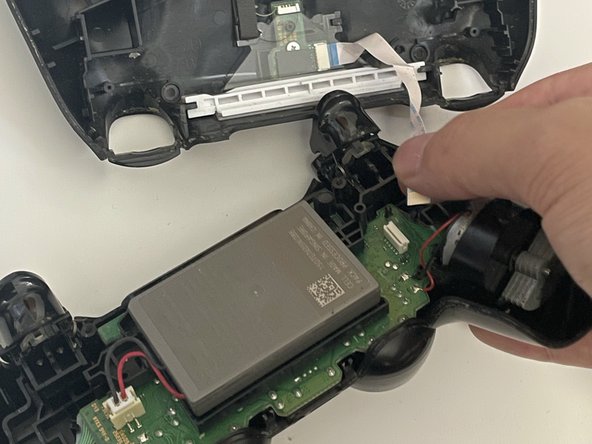
    • Separate the front and the back of the controller by pulling both pieces apart at the same time.

    • Be very careful and gentle when pulling the shells apart because the blue ribbon can become detached and damaged.

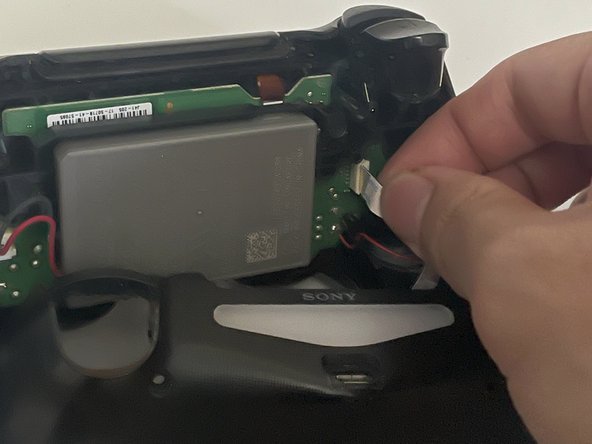
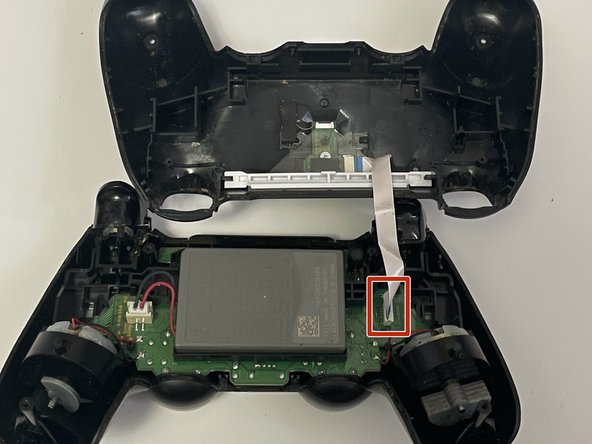
  3. How to Clean The R2 and L2 Buttons on a Dualshock 4 CUH-ZCT2 Controller: passo 3, immagine 1 di 2 How to Clean The R2 and L2 Buttons on a Dualshock 4 CUH-ZCT2 Controller: passo 3, immagine 2 di 2
    • Carefully unplug the blue ribbon from the body of the controller shell.

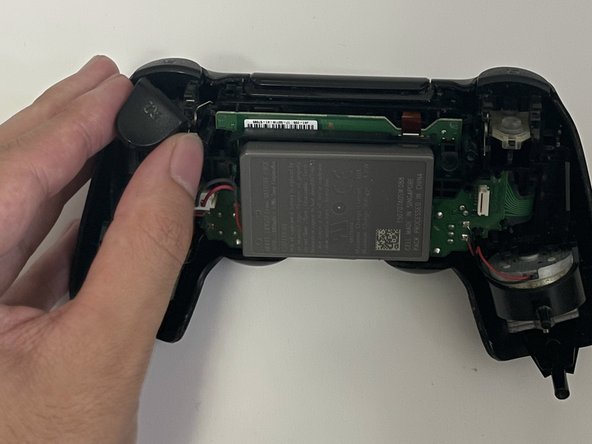
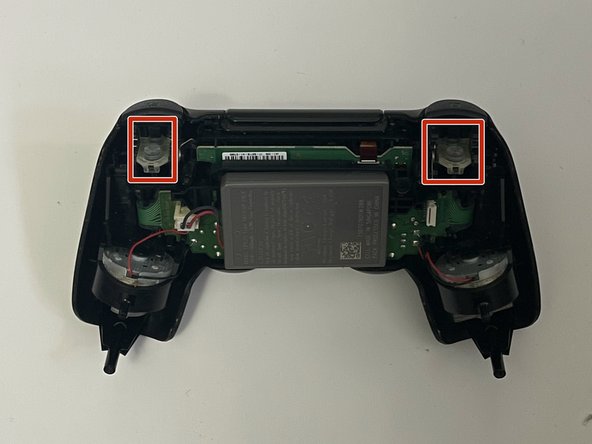
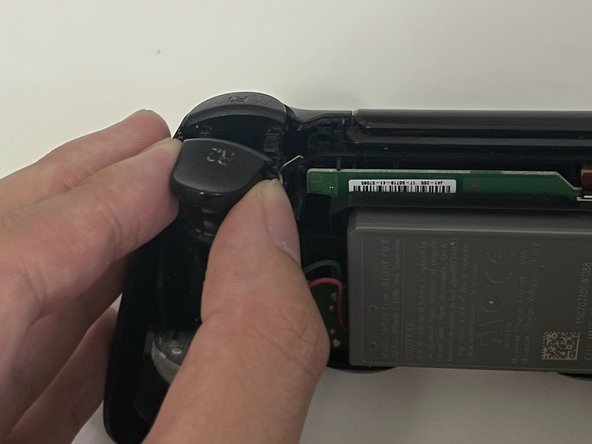
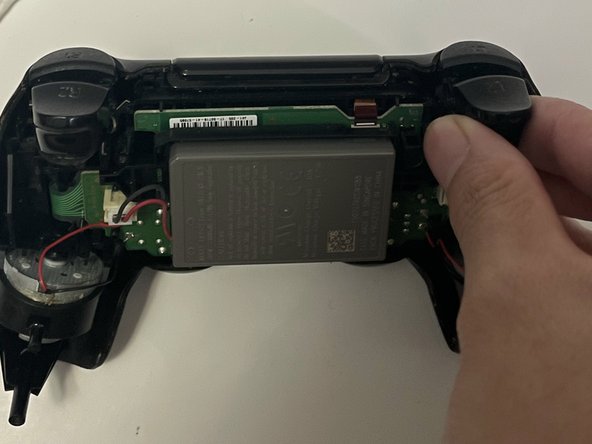
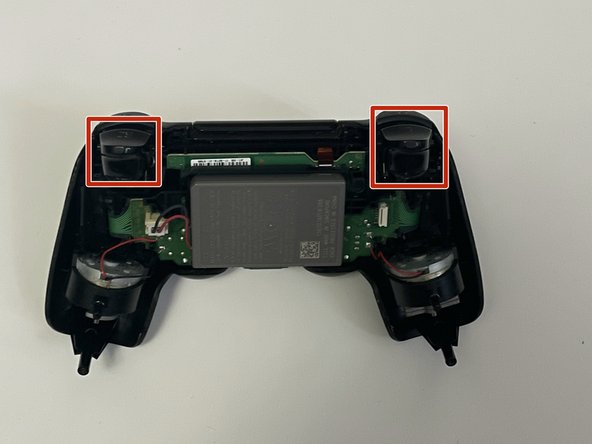
  4. How to Clean The R2 and L2 Buttons on a Dualshock 4 CUH-ZCT2 Controller: passo 4, immagine 1 di 3 How to Clean The R2 and L2 Buttons on a Dualshock 4 CUH-ZCT2 Controller: passo 4, immagine 2 di 3 How to Clean The R2 and L2 Buttons on a Dualshock 4 CUH-ZCT2 Controller: passo 4, immagine 3 di 3
    • Remove the left and right triggers by wiggling the buttons sideways until they are completely off.

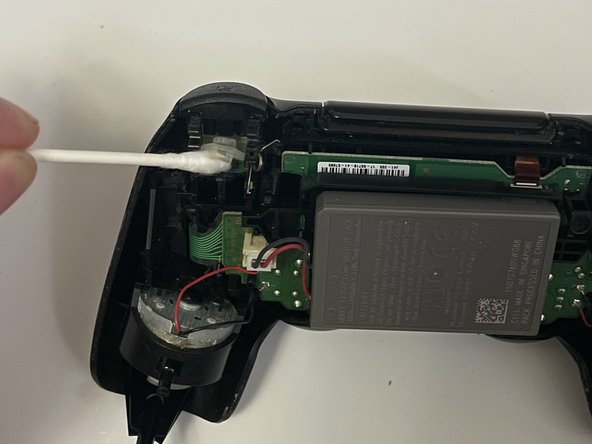
  5. How to Clean The R2 and L2 Buttons on a Dualshock 4 CUH-ZCT2 Controller: passo 5, immagine 1 di 2 How to Clean The R2 and L2 Buttons on a Dualshock 4 CUH-ZCT2 Controller: passo 5, immagine 2 di 2
    • Take the Q-tip and soak it into the isopropyl alcohol.

    • Clean around the trigger button area as well as under and above the rubber padding.

  6. How to Clean The R2 and L2 Buttons on a Dualshock 4 CUH-ZCT2 Controller: passo 6, immagine 1 di 3 How to Clean The R2 and L2 Buttons on a Dualshock 4 CUH-ZCT2 Controller: passo 6, immagine 2 di 3 How to Clean The R2 and L2 Buttons on a Dualshock 4 CUH-ZCT2 Controller: passo 6, immagine 3 di 3
    • Put the L2 and R2 buttons back into place by simply forcing them into position until properly locked.

  7. How to Clean The R2 and L2 Buttons on a Dualshock 4 CUH-ZCT2 Controller: passo 7, immagine 1 di 2 How to Clean The R2 and L2 Buttons on a Dualshock 4 CUH-ZCT2 Controller: passo 7, immagine 2 di 2
    • Attach the blue ribbon back into its original location so that the two shells of the controller are connected.

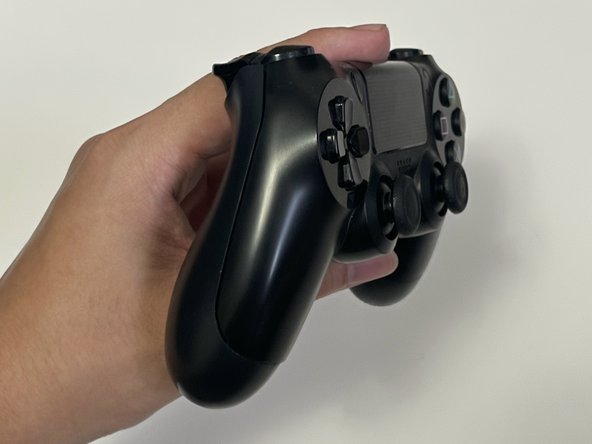
  8. How to Clean The R2 and L2 Buttons on a Dualshock 4 CUH-ZCT2 Controller: passo 8, immagine 1 di 2 How to Clean The R2 and L2 Buttons on a Dualshock 4 CUH-ZCT2 Controller: passo 8, immagine 2 di 2
    • Put the two shells of the controller together by pushing them together at the same time.

  9. How to Clean The R2 and L2 Buttons on a Dualshock 4 CUH-ZCT2 Controller: passo 9, immagine 1 di 3 How to Clean The R2 and L2 Buttons on a Dualshock 4 CUH-ZCT2 Controller: passo 9, immagine 2 di 3 How to Clean The R2 and L2 Buttons on a Dualshock 4 CUH-ZCT2 Controller: passo 9, immagine 3 di 3
    • Screw the four 6.0mm screws on the back of the controller using the Phillips #00 screwdriver.

Linea Traguardo

Un'altra persona ha completato questa guida.

Joseph Cao

Membro da: 09/14/23

196 Reputazione

1 Guida realizzata

Team

Un commento

سلام اون نظری که واستون گذاشتم رسید به دستتون گفتم اگر نشه درست نشه باید چیکار کنیم

ایمان هاشمی - Replica

Aggiungi Commento

Visualizza Statistiche:

Ultime 24 Ore: 14

Ultimi 7 Giorni: 86

Ultimi 30 Giorni: 339

Tutti i Tempi: 2,211