Salta al contenuto principale
Unisciti alla Community delle riparazioni - Crea un account

How to Change Broken Buttons on your Lexus Key Fob

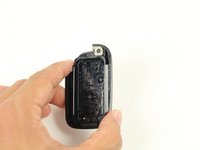
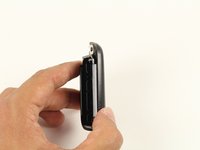
    1. How to Change Broken Buttons on your Lexus Key Fob, Broken Buttons: passo 1, immagine 1 di 2 How to Change Broken Buttons on your Lexus Key Fob, Broken Buttons: passo 1, immagine 2 di 2
      • Place the key fob with the removable metal key facing towards you.

      Chiedi a FixBot

      Aggiungi Commento

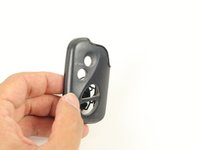
    2. How to Change Broken Buttons on your Lexus Key Fob: passo 2, immagine 1 di 3 How to Change Broken Buttons on your Lexus Key Fob: passo 2, immagine 2 di 3 How to Change Broken Buttons on your Lexus Key Fob: passo 2, immagine 3 di 3
      • With the button side facing you, pull the metal latch down towards you to pull out the key.

      Chiedi a FixBot

      Aggiungi Commento

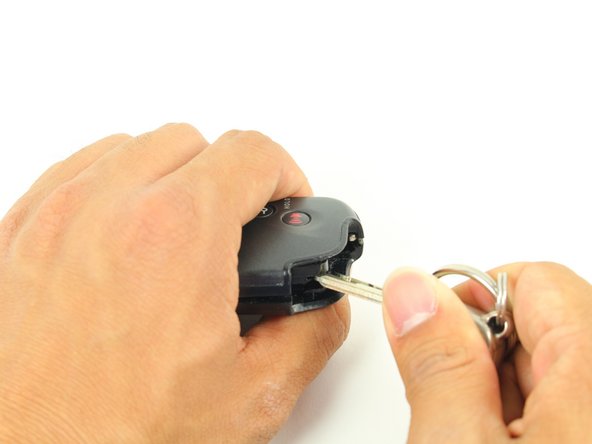
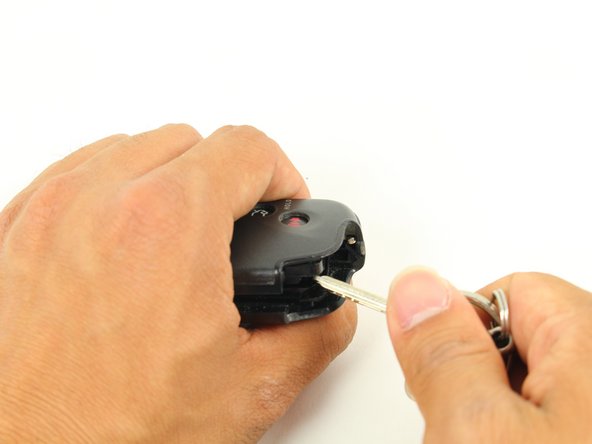
    3. How to Change Broken Buttons on your Lexus Key Fob: passo 3, immagine 1 di 3 How to Change Broken Buttons on your Lexus Key Fob: passo 3, immagine 2 di 3 How to Change Broken Buttons on your Lexus Key Fob: passo 3, immagine 3 di 3
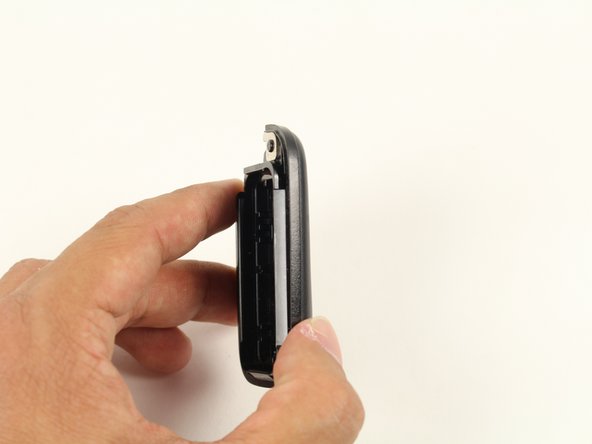
      • With the exposed corner facing you, place the metal key into the slot.

      • Turn the key sideways to open the key fob.

      • You may feel like you're breaking the key fob, but be firm while twisting.

      Chiedi a FixBot

      Aggiungi Commento

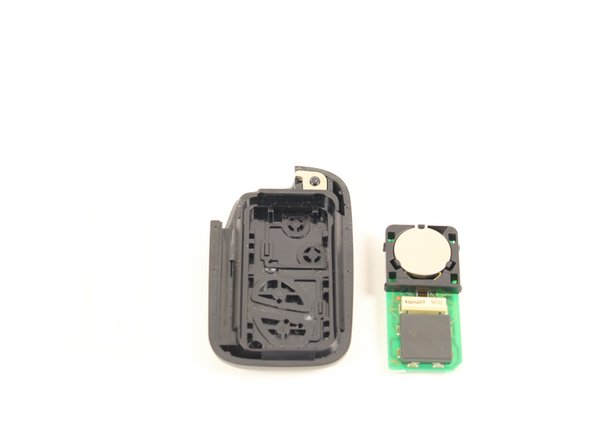
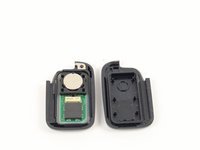
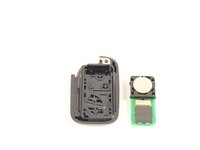
    4. How to Change Broken Buttons on your Lexus Key Fob: passo 4, immagine 1 di 2 How to Change Broken Buttons on your Lexus Key Fob: passo 4, immagine 2 di 2
      • Remove the motherboard and battery to access the buttons.

      Chiedi a FixBot

      Aggiungi Commento

    5. How to Change Broken Buttons on your Lexus Key Fob: passo 5, immagine 1 di 3 How to Change Broken Buttons on your Lexus Key Fob: passo 5, immagine 2 di 3 How to Change Broken Buttons on your Lexus Key Fob: passo 5, immagine 3 di 3
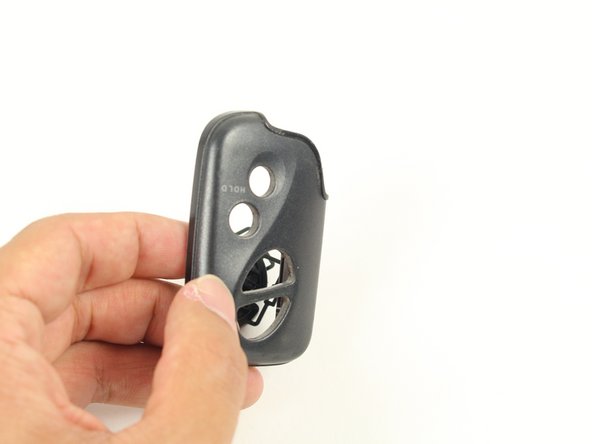
      • Rotate the front plate, the broken buttons should fall out with ease.

      • Replace the broken buttons as necessary.

      Chiedi a FixBot

      Aggiungi Commento

Conclusione

To reassemble your device, follow these instructions in reverse order. Apply firm pressure when snapping the front and back covers together.

Annulla: non ho completato questa guida.

Altre 7 persone hanno completato questa guida.

Michael Tan

Membro da: 01/08/15

590 Reputazione

3 guide realizzate

Team

Cal Poly, Team 30-3, Green Spring 2015 Membro di Cal Poly, Team 30-3, Green Spring 2015

CPSU-GREEN-S15S30G3

4 Membri

14 guide realizzate

1Commento della guida

useless guide

Davide - Rispondi Condividi

Aggiungi Commento

Visualizza statistiche:

Ultime 24 ore: 1

Ultimi 7 giorni: 10

Ultimi 30 giorni: 62

Tutti i Tempi: 7,479