Salta al contenuto principale
Unisciti alla Community delle riparazioni - Crea un account
How To Replace An Umbrella Handle

How To Replace An Umbrella Handle

Lisa Nguyen

Lisa Nguyen e un altro collaboratore

Ultimo aggiornamento il 13 mag 2025

15 - 30 minuti
Facile
Guida Studente in Evidenza

Introduzione

Vai al passo 1

If your umbrella handle is cracked, loose, or detached, use this guide to replace it and restore your umbrella’s functionality. The handle plays a crucial role in providing stability and ease of use, so it can make the umbrella difficult to operate when it's damaged.

In this guide, you’ll learn how to remove the damaged handle, prepare the umbrella shaft for optimal adhesion, and securely attach the new handle. For guidance on using adhesives like epoxy, check out this LePage guide on using epoxy, which provides valuable tips on mixing and applying epoxy adhesives.

Before beginning, remember to work in a well-ventilated area, especially when using adhesives. For safety precautions, following guidelines such as those outlined by Health Canada on arts and crafts materials is important. Be sure to allow the adhesive to cure properly before using your umbrella again.

Cosa ti serve

Strumenti

Mostra di più…

  1. How To Replace An Umbrella Handle, Handle: passo 1, immagine 1 di 1
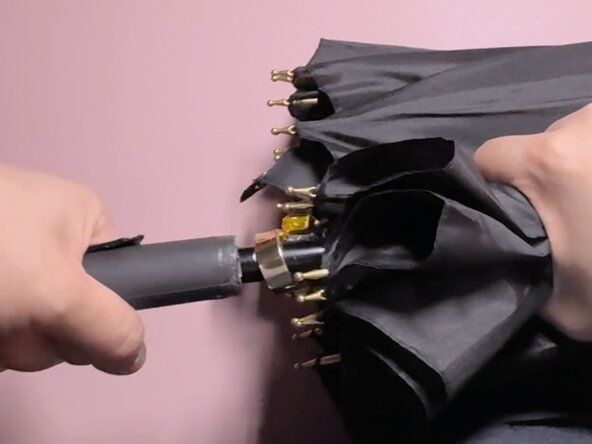
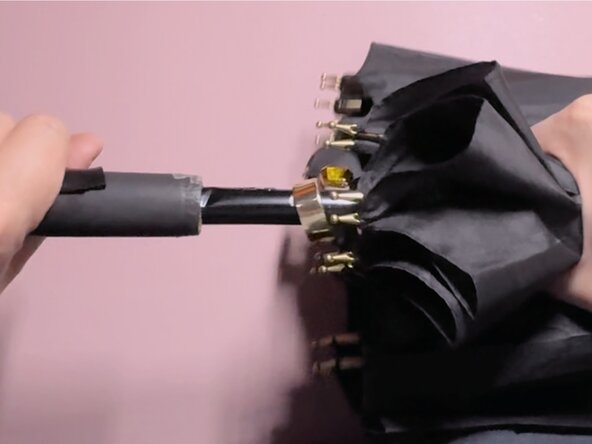
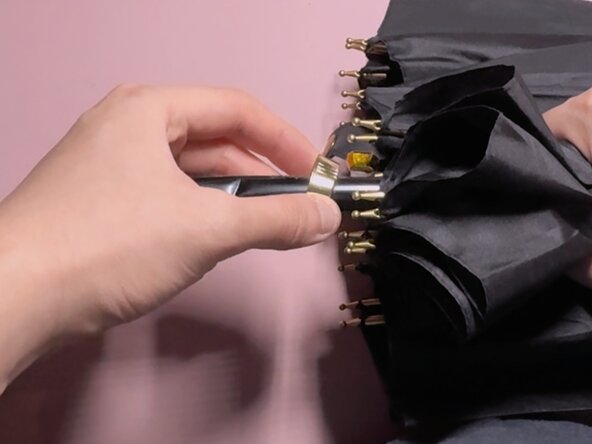
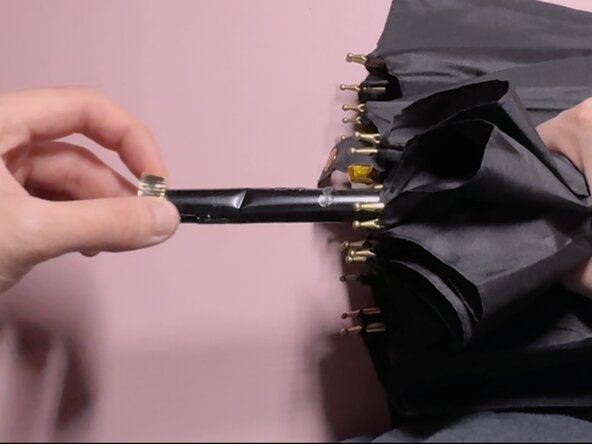
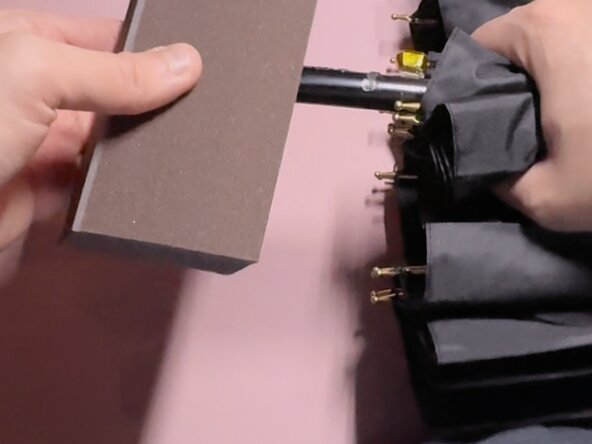
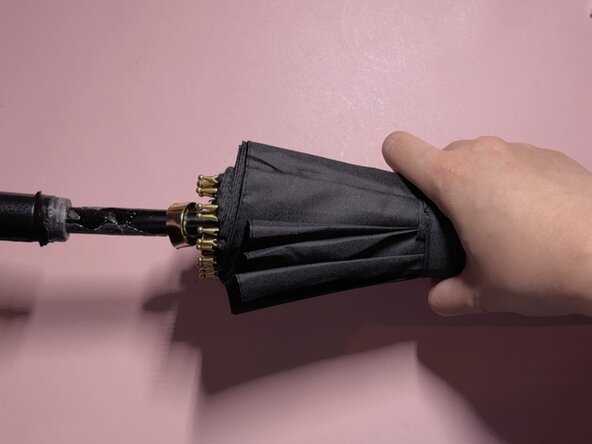
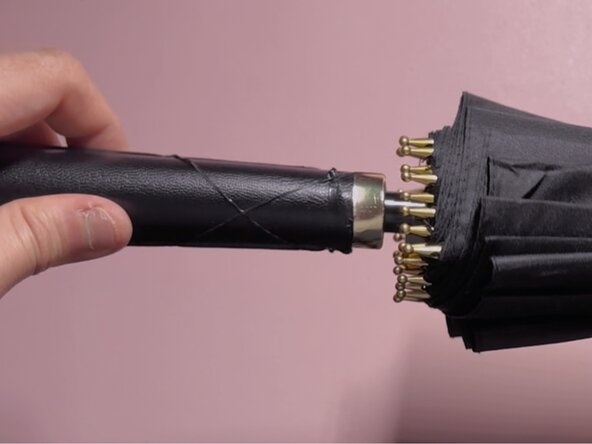
    • Check if the handle is cracked, detached, or loose.

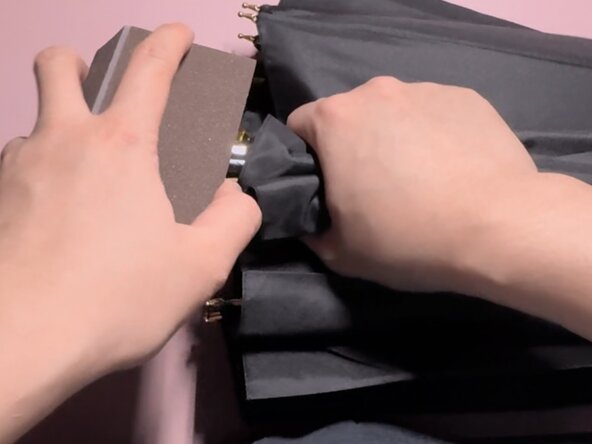
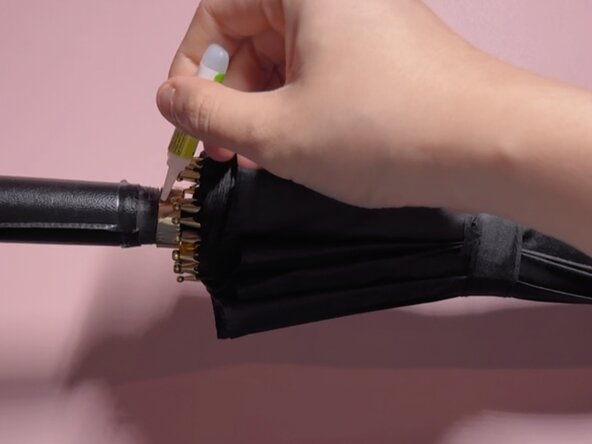
    • Determine if reattachment or replacement is necessary.

  2. How To Replace An Umbrella Handle: passo 2, immagine 1 di 3 How To Replace An Umbrella Handle: passo 2, immagine 2 di 3 How To Replace An Umbrella Handle: passo 2, immagine 3 di 3
    • If the handle is glued, twist and pull gently to remove it.

    • If it’s difficult to remove, apply heat with a hairdryer to soften the adhesive.

  3. How To Replace An Umbrella Handle: passo 3, immagine 1 di 3 How To Replace An Umbrella Handle: passo 3, immagine 2 di 3 How To Replace An Umbrella Handle: passo 3, immagine 3 di 3
    • Slide off the handle ring from the umbrella shaft.

  4. How To Replace An Umbrella Handle: passo 4, immagine 1 di 3 How To Replace An Umbrella Handle: passo 4, immagine 2 di 3 How To Replace An Umbrella Handle: passo 4, immagine 3 di 3
    • Use sandpaper to rough up the shaft for better adhesion.

  5. How To Replace An Umbrella Handle: passo 5, immagine 1 di 2 How To Replace An Umbrella Handle: passo 5, immagine 2 di 2
    • Slide the handle ring back onto the shaft securely.

  6. How To Replace An Umbrella Handle: passo 6, immagine 1 di 2 How To Replace An Umbrella Handle: passo 6, immagine 2 di 2
    • Apply approximately 5 ml of adhesive evenly inside the new handle, ensuring full coverage for a secure bond.

  7. How To Replace An Umbrella Handle: passo 7, immagine 1 di 3 How To Replace An Umbrella Handle: passo 7, immagine 2 di 3 How To Replace An Umbrella Handle: passo 7, immagine 3 di 3
    • Slide the new handle onto the shaft, ensuring a snug fit.

  8. How To Replace An Umbrella Handle: passo 8, immagine 1 di 2 How To Replace An Umbrella Handle: passo 8, immagine 2 di 2
    • Apply an additional 2–3 ml of adhesive evenly around the handle ring, ensuring full coverage to reinforce the bond and enhance durability.

  9. How To Replace An Umbrella Handle: passo 9, immagine 1 di 3 How To Replace An Umbrella Handle: passo 9, immagine 2 di 3 How To Replace An Umbrella Handle: passo 9, immagine 3 di 3
    • Wrap rubber bands or tape around the handle to hold it in place while the glue dries.

  10. How To Replace An Umbrella Handle: passo 10, immagine 1 di 1
    • Let the adhesive set for at least 24 hours before use.

Linea Traguardo

Lisa Nguyen

Membro da: 01/13/25

183 Reputazione

1 Guida realizzata

Team

0Commenti sulla guida

Aggiungi Commento

Visualizza Statistiche:

Ultime 24 Ore: 5

Ultimi 7 Giorni: 35

Ultimi 30 Giorni: 134

Tutti i Tempi: 261