Questa guida ha delle modifiche più recenti. Passa all'ultima versione non verificata.
Introduzione
The screws on the brakes are tight, but it's best to use hand tools so the screws don't get stripped.
Cosa ti serve
-
-
Remove the two, 23 mm Hex #5 screws holding the brake to the bike.
-
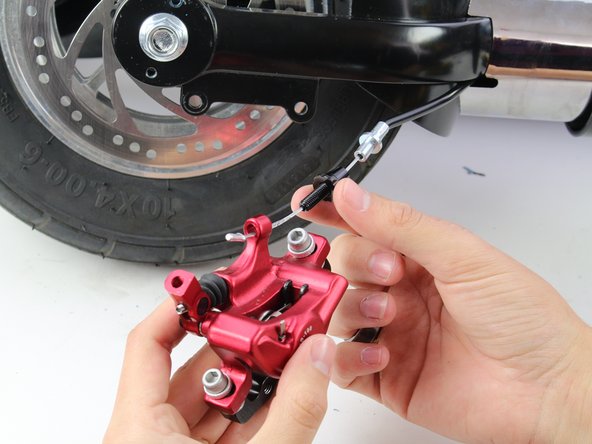
Slide the brake mechanism off and turn it upside down to reveal the screw holding the brake wire.
-
-


To reassemble your device, follow these instructions in reverse order.
To reassemble your device, follow these instructions in reverse order.
Annulla: non ho completato questa guida.
Un'altra persona ha completato questa guida.

Team

Cal Poly, Team S1-G2, White Winter 2019 Membro di Cal Poly, Team S1-G2, White Winter 2019
CPSU-WHITE-W19S1G2
3 Membri
6 Guide realizzate