Salta al contenuto principale

Hover-1 Titan Wheel and Motor Replacement

Cosa ti serve

  1. Hover-1 Titan Wheel and Motor Replacement, Bottom Left Panel: passo 1, immagine 1 di 2 Hover-1 Titan Wheel and Motor Replacement, Bottom Left Panel: passo 1, immagine 2 di 2
    • Flip the hoverboard so the bottom is facing up.

    • The left side is the side that has the charge port. There is also an "L" on the metal plate underneath the wires.

  2. Hover-1 Titan Wheel and Motor Replacement: passo 2, immagine 1 di 2 Hover-1 Titan Wheel and Motor Replacement: passo 2, immagine 2 di 2
    • Using a Phillips #1 screwdriver, remove the two 14 mm screws located closest to the center of the hoverboard.

    • Using a Phillips #1 screwdriver, remove the four 12 mm screws located in the middle of the panel.

    • Using a Phillips #1 screwdriver, remove two 15 mm screws located closest to the wheel.

  3. Hover-1 Titan Wheel and Motor Replacement: passo 3, immagine 1 di 3 Hover-1 Titan Wheel and Motor Replacement: passo 3, immagine 2 di 3 Hover-1 Titan Wheel and Motor Replacement: passo 3, immagine 3 di 3
    • Grip the bottom left panel and lift up to remove.

  4. Hover-1 Titan Wheel and Motor Replacement, Wheel and Motor: passo 4, immagine 1 di 2 Hover-1 Titan Wheel and Motor Replacement, Wheel and Motor: passo 4, immagine 2 di 2
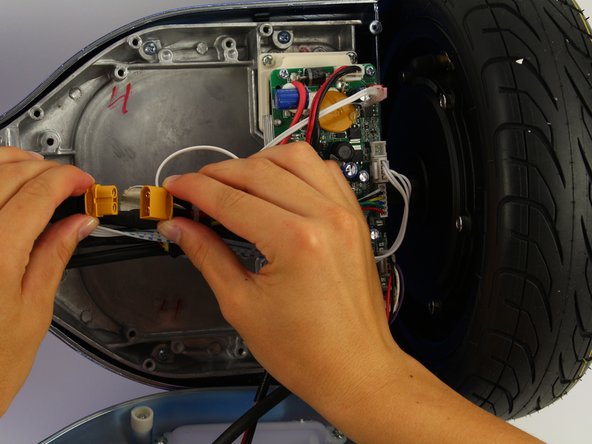
    • Unplug the battery by pulling apart the yellow connectors.

  5. Hover-1 Titan Wheel and Motor Replacement: passo 5, immagine 1 di 2 Hover-1 Titan Wheel and Motor Replacement: passo 5, immagine 2 di 2
    • Use the Phillips #1 screwdriver to remove the four 12mm screws that attach the gyroscope/motherboard to the hoverboard.

  6. Hover-1 Titan Wheel and Motor Replacement: passo 6, immagine 1 di 3 Hover-1 Titan Wheel and Motor Replacement: passo 6, immagine 2 di 3 Hover-1 Titan Wheel and Motor Replacement: passo 6, immagine 3 di 3
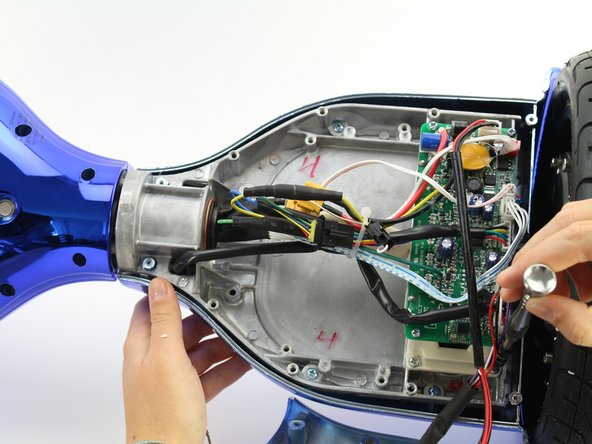
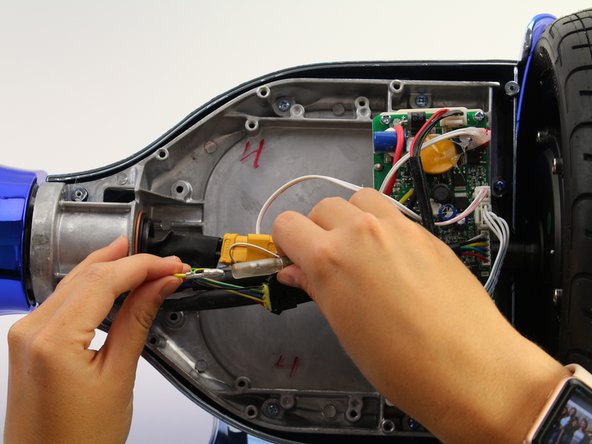
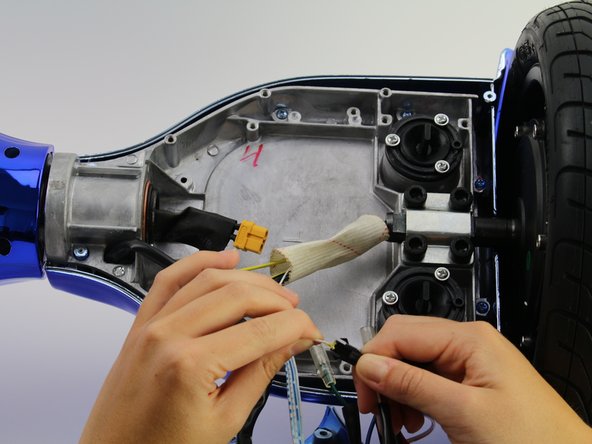
    • Cut the rubber surrounding the yellow wire and pull the rubber apart, exposing the connectors.

  7. Hover-1 Titan Wheel and Motor Replacement: passo 7, immagine 1 di 2 Hover-1 Titan Wheel and Motor Replacement: passo 7, immagine 2 di 2
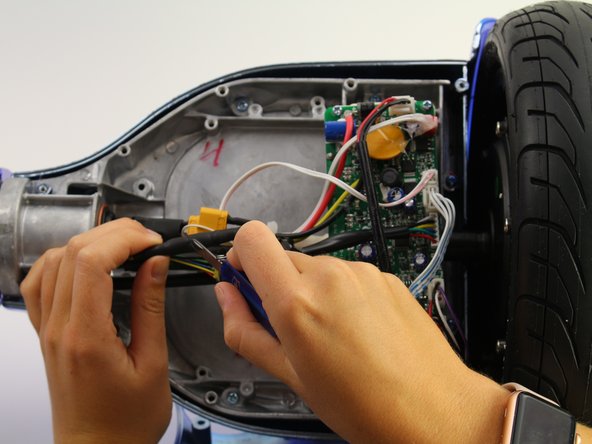
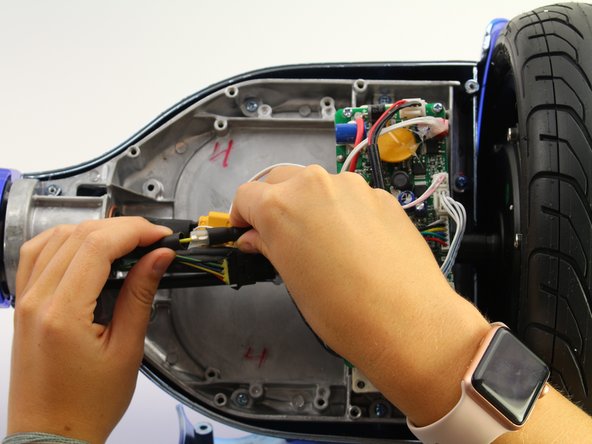
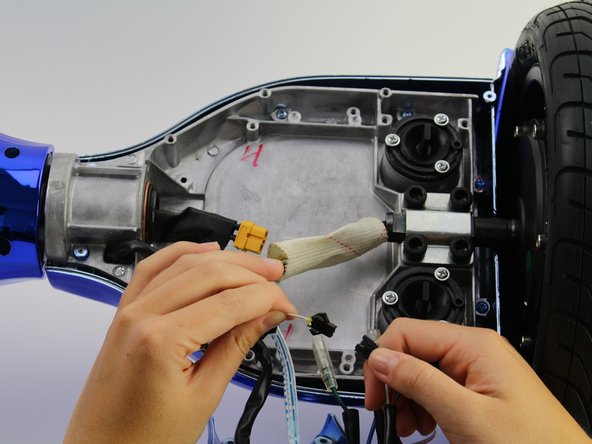
    • Unplug the yellow wires by gripping the wire close to the connectors and pulling apart.

  8. Hover-1 Titan Wheel and Motor Replacement: passo 8, immagine 1 di 3 Hover-1 Titan Wheel and Motor Replacement: passo 8, immagine 2 di 3 Hover-1 Titan Wheel and Motor Replacement: passo 8, immagine 3 di 3
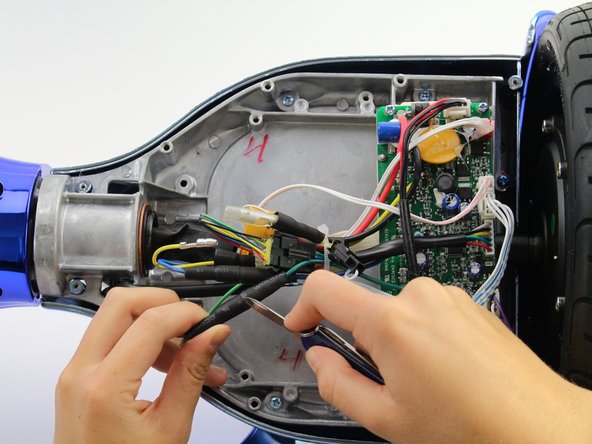
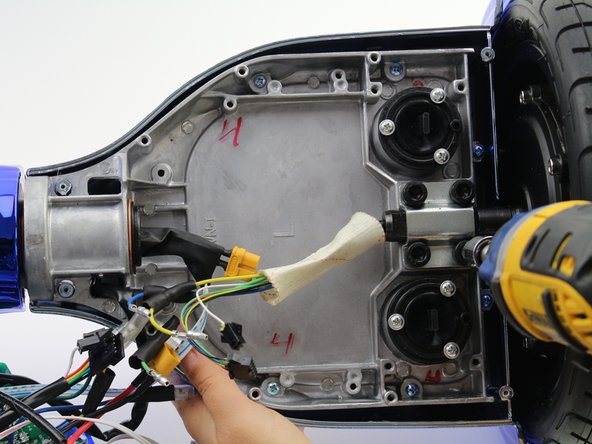
    • Cut the rubber surrounding the green wire and pull the rubber apart, exposing the connectors.

  9. Hover-1 Titan Wheel and Motor Replacement: passo 9, immagine 1 di 2 Hover-1 Titan Wheel and Motor Replacement: passo 9, immagine 2 di 2
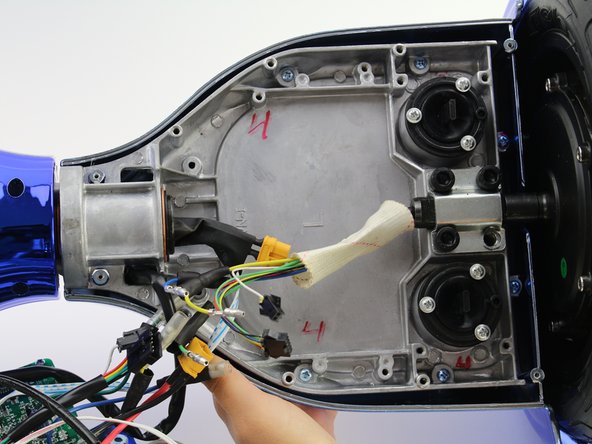
    • Unplug the green wires by gripping the wire close to the connectors and pulling apart.

  10. Hover-1 Titan Wheel and Motor Replacement: passo 10, immagine 1 di 3 Hover-1 Titan Wheel and Motor Replacement: passo 10, immagine 2 di 3 Hover-1 Titan Wheel and Motor Replacement: passo 10, immagine 3 di 3
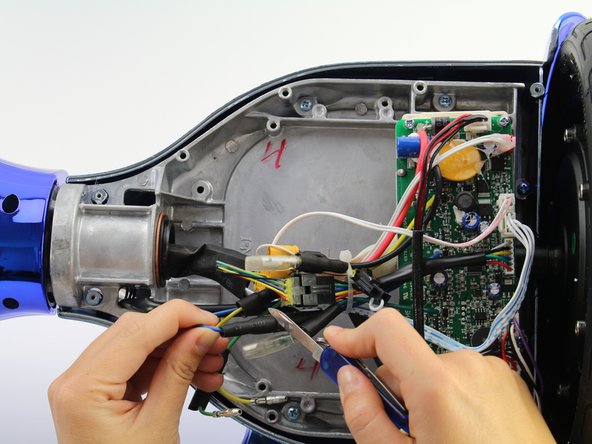
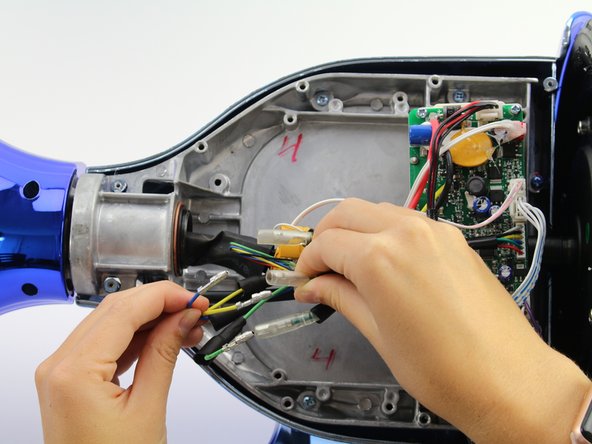
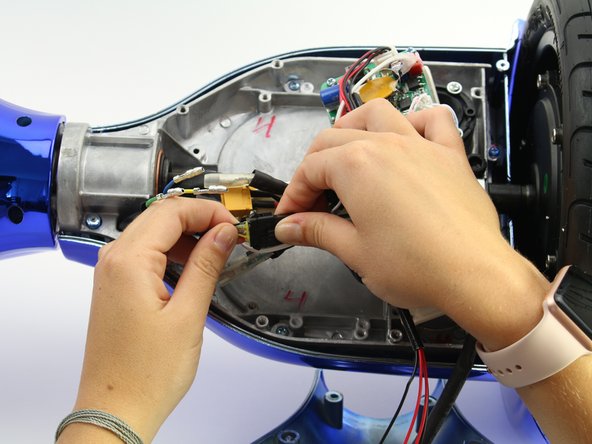
    • Cut the rubber surrounding the blue wire and pull the rubber apart, exposing the connectors.

  11. Hover-1 Titan Wheel and Motor Replacement: passo 11, immagine 1 di 2 Hover-1 Titan Wheel and Motor Replacement: passo 11, immagine 2 di 2
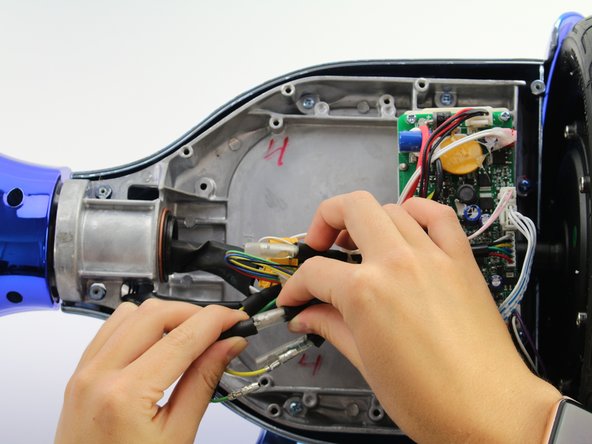
    • Unplug the blue wires by gripping the wire close to the connectors and pulling apart.

  12. Hover-1 Titan Wheel and Motor Replacement: passo 12, immagine 1 di 3 Hover-1 Titan Wheel and Motor Replacement: passo 12, immagine 2 di 3 Hover-1 Titan Wheel and Motor Replacement: passo 12, immagine 3 di 3
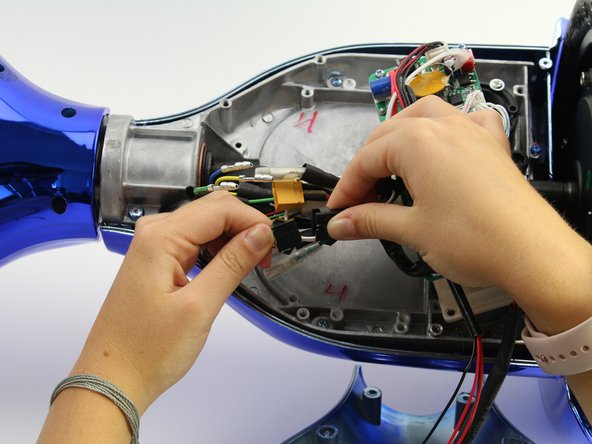
    • Unplug the rainbow connector by squeezing the clips and pulling apart.

  13. Hover-1 Titan Wheel and Motor Replacement: passo 13, immagine 1 di 2 Hover-1 Titan Wheel and Motor Replacement: passo 13, immagine 2 di 2
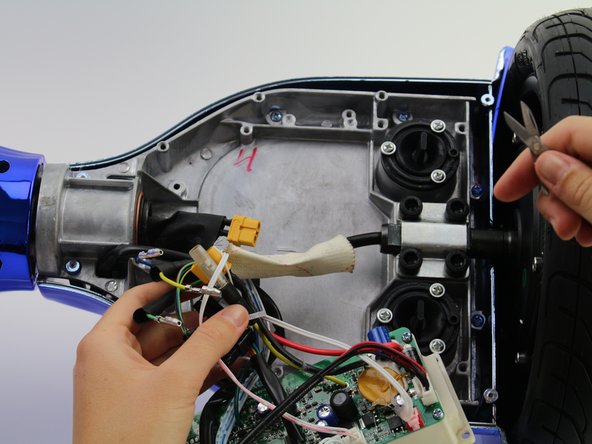
    • Use scissors to cut the zip tie around the group of wires.

  14. Hover-1 Titan Wheel and Motor Replacement: passo 14, immagine 1 di 3 Hover-1 Titan Wheel and Motor Replacement: passo 14, immagine 2 di 3 Hover-1 Titan Wheel and Motor Replacement: passo 14, immagine 3 di 3
    • Unplug the white wire connector by squeezing the clips and pulling apart.

  15. Hover-1 Titan Wheel and Motor Replacement: passo 15, immagine 1 di 2 Hover-1 Titan Wheel and Motor Replacement: passo 15, immagine 2 di 2
    • Use an impact driver with a hex 6 bit to loosen the four 20 mm hex 6 bolts.

    • Wear safety glasses while using the impact driver.

  16. Hover-1 Titan Wheel and Motor Replacement: passo 16, immagine 1 di 3 Hover-1 Titan Wheel and Motor Replacement: passo 16, immagine 2 di 3 Hover-1 Titan Wheel and Motor Replacement: passo 16, immagine 3 di 3
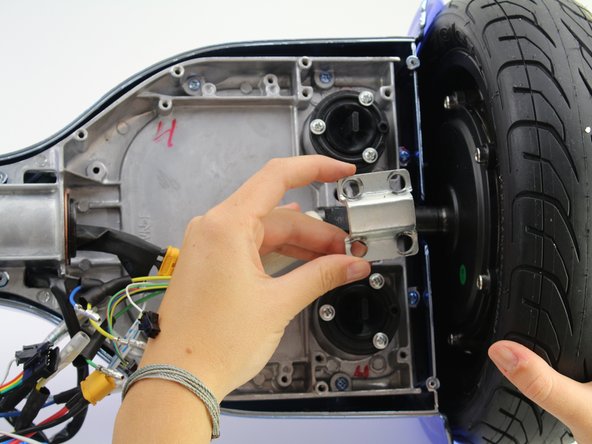
    • Pull out the loosened screws with your hands and remove the metal plate.

  17. Hover-1 Titan Wheel and Motor Replacement: passo 17, immagine 1 di 2 Hover-1 Titan Wheel and Motor Replacement: passo 17, immagine 2 di 2
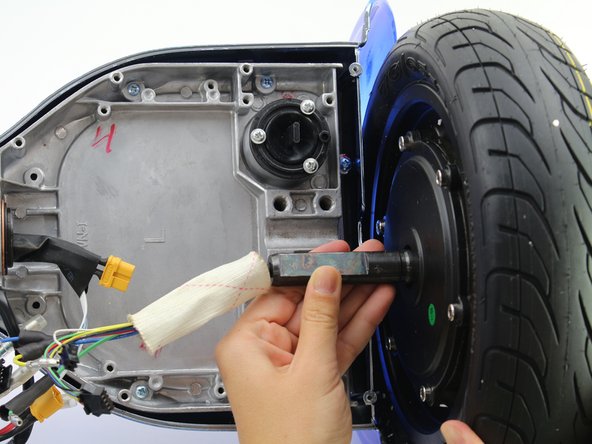
    • Lift the wheel and motor shaft up and out of the board.

    • The motor shaft is located within the wheel.

Conclusione

To reassemble your device, follow these instructions in reverse order.

Altre 3 persone hanno completato questa guida.

Emma Huun

Membro da: 10/08/18

312 Reputazione

1 Guida realizzata

Team

Cal Poly, Team S15-G4, White Fall 2018 Membro di Cal Poly, Team S15-G4, White Fall 2018

CPSU-WHITE-F18S15G4

4 Membri

10 Guide realizzate

0 Commenti

Aggiungi Commento

Visualizza Statistiche:

Ultime 24 Ore: 4

Ultimi 7 Giorni: 5

Ultimi 30 Giorni: 44

Tutti i Tempi: 1,653