Salta al contenuto principale

Hover-1 Titan Charge Port Replacement

Cosa ti serve

  1. Hover-1 Titan Charge Port Replacement, Bottom Left Panel: passo 1, immagine 1 di 2 Hover-1 Titan Charge Port Replacement, Bottom Left Panel: passo 1, immagine 2 di 2
    • Flip the hoverboard so the bottom is facing up.

    • The left side is the side that has the charge port. There is also an "L" on the metal plate underneath the wires.

  2. Hover-1 Titan Charge Port Replacement: passo 2, immagine 1 di 2 Hover-1 Titan Charge Port Replacement: passo 2, immagine 2 di 2
    • Using a Phillips #1 screwdriver, remove the two 14 mm screws located closest to the center of the hoverboard.

    • Using a Phillips #1 screwdriver, remove the four 12 mm screws located in the middle of the panel.

    • Using a Phillips #1 screwdriver, remove two 15 mm screws located closest to the wheel.

  3. Hover-1 Titan Charge Port Replacement: passo 3, immagine 1 di 3 Hover-1 Titan Charge Port Replacement: passo 3, immagine 2 di 3 Hover-1 Titan Charge Port Replacement: passo 3, immagine 3 di 3
    • Grip the bottom left panel and lift up to remove.

  4. Hover-1 Titan Charge Port Replacement, Charge Port: passo 4, immagine 1 di 3 Hover-1 Titan Charge Port Replacement, Charge Port: passo 4, immagine 2 di 3 Hover-1 Titan Charge Port Replacement, Charge Port: passo 4, immagine 3 di 3
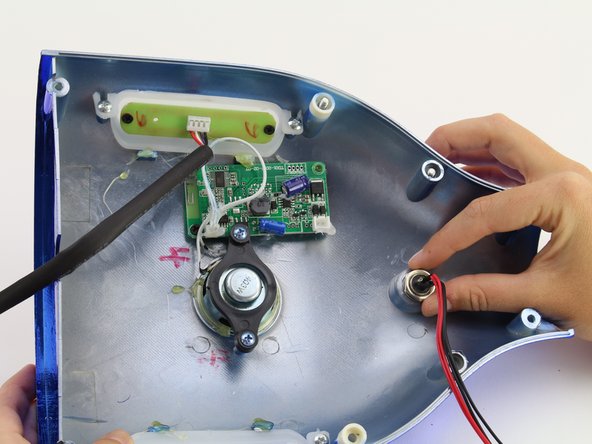
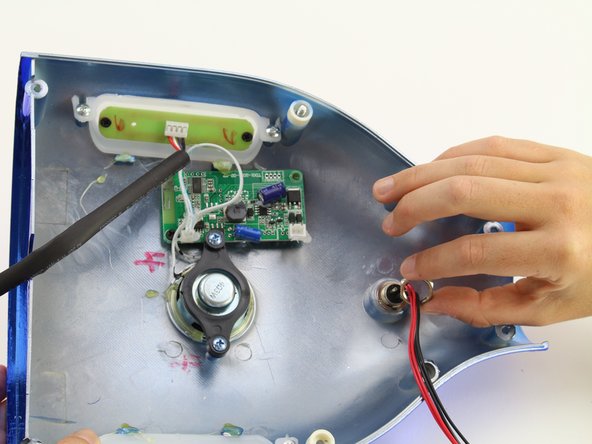
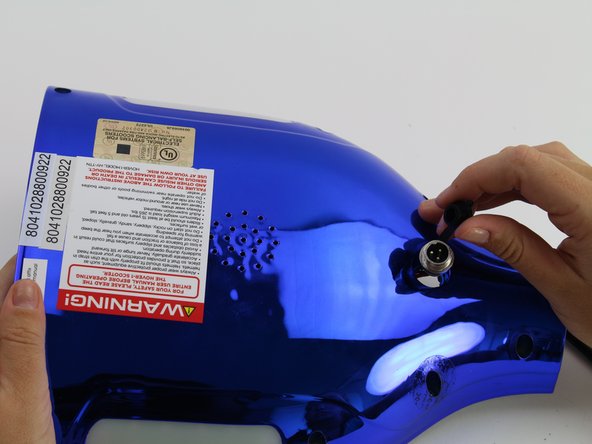
    • Unplug the red and black charge port wire from the motherboard by squeezing the connector located at the top right of the motherboard and pulling the connector away from the board.

  5. Hover-1 Titan Charge Port Replacement: passo 5, immagine 1 di 3 Hover-1 Titan Charge Port Replacement: passo 5, immagine 2 di 3 Hover-1 Titan Charge Port Replacement: passo 5, immagine 3 di 3
    • Use an adjustable wrench to loosen the 14 mm nut and lift it off the charge port.

  6. Hover-1 Titan Charge Port Replacement: passo 6, immagine 1 di 2 Hover-1 Titan Charge Port Replacement: passo 6, immagine 2 di 2
    • Remove the old charge port by pulling the wires all the way through the panel.

    • Replace the old charge port with the new charge port.

Conclusione

To reassemble your device, follow these instructions in reverse order.

Team

Cal Poly, Team S15-G4, White Fall 2018 Membro di Cal Poly, Team S15-G4, White Fall 2018

CPSU-WHITE-F18S15G4

4 Membri

10 Guide realizzate

0 Commenti

Aggiungi Commento

Visualizza Statistiche:

Ultime 24 Ore: 0

Ultimi 7 Giorni: 3

Ultimi 30 Giorni: 8

Tutti i Tempi: 626