Salta al contenuto principale

Hot Tools HPK12 Heating Plate Replacement

Cosa ti serve

  1. Hot Tools HPK12 Heating Plate Replacement, Prerequisite Only: passo 1, immagine 1 di 3 Hot Tools HPK12 Heating Plate Replacement, Prerequisite Only: passo 1, immagine 2 di 3 Hot Tools HPK12 Heating Plate Replacement, Prerequisite Only: passo 1, immagine 3 di 3
    • Remove round plastic cover near cord base by prying under the side with the metal spudger.

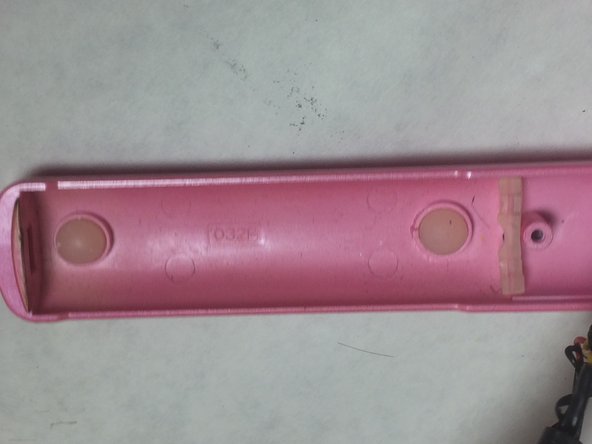
    • Flip the device and remove the other round plastic cover near the base of the cord.

    • Use the Phillips #1 screwdriver to remove the 5.5mm PH1 screw and washer under the plastic cover and set both aside.

  2. Hot Tools HPK12 Heating Plate Replacement: passo 2, immagine 1 di 1
    • Use the metal spudger to push the center pin through to the other side.

  3. Hot Tools HPK12 Heating Plate Replacement: passo 3, immagine 1 di 2 Hot Tools HPK12 Heating Plate Replacement: passo 3, immagine 2 di 2
    • Lift back plastic cover to expose spring assembly.

    • Be careful not to damage the power cord by bending or twisting it too much while performing this step.

    • Grip the exposed end of the spring assembly and remove it.

    • The side with the two ends of the spring goes into the recessed area of the iron

  4. Hot Tools HPK12 Heating Plate Replacement: passo 4, immagine 1 di 1
    • Use the JIS #0 screwdriver to remove the two 3.5mm “J0” screws that attach the control assembly cover to the flat iron base.

  5. Hot Tools HPK12 Heating Plate Replacement: passo 5, immagine 1 di 3 Hot Tools HPK12 Heating Plate Replacement: passo 5, immagine 2 di 3 Hot Tools HPK12 Heating Plate Replacement: passo 5, immagine 3 di 3
    • Lift upward on the control assembly cover to remove it from the flat iron base.

    • Remove dial and switch cover and set aside.

  6. Hot Tools HPK12 Heating Plate Replacement: passo 6, immagine 1 di 3 Hot Tools HPK12 Heating Plate Replacement: passo 6, immagine 2 di 3 Hot Tools HPK12 Heating Plate Replacement: passo 6, immagine 3 di 3
    • Use your JIS #0 screw driver to remove the two 6mm “J0” screws that are attached to the flat iron base and set them aside.

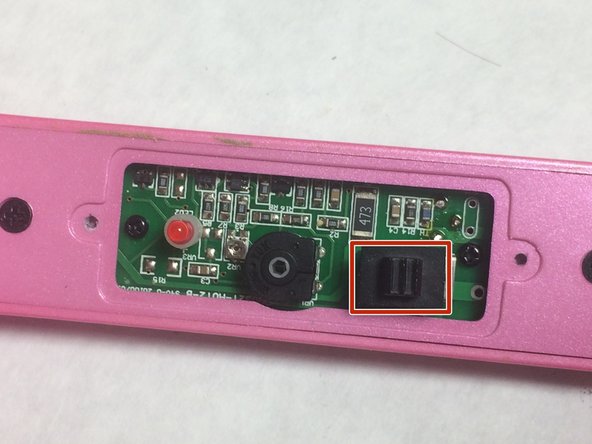
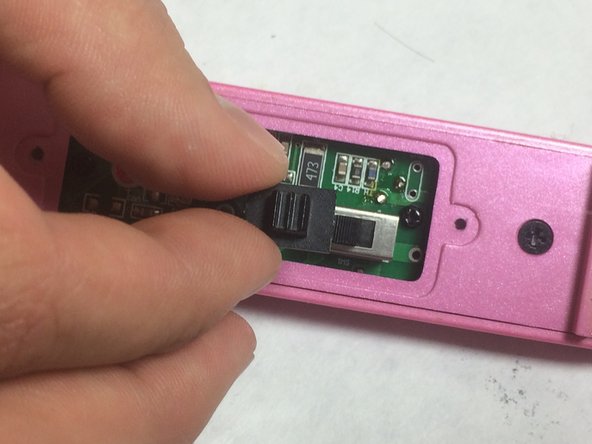
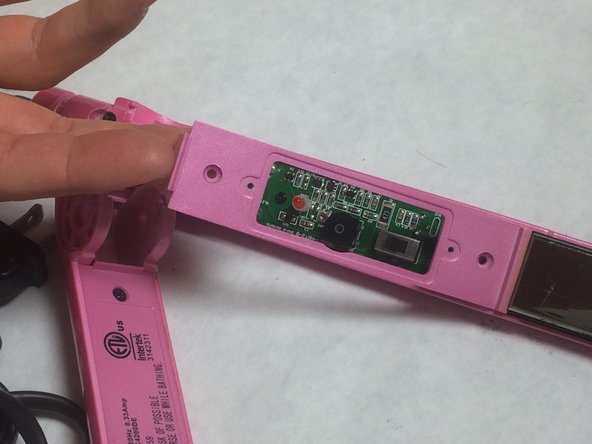
    • Lift the backing plate upwards to remove it from the flat iron.

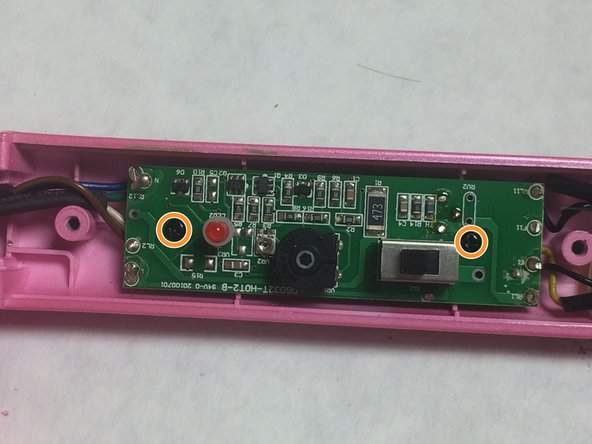
    • Use the Phillips #0 screwdriver to remove two 4mm “PH0” screws that attach the circuit assembly to the flat iron base.

  7. Hot Tools HPK12 Heating Plate Replacement, Heating Plates: passo 7, immagine 1 di 1
    • Lift plate and circuit assembly away from flat iron case.

  8. Hot Tools HPK12 Heating Plate Replacement: passo 8, immagine 1 di 1
    • Flip device to access the non-control assembly flat iron arm and remove two 3.5mm “J0” screws that attaches cover to flat iron base.

  9. Hot Tools HPK12 Heating Plate Replacement: passo 9, immagine 1 di 1
    • Lift cover from flat iron case.

  10. Hot Tools HPK12 Heating Plate Replacement: passo 10, immagine 1 di 2 Hot Tools HPK12 Heating Plate Replacement: passo 10, immagine 2 di 2
    • Lift heating plate away from flat iron case.

Conclusione

To reassemble your device, follow these instructions in reverse order.

Un'altra persona ha completato questa guida.

Team

IUPUI, Team 3-4, Baechle Fall 2016 Membro di IUPUI, Team 3-4, Baechle Fall 2016

IUPUI-BAECHLE-F16S3G4

4 Membri

5 Guide realizzate

0 Commenti

Aggiungi Commento

Visualizza Statistiche:

Ultime 24 Ore: 0

Ultimi 7 Giorni: 1

Ultimi 30 Giorni: 4

Tutti i Tempi: 845