Questa versione può contenere modifiche errate. Passa all'ultima istantanea verificata.
Cosa ti serve
-
Questo passaggio è privo di traduzione. Aiuta a tradurlo
-
Remove round plastic cover near cord base by prying under the side with the metal spudger.
-
Flip the device and remove the other round plastic cover near the base of the cord.
-
Use the Phillips #1 screwdriver to remove the 5.5mm PH1 screw and washer under the plastic cover and set both aside.
-
-
Questo passaggio è privo di traduzione. Aiuta a tradurlo
-
Use the metal spudger to push the center pin through to the other side.
-
-
-
Questo passaggio è privo di traduzione. Aiuta a tradurlo
-
Lift back plastic cover to expose spring assembly.
-
Grip the exposed end of the spring assembly and remove it.
-
-
Questo passaggio è privo di traduzione. Aiuta a tradurlo
-
Use the JIS #0 screwdriver to remove the two 3.5mm “J0” screws that attach the control assembly cover to the flat iron base.
-
-
Questo passaggio è privo di traduzione. Aiuta a tradurlo
-
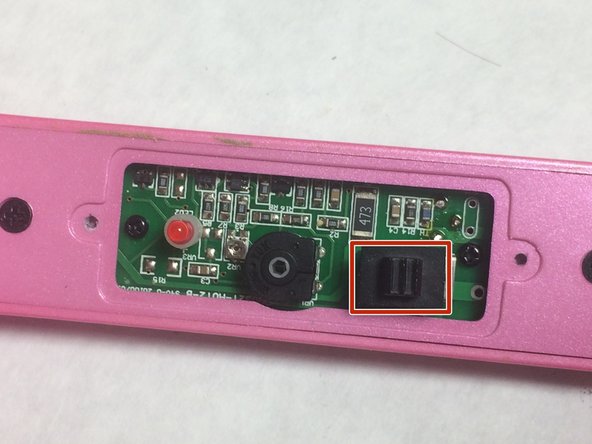
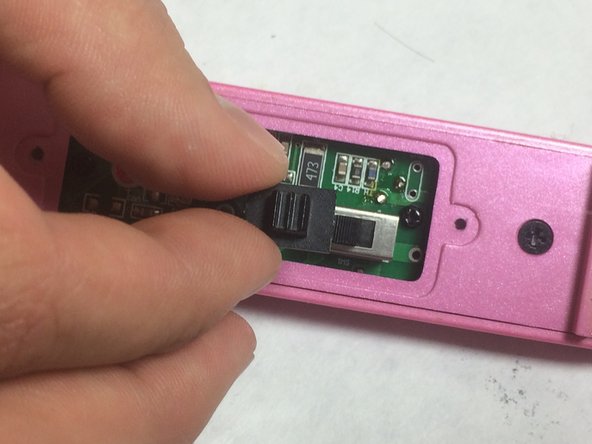
Lift upward on the control assembly cover to remove it from the flat iron base.
-
Remove dial and switch cover and set aside.
-
-
Questo passaggio è privo di traduzione. Aiuta a tradurlo
-
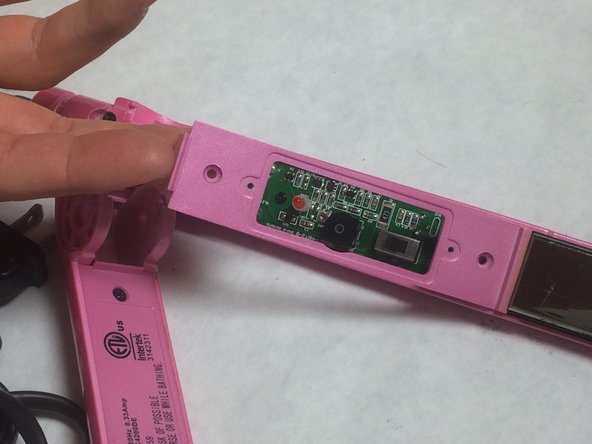
Use your JIS #0 screw driver to remove the two 6mm “J0” screws that are attached to the flat iron base and set them aside.
-
Lift the backing plate upwards to remove it from the flat iron.
-
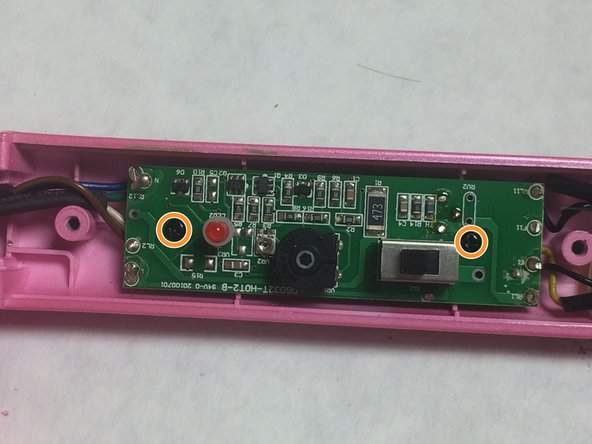
Use the Phillips #0 screwdriver to remove two 4mm “PH0” screws that attach the circuit assembly to the flat iron base.
-


Annulla: non ho completato questa guida.
Un'altra persona ha completato questa guida.
Team

IUPUI, Team 3-4, Baechle Fall 2016 Membro di IUPUI, Team 3-4, Baechle Fall 2016
IUPUI-BAECHLE-F16S3G4
4 Membri
5 Guide realizzate