Questa versione può contenere modifiche errate. Passa all'ultima istantanea verificata.
Cosa ti serve
-
Questo passaggio è privo di traduzione. Aiuta a tradurlo
-
Press button on the top of the dust cup and pull back.
-
Remove dust cup from vacuum
-
-
Questo passaggio è privo di traduzione. Aiuta a tradurlo
-
Pull back on black lever and rotate dust cup lid back.
-
-
-
Questo passaggio è privo di traduzione. Aiuta a tradurlo
-
Lift up on fabric flap to remove filter from vaccum
-
If you wish to clean the filter rather than replace it, it can be washed under a faucet.
-
-
Questo passaggio è privo di traduzione. Aiuta a tradurlo
-
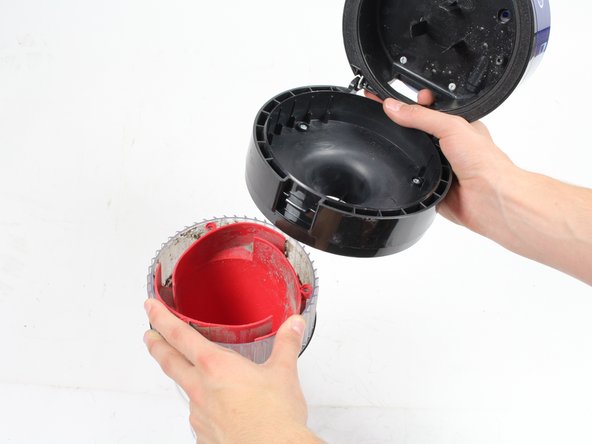
Holding onto both the top handle and dust cup body, twist the two components apart following the instructions printed on the back.
-
-
Questo passaggio è privo di traduzione. Aiuta a tradurlo
-
Unscrew the three 4 cm Phillips #3 screws located inside the dust filter compartment to detach the dust filter system.
-


Annulla: non ho completato questa guida.
Un'altra persona ha completato questa guida.
Team

Cal Poly, Team S11-G4, Banghart Winter 2018 Membro di Cal Poly, Team S11-G4, Banghart Winter 2018
CPSU-BANGHART-W18S11G4
5 Membri
10 Guide realizzate