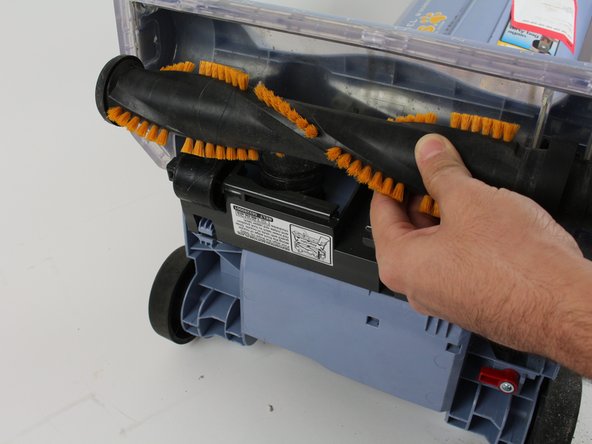
Salta al contenuto principale

Hoover T-Series WindTunnel Pet UH30310 Vacuum Belt Replacement

Cosa ti serve

  1. Hoover T-Series WindTunnel Pet UH30310 Vacuum Belt Replacement, Brush: passo 1, immagine 1 di 2 Hoover T-Series WindTunnel Pet UH30310 Vacuum Belt Replacement, Brush: passo 1, immagine 2 di 2
    • Place the vacuum on its back.

    • On the bottom right side, push the red lever to the left.

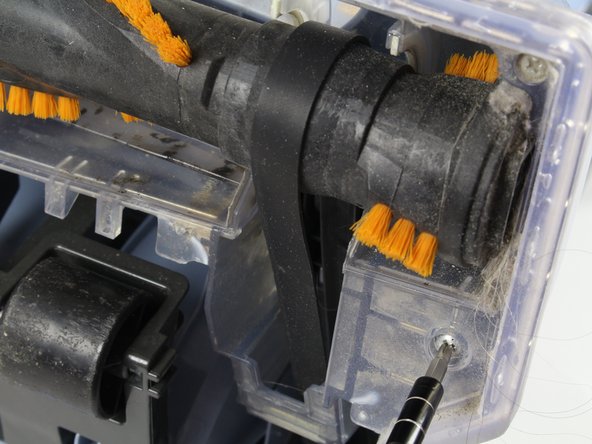
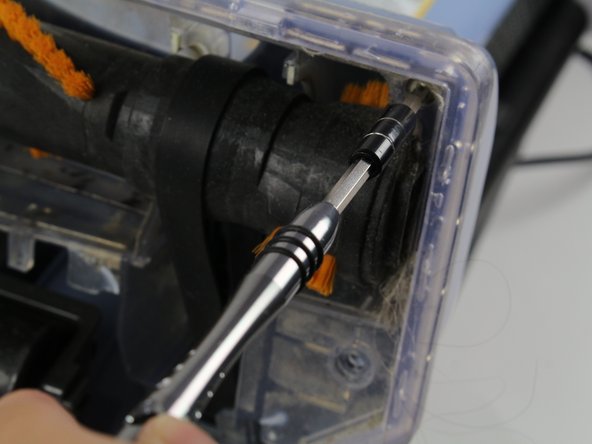
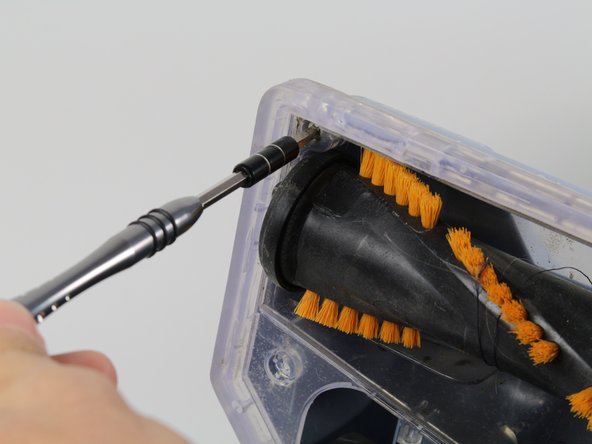
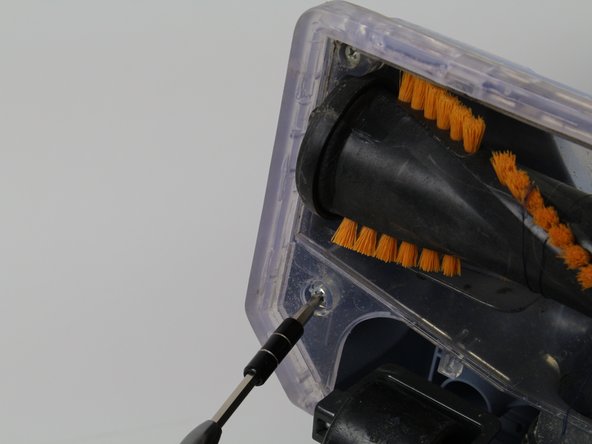
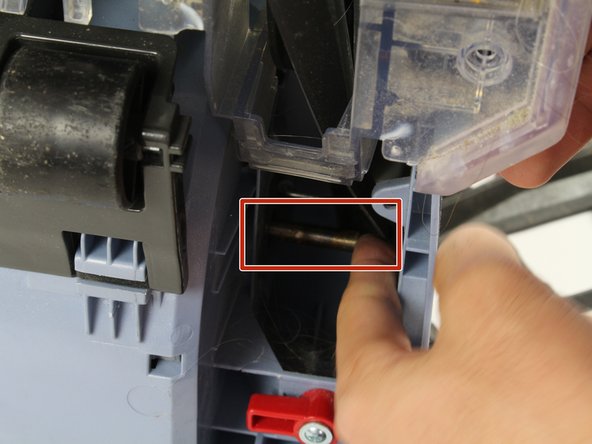
    • Remove the plastic cover.

  2. Hoover T-Series WindTunnel Pet UH30310 Vacuum Belt Replacement: passo 2, immagine 1 di 3 Hoover T-Series WindTunnel Pet UH30310 Vacuum Belt Replacement: passo 2, immagine 2 di 3 Hoover T-Series WindTunnel Pet UH30310 Vacuum Belt Replacement: passo 2, immagine 3 di 3
    • Grab the red switch under the brush and push left.

    • Then remove the plastic base plate.

  3. Hoover T-Series WindTunnel Pet UH30310 Vacuum Belt Replacement: passo 3, immagine 1 di 3 Hoover T-Series WindTunnel Pet UH30310 Vacuum Belt Replacement: passo 3, immagine 2 di 3 Hoover T-Series WindTunnel Pet UH30310 Vacuum Belt Replacement: passo 3, immagine 3 di 3
    • Use a Phillips #1 screwdriver to remove the two screws on the right side of the brush.

  4. Hoover T-Series WindTunnel Pet UH30310 Vacuum Belt Replacement: passo 4, immagine 1 di 3 Hoover T-Series WindTunnel Pet UH30310 Vacuum Belt Replacement: passo 4, immagine 2 di 3 Hoover T-Series WindTunnel Pet UH30310 Vacuum Belt Replacement: passo 4, immagine 3 di 3
    • Remove the two screws on the left side of the brush.

  5. Hoover T-Series WindTunnel Pet UH30310 Vacuum Belt Replacement: passo 5, immagine 1 di 3 Hoover T-Series WindTunnel Pet UH30310 Vacuum Belt Replacement: passo 5, immagine 2 di 3 Hoover T-Series WindTunnel Pet UH30310 Vacuum Belt Replacement: passo 5, immagine 3 di 3
    • Pull the clear plastic away from the head of the vacuum.

    • Slide the belt off the metal rod with your finger.

    • Pull the brush free.

  6. Hoover T-Series WindTunnel Pet UH30310 Vacuum Belt Replacement, Vacuum Belt: passo 6, immagine 1 di 1
    • Removal of the brush will also remove the belt.

Conclusione

To reassemble your device, follow these instructions in reverse order.

Erik Ingels

Membro da: 01/18/18

193 Reputazione

2 Guide realizzate

Team

Cal Poly, Team S12-G4, Banghart Winter 2018 Membro di Cal Poly, Team S12-G4, Banghart Winter 2018

CPSU-BANGHART-W18S12G4

5 Membri

9 Guide realizzate

0 Commenti

Aggiungi Commento

Visualizza Statistiche:

Ultime 24 Ore: 0

Ultimi 7 Giorni: 4

Ultimi 30 Giorni: 7

Tutti i Tempi: 746