Questa guida ha delle modifiche più recenti. Passa all'ultima versione non verificata.
Introduzione
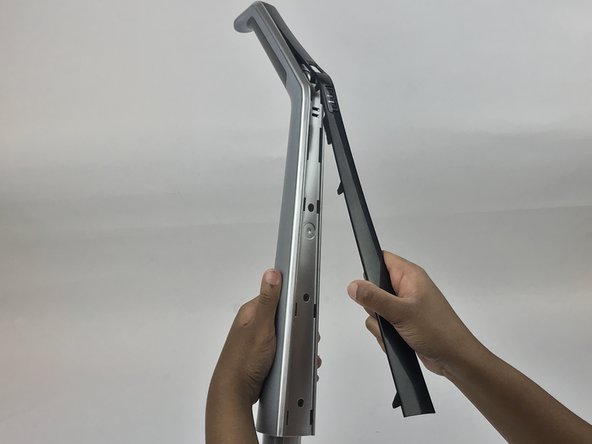
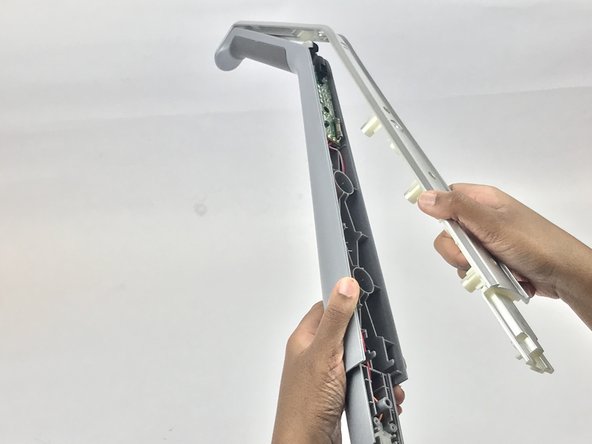
This guide will show you how to open dissemble the handle and replace the motherboard. You might need to do this if the device has power but fails to turn on. Remember to remove the battery from the device.
Cosa ti serve
-
-
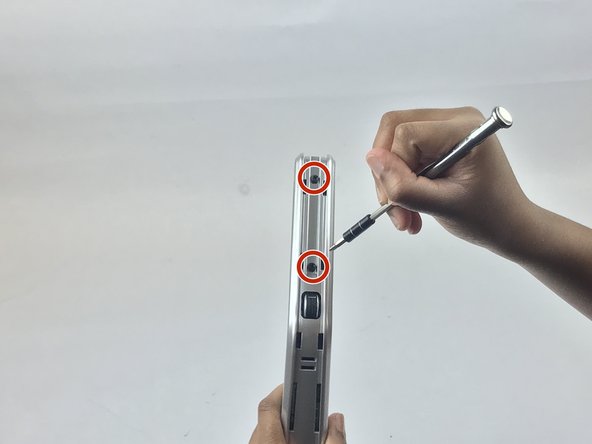
Remove the single 15mm Phillips #1 screw from the handle.
-
-
-
-
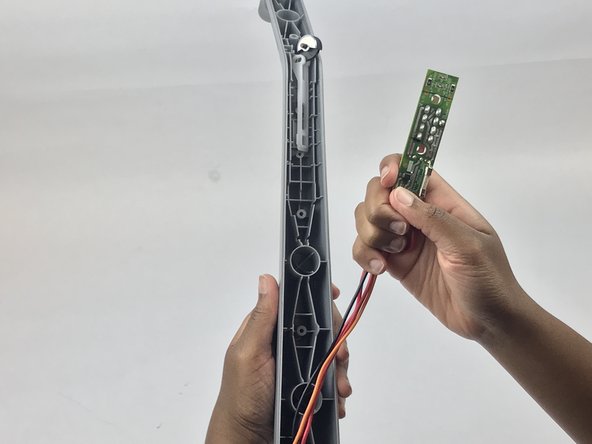
Remove the black rubber cover from the motherboard.
-


To reassemble your device, follow these instructions in reverse order.
To reassemble your device, follow these instructions in reverse order.
Annulla: non ho completato questa guida.
Un'altra persona ha completato questa guida.
Team

USF Tampa, Team S7-G4, Passmore Spring 2018 Membro di USF Tampa, Team S7-G4, Passmore Spring 2018
USFT-PASSMORE-S18S7G4
4 Membri
12 Guide realizzate