Salta al contenuto principale
Unisciti alla Community delle riparazioni - Crea un account

Honeywell MultiRae Hydrogen Sulfide Electrochemical Sensors Replacement

Cosa ti serve

  1. Honeywell MultiRae Hydrogen Sulfide Electrochemical Sensors Replacement, Electrochemical Sensors: passo 1, immagine 1 di 1
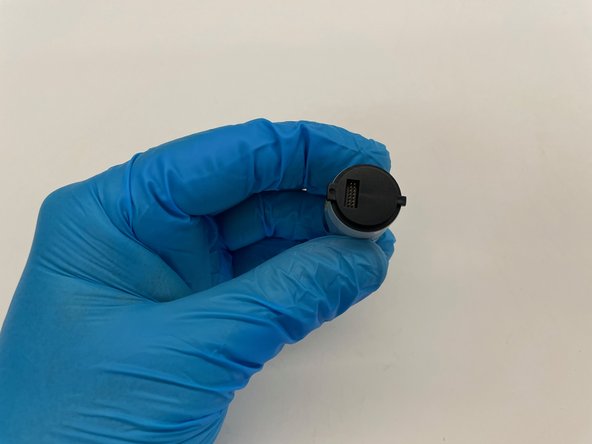
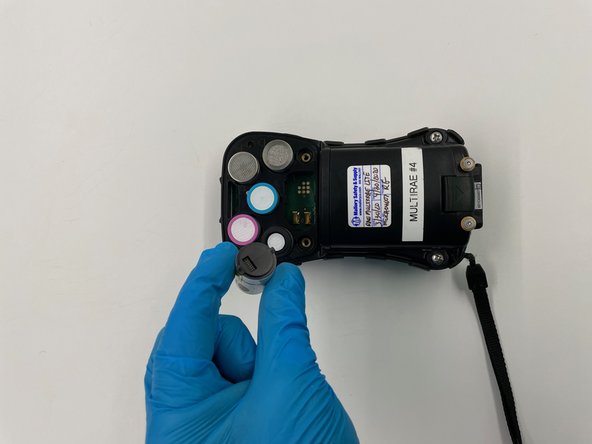
    • Confirm which sensor you are intending to replace. Make note of it.

    • Nitrile gloves should be worn for the entire procedure.

  2. Honeywell MultiRae Hydrogen Sulfide Electrochemical Sensors Replacement: passo 2, immagine 1 di 2 Honeywell MultiRae Hydrogen Sulfide Electrochemical Sensors Replacement: passo 2, immagine 2 di 2
    • Place the monitor face down on a clean surface.

    • Use the Phillips #0 screwdriver to remove the single 3 mm Phillips screw on the belt clip.

  3. Honeywell MultiRae Hydrogen Sulfide Electrochemical Sensors Replacement: passo 3, immagine 1 di 1
    • Starting at the bottom of the case, pull the outer case away from the main body of the monitor.

    • Continue pulling out and away until the entire outer case has been removed.

  4. Honeywell MultiRae Hydrogen Sulfide Electrochemical Sensors Replacement: passo 4, immagine 1 di 1
    • With the Phillips #0 screwdriver, remove all four 3 mm screws from the rear pump/sensor cover.

  5. Honeywell MultiRae Hydrogen Sulfide Electrochemical Sensors Replacement: passo 5, immagine 1 di 1
    • Remove the outer pump/sensor housing cover and set it aside.

  6. Honeywell MultiRae Hydrogen Sulfide Electrochemical Sensors Replacement: passo 6, immagine 1 di 1
    • Carefully grip and twist the outer edge of the sensor to remove the sensor from its insertion point.

    • Be careful not to twist too aggressively as this could damage the sensor attachment point in the monitor.

  7. Honeywell MultiRae Hydrogen Sulfide Electrochemical Sensors Replacement: passo 7, immagine 1 di 3 Honeywell MultiRae Hydrogen Sulfide Electrochemical Sensors Replacement: passo 7, immagine 2 di 3 Honeywell MultiRae Hydrogen Sulfide Electrochemical Sensors Replacement: passo 7, immagine 3 di 3
    • Grip the replacement sensor on the outer edge.

    • Insert the new sensor in a straight downward orientation.

    • Be careful to line up the prongs with their insertion/attachment point in the monitor.

  8. Honeywell MultiRae Hydrogen Sulfide Electrochemical Sensors Replacement: passo 8, immagine 1 di 1
    • Reassemble the unit in reverse order.

    • After reassembly, power the unit on to ensure that the monitor recognizes the new sensor.

    • Calibrate the sensor per the manufacturer's instructions.

Conclusione

To reassemble your device, follow these instructions in reverse order.

Un'altra persona ha completato questa guida.

0Commenti sulla guida

Aggiungi Commento

Visualizza Statistiche:

Ultime 24 Ore: 2

Ultimi 7 Giorni: 22

Ultimi 30 Giorni: 112

Tutti i Tempi: 2,852