Introduzione
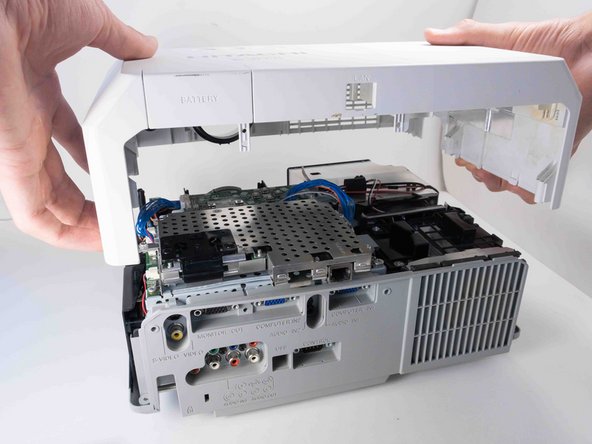
The motherboard is the backbone that ties the projector's components together at one spot and allows them to talk to each other. If you're having a hard time diagnosing the problem and it's not one of the other components, the motherboard might be at fault.
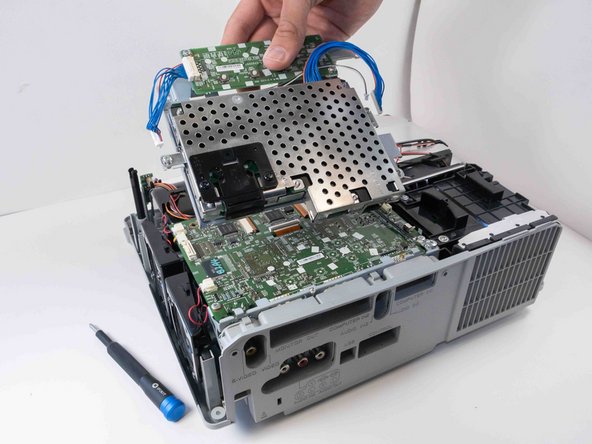
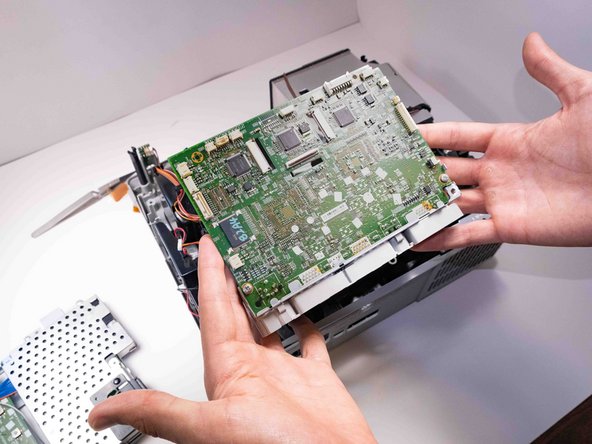
Follow this guide to remove the motherboard for the Hitachi CP-X2010N if a replacement and/or servicing is needed.
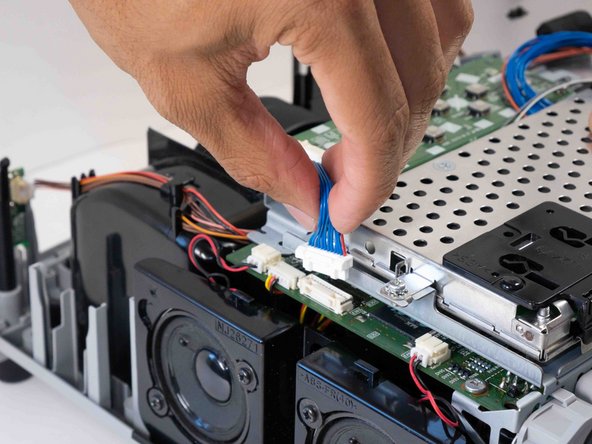
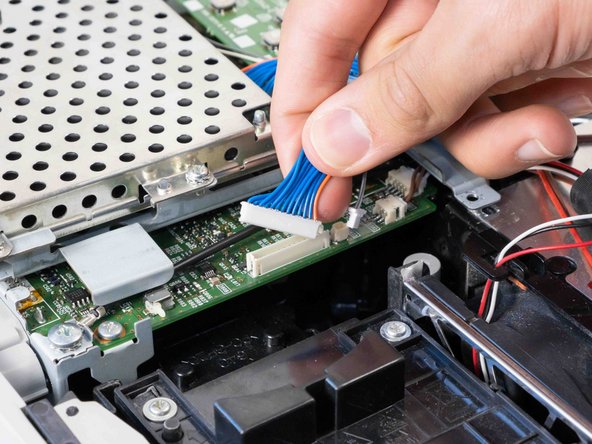
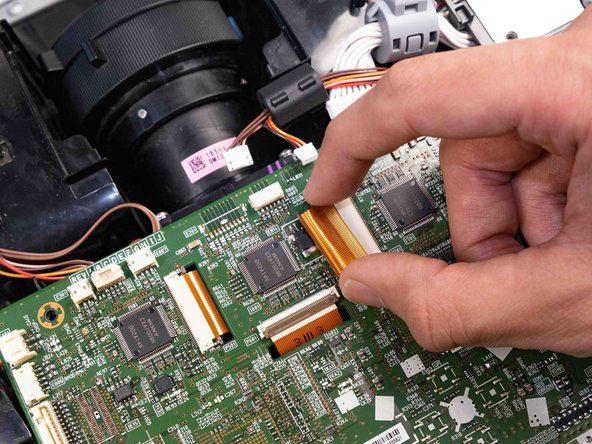
The trickiest part of this job is removing the three ribbon cables without damaging them.
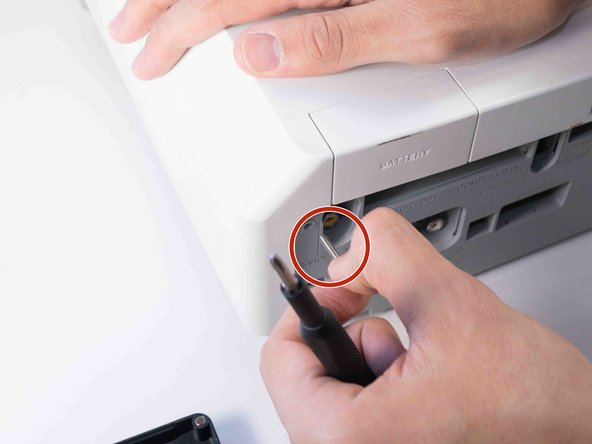
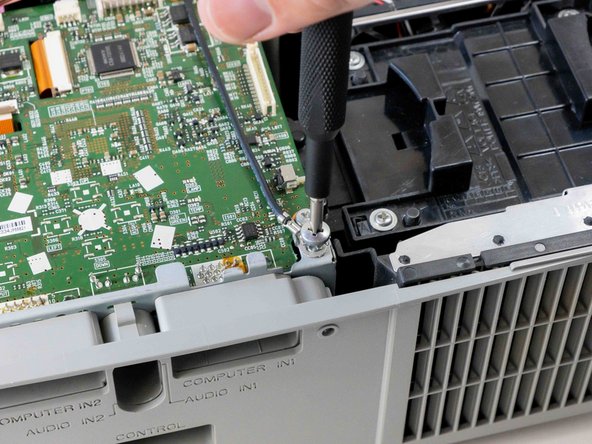
Before handling the motherboard, ensure the device is powered off and unplugged.
Cosa ti serve
-
-
-
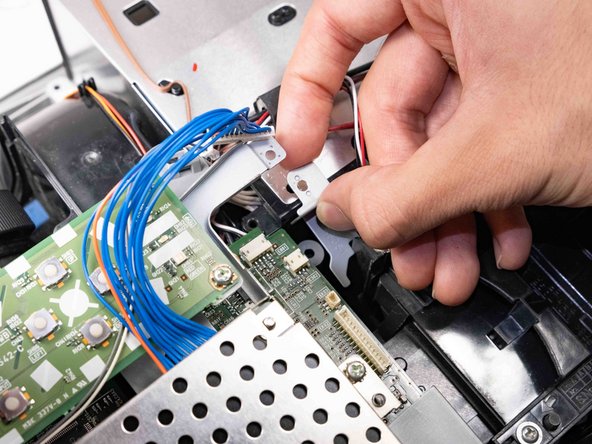
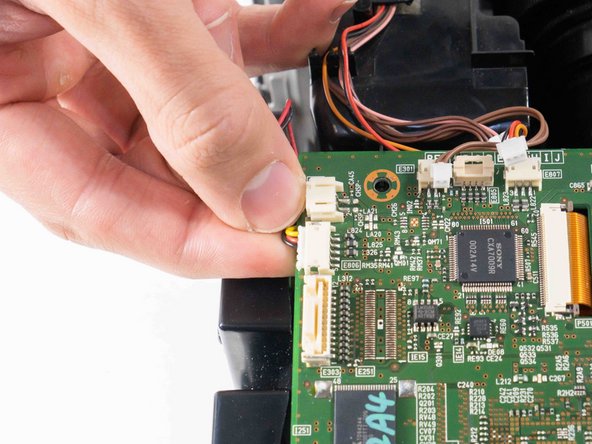
Carefully pinch the edges of the two blue connectors and pull upwards to remove them from the motherboard.
-
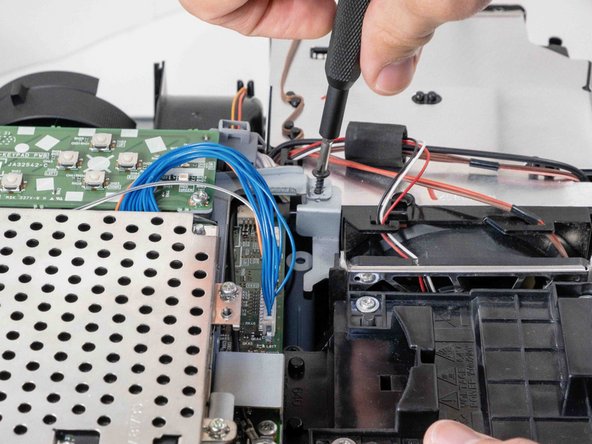
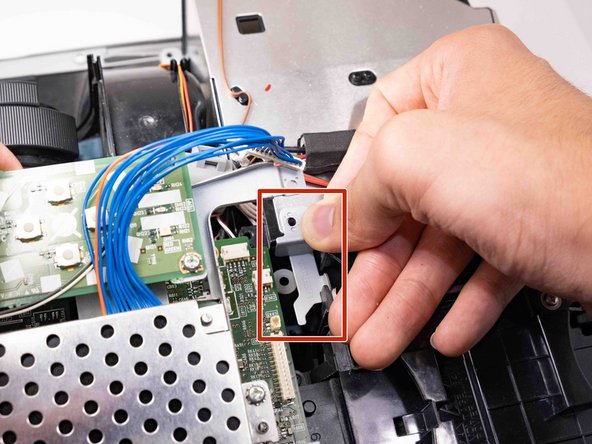
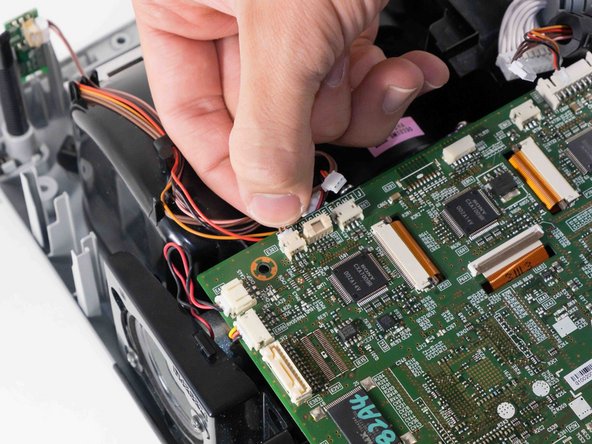
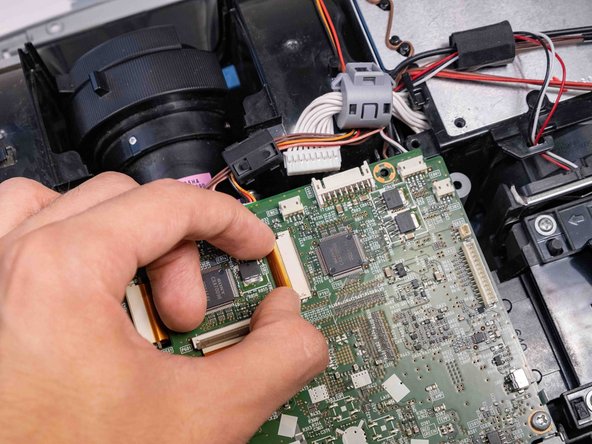
Carefully pinch and remove the small gray connector next to the blue wire opposite the speakers.
-


To reassemble your device, follow these instructions in reverse order.
To reassemble your device, follow these instructions in reverse order.
Annulla: non ho completato questa guida.
Altre 4 persone hanno completato questa guida.

Team

Austin Community College, Team 9-2, Watkins Fall 2022 Membro di Austin Community College, Team 9-2, Watkins Fall 2022
AUSTINCC-WATKINS-F22S9G2
4 Membri
6 Guide realizzate