Questa guida ha delle modifiche più recenti. Passa all'ultima versione non verificata.
Introduzione
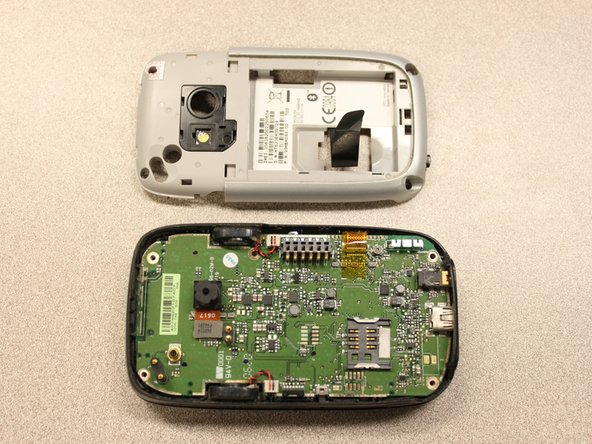
Takes you through the steps to install the motherboard.
Cosa ti serve
-
-
To expose the battery, remove the outer case with your fingernail.
-
Remove the battery by pulling the black tab.
-
-
-
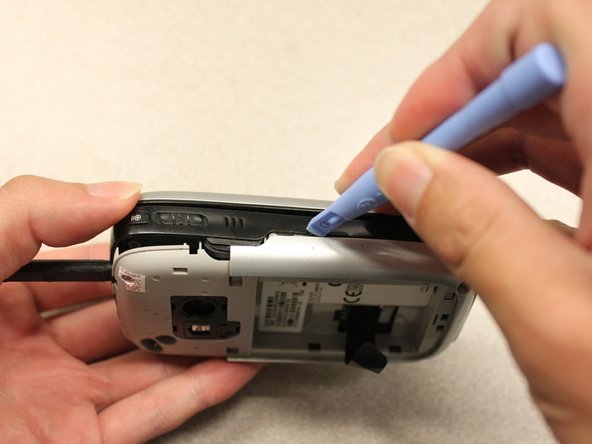
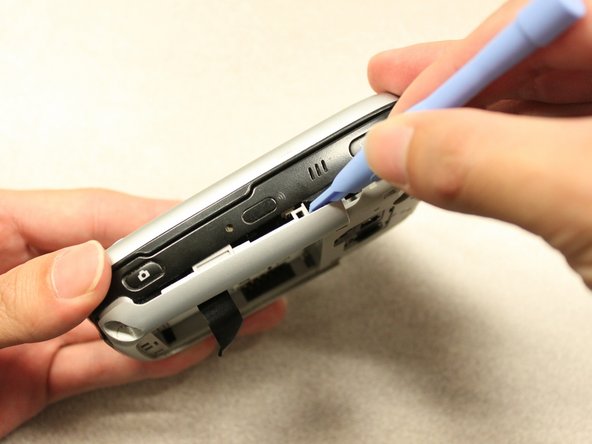
Insert the flat end of the spudger into the two notches on the back of the camera cover and pry them up.
-
-
-
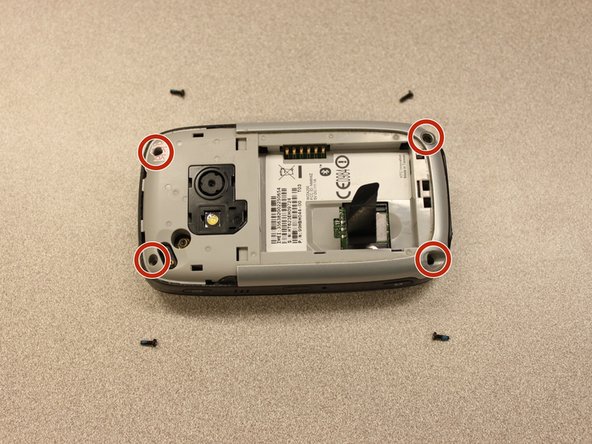
Remove the four 6 mm screws with the T5 Torx screwdriver.
-
-


To reassemble your device, follow these instructions in reverse order.
To reassemble your device, follow these instructions in reverse order.
Team

Cal Poly, Team 20-27, Maness Fall 2011 Membro di Cal Poly, Team 20-27, Maness Fall 2011
CPSU-MANESS-F11S20G27
4 Membri
24 Guide realizzate