Questa guida ha delle modifiche più recenti. Passa all'ultima versione non verificata.
Introduzione
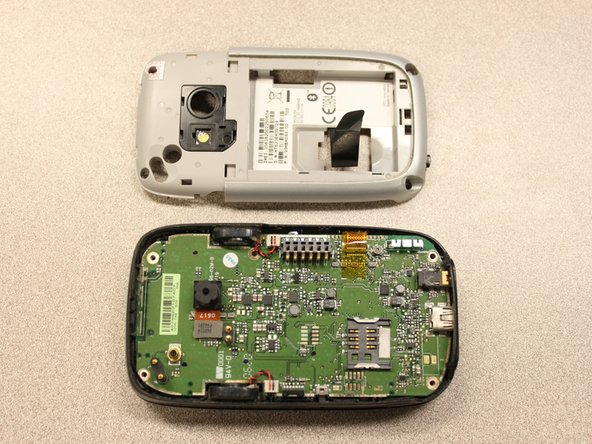
This guide will display how to remove and install the back panel of the HTC Wizard 200.
Cosa ti serve
-
-
To expose the battery, remove the outer case with your fingernail.
-
Remove the battery by pulling the black tab.
-
-
-
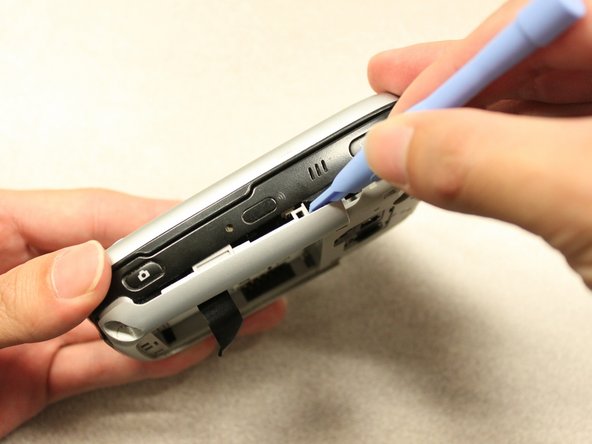
Use a spudger to begin removal of the camera cover by inserting the flat end into the two notches and gently pry them up one at a time.
-
-
-
-
Use a T5 Torx screwdriver to remove four 6mm screws that secure the back panel to the main body.
-


To reassemble your device, follow these instructions in reverse order.
To reassemble your device, follow these instructions in reverse order.
Team

Cal Poly, Team 20-27, Maness Fall 2011 Membro di Cal Poly, Team 20-27, Maness Fall 2011
CPSU-MANESS-F11S20G27
4 Membri
24 Guide realizzate