Questa guida ha delle modifiche più recenti. Passa all'ultima versione non verificata.
Introduzione
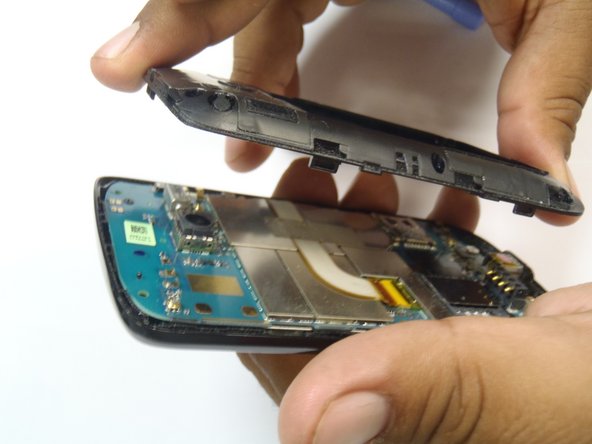
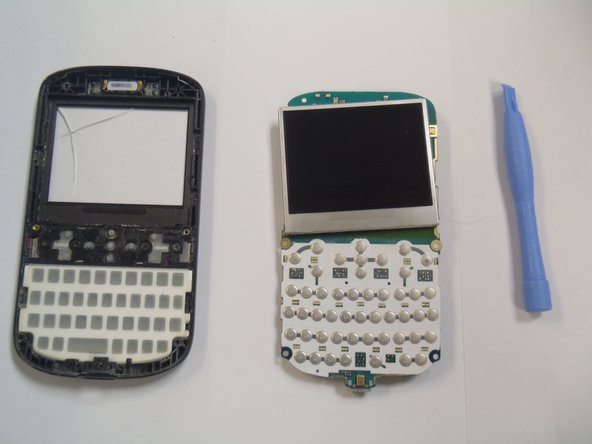
The motherboard is the main internal component which integrates all the other internal components (i.e. led display, processor, keyboard, etc.)
Cosa ti serve
-
-
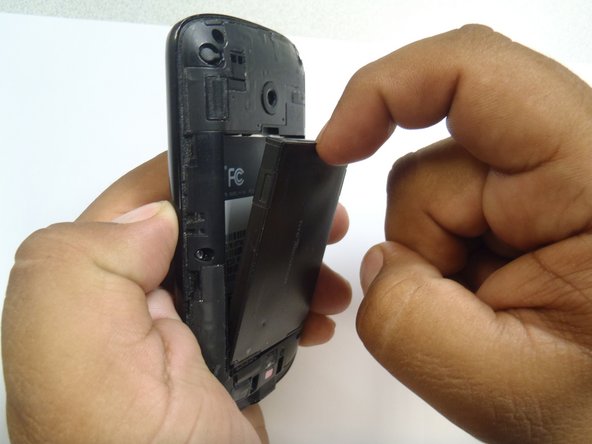
Flip the phone over to have the rear cover facing up.
-
The camera lens should be towards the top of the phone.
-
-
-
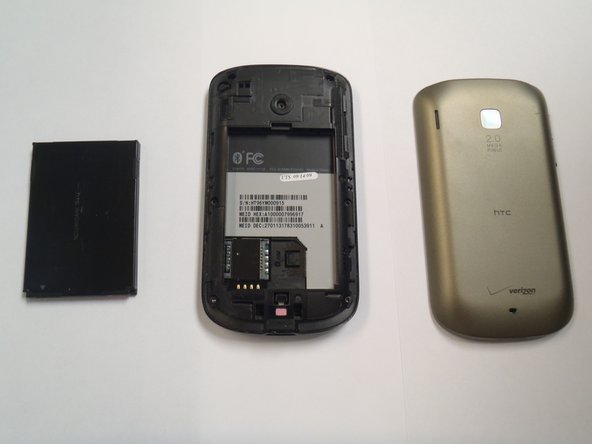
Use your finger to push the top of the battery downwards and lift the battery out of the phone.
-
-
-
-
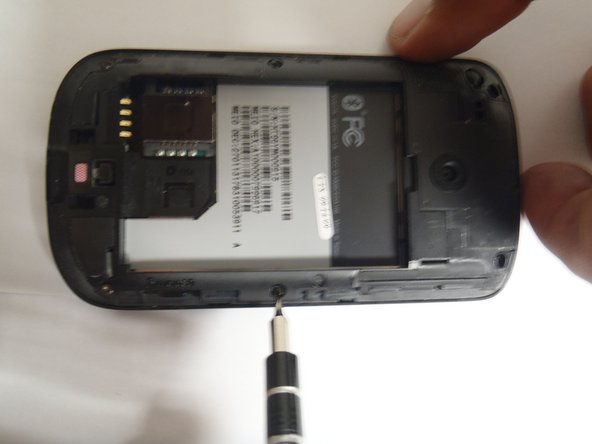
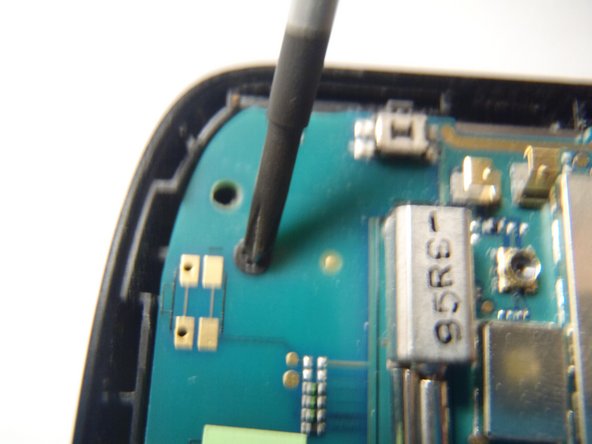
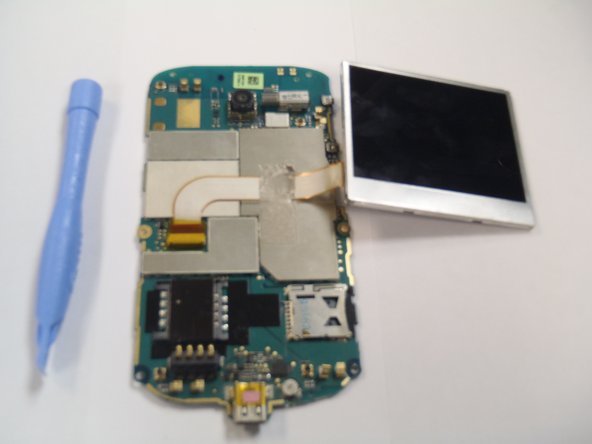
Remove the single Phillips #0 screw that is securing the motherboard to the front case of the phone.
-


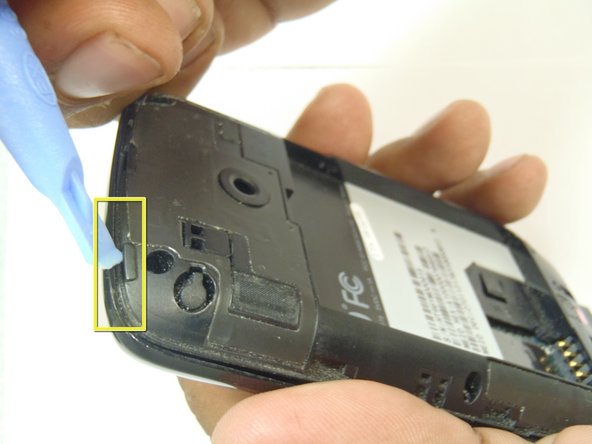


To reassemble your device, follow these instructions in reverse order.
To reassemble your device, follow these instructions in reverse order.
Annulla: non ho completato questa guida.
Un'altra persona ha completato questa guida.
Team

CSU Los Angeles, Team 1-2, Nelson Spring 2011 Membro di CSU Los Angeles, Team 1-2, Nelson Spring 2011
CSULA-NELSON-S11S1G2
5 Membri
12 Guide realizzate