Salta al contenuto principale

HTC Ozone Frame Replacement

Cosa ti serve

  1. HTC Ozone Frame Replacement, Rear Battery Cover: passo 1, immagine 1 di 1
    • Flip the phone over to have the rear cover facing up.

    • The camera lens should be towards the top of the phone.

  2. HTC Ozone Frame Replacement: passo 2, immagine 1 di 2 HTC Ozone Frame Replacement: passo 2, immagine 2 di 2
    • Slide the cover up, towards the top of phone, to unlock the battery cover.

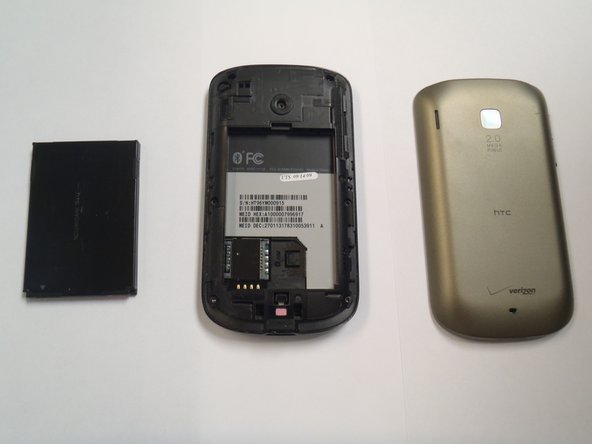
    • Lift the cover off phone and remove it.

  3. HTC Ozone Frame Replacement, Battery: passo 3, immagine 1 di 3 HTC Ozone Frame Replacement, Battery: passo 3, immagine 2 di 3 HTC Ozone Frame Replacement, Battery: passo 3, immagine 3 di 3
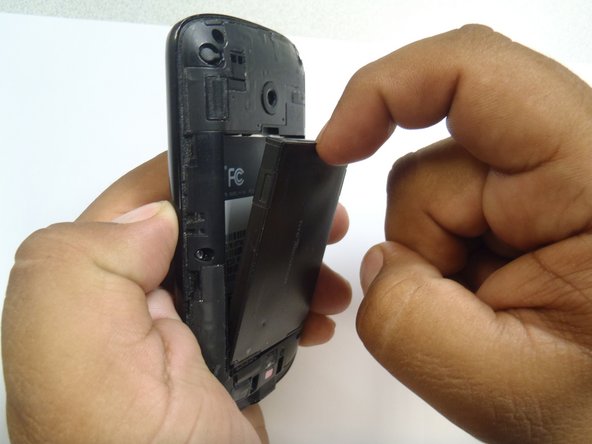
    • Use your finger to push the top of the battery downwards and lift the battery out of the phone.

  4. HTC Ozone Frame Replacement, Frame: passo 4, immagine 1 di 3 HTC Ozone Frame Replacement, Frame: passo 4, immagine 2 di 3 HTC Ozone Frame Replacement, Frame: passo 4, immagine 3 di 3
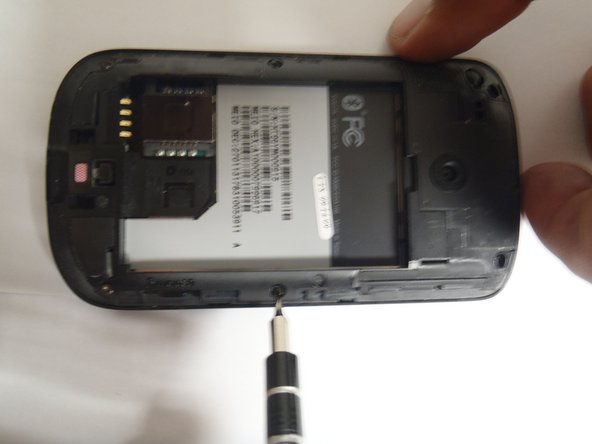
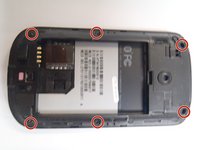
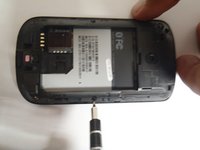
    • Remove the six Torx #5 screws that are securing the rear frame.

  5. HTC Ozone Frame Replacement: passo 5, immagine 1 di 3 HTC Ozone Frame Replacement: passo 5, immagine 2 di 3 HTC Ozone Frame Replacement: passo 5, immagine 3 di 3
    Attrezzo utilizzato in questo passaggio:
    Plastic Cards
    $2.99
    Compra
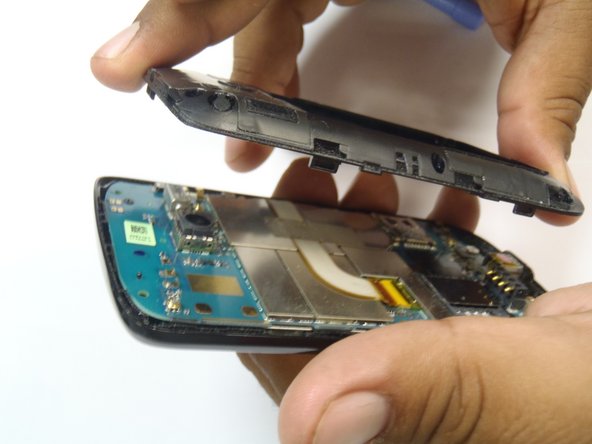
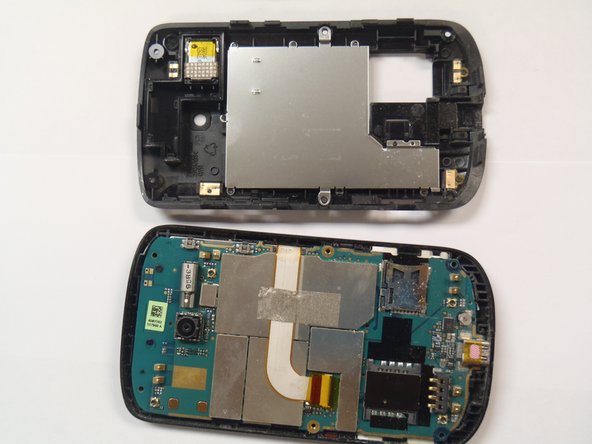
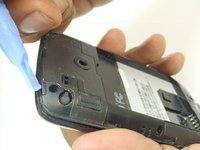
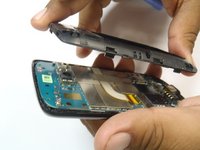
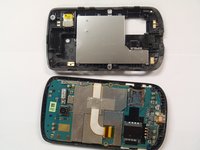
    • Pry the frame open, releasing the eight plastic tabs around the edge of the frame, using the plastic opening tool.

    • A plastic card can be used instead of the plastic opening tool.

Conclusione

To reassemble your device, follow these instructions in reverse order.

Un'altra persona ha completato questa guida.

Marco Jokada

Membro da: 04/28/11

247 Reputazione

6 Guide realizzate

Team

0 Commenti

Aggiungi Commento

Visualizza Statistiche:

Ultime 24 Ore: 0

Ultimi 7 Giorni: 2

Ultimi 30 Giorni: 2

Tutti i Tempi: 1,371