Questa versione può contenere modifiche errate. Passa all'ultima istantanea verificata.
Cosa ti serve
-
Questo passaggio è privo di traduzione. Aiuta a tradurlo
-
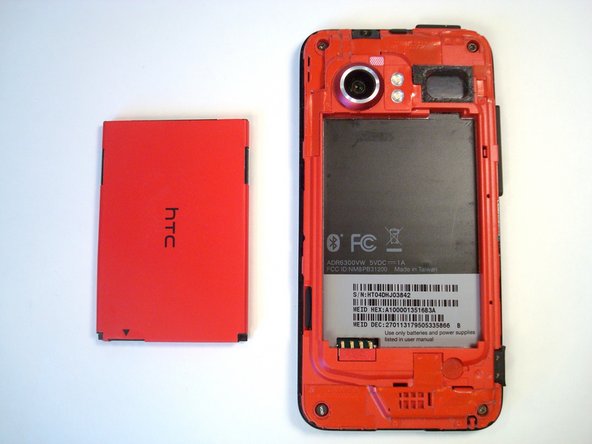
Press your thumbnail into the slot between the rear panel and the front case located in the bottom of the phone.
-
Gently pry the rear panel up and away from the phone. You may need to slide your thumb up the crack to separate the rear panel from the front case.
-
-
-
Questo passaggio è privo di traduzione. Aiuta a tradurlo
-
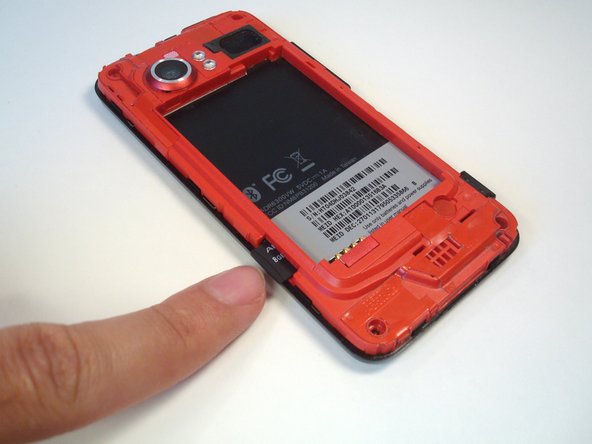
Insert a fingertip into the gap between the battery and the rear inner frame, located between the battery and the speaker. Slide the battery away from the speaker, widening the gap.
-
Lift the top of the battery up and remove the battery from the rear inner frame.
-
-
Questo passaggio è privo di traduzione. Aiuta a tradurlo
-
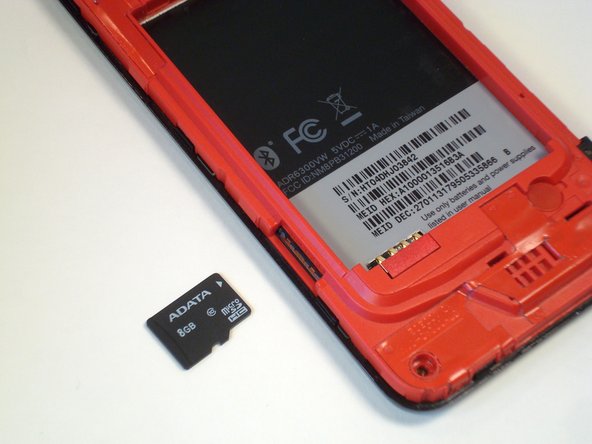
Press the MicroSD card further into its slot until it clicks.
-
Release the MicroSD card, and it will pop out slightly.
-
-
Questo passaggio è privo di traduzione. Aiuta a tradurlo
-
Pull the MicroSD card straight out of its slot.
-


Annulla: non ho completato questa guida.
Un'altra persona ha completato questa guida.
