Salta al contenuto principale

HP eStation Zeen Motherboard Replacement

Cosa ti serve

  1. HP eStation Zeen Motherboard Replacement, Motherboard: passo 1, immagine 1 di 3 HP eStation Zeen Motherboard Replacement, Motherboard: passo 1, immagine 2 di 3 HP eStation Zeen Motherboard Replacement, Motherboard: passo 1, immagine 3 di 3
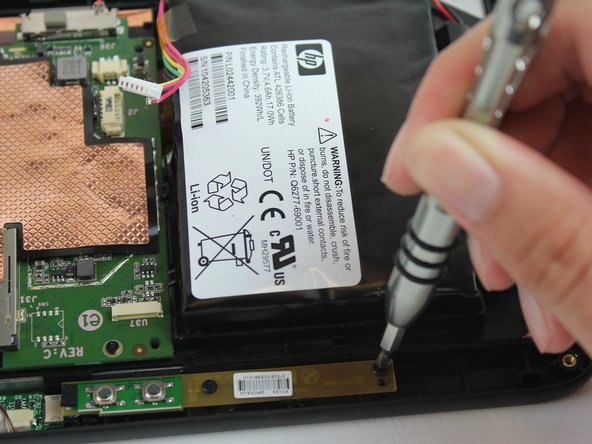
    • Remove the screw caps using the metal spudger.

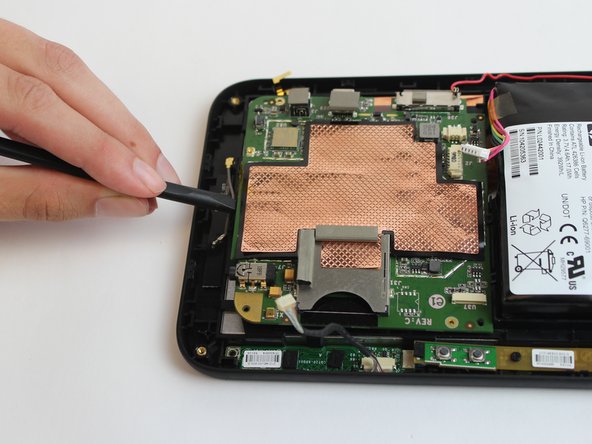
    • Remove the four 6mm Phillips screws using the Phillips #0 screwdriver.

  2. HP eStation Zeen Motherboard Replacement: passo 2, immagine 1 di 3 HP eStation Zeen Motherboard Replacement: passo 2, immagine 2 di 3 HP eStation Zeen Motherboard Replacement: passo 2, immagine 3 di 3
    • Unclip each side of the back cover by inserting the plastic opening tool and sliding it along the edge.

    • Remove the back panel by lifting the panel away from the device.

  3. HP eStation Zeen Motherboard Replacement: passo 3, immagine 1 di 1
    • Disconnect battery clip with plastic opening tool.

    • The clip is very fragile.

  4. HP eStation Zeen Motherboard Replacement: passo 4, immagine 1 di 1
    • Disconnect the speaker terminal with the plastic opening tool.

    • The clip is very fragile.

  5. HP eStation Zeen Motherboard Replacement: passo 5, immagine 1 di 1
    • Disconnect the the volume button clip with metal spudger tool.

    • The clip is fragile.

  6. HP eStation Zeen Motherboard Replacement: passo 6, immagine 1 di 1
    • Disconnect the ground wire from the motherboard with tweezers.

  7. HP eStation Zeen Motherboard Replacement: passo 7, immagine 1 di 2 HP eStation Zeen Motherboard Replacement: passo 7, immagine 2 di 2
    • Remove the two 6mm Phillips screws with Phillips #0 screwdriver.

  8. HP eStation Zeen Motherboard Replacement: passo 8, immagine 1 di 2 HP eStation Zeen Motherboard Replacement: passo 8, immagine 2 di 2
    • Pry off the clips that hold the motherboard down with the plastic spudger.

  9. HP eStation Zeen Motherboard Replacement: passo 9, immagine 1 di 2 HP eStation Zeen Motherboard Replacement: passo 9, immagine 2 di 2
    • Lift motherboard up to expose the ribbons on the back.

    • Lift the grey tabs to disconnect the ribbons with plastic spudger.

Conclusione

To reassemble your device, follow these instructions in reverse order.

Un'altra persona ha completato questa guida.

dalton hale

Membro da: 09/26/16

503 Reputazione

4 Guide realizzate

Team

USF Tampa, Team 16-4, Eyestone Fall 2016 Membro di USF Tampa, Team 16-4, Eyestone Fall 2016

USFT-EYESTONE-F16S16G4

4 Membri

10 Guide realizzate

0 Commenti

Aggiungi Commento

Visualizza Statistiche:

Ultime 24 Ore: 0

Ultimi 7 Giorni: 1

Ultimi 30 Giorni: 1

Tutti i Tempi: 533